Environment Variables
Why deployed apps need environment variables, how to add them in Vercel, and the difference between public and private variables.
Your app works on localhost. You push it to Vercel. The site loads — but when you try to log in, nothing happens. Or you get a blank screen. Or the browser console shows a cryptic error about a missing URL.
This is almost always an environment variable problem. Understanding this takes 5 minutes and saves hours of confusion.
The "Why First" Scenario
You have a
.env.localfile on your laptop. It contains your Supabase project URL and the anon key. Your React app reads these values every time it connects to the database.You push your code to GitHub. But wait — your
.gitignorefile contains.env.local. That file was deliberately never pushed to GitHub. (Good — you should never commit secrets to version control.)Vercel pulls your code from GitHub. It builds your app. But the
.env.localfile isn't there — it was never pushed. So Vercel builds an app that doesn't know how to find your database.Your app loads, but every Supabase call returns an error because the URL it's trying to connect to is
undefined.
This is why you need to tell Vercel your environment variables separately. They don't come from GitHub. They live in Vercel's secure settings, and Vercel injects them into your app at build time.
The Excel Analogy
Think of environment variables like named ranges in Excel. You define SUPABASE_URL = "https://xyz.supabase.co" once, and every formula in the sheet that references it gets the correct value automatically.
The .env.local file on your laptop is your personal named range definition — it stays on your machine. Vercel's environment variable settings are the equivalent definition for the deployed version. Same variable names, same values — just stored in a different place.
Where to Add Environment Variables
Open your project in the Vercel dashboard
Click on the project you just deployed. You'll see the project overview page.
Go to Settings
Click the Settings tab (it has a gear icon). This opens the project settings — not your account settings. Make sure you're inside the project, not at the top-level dashboard.
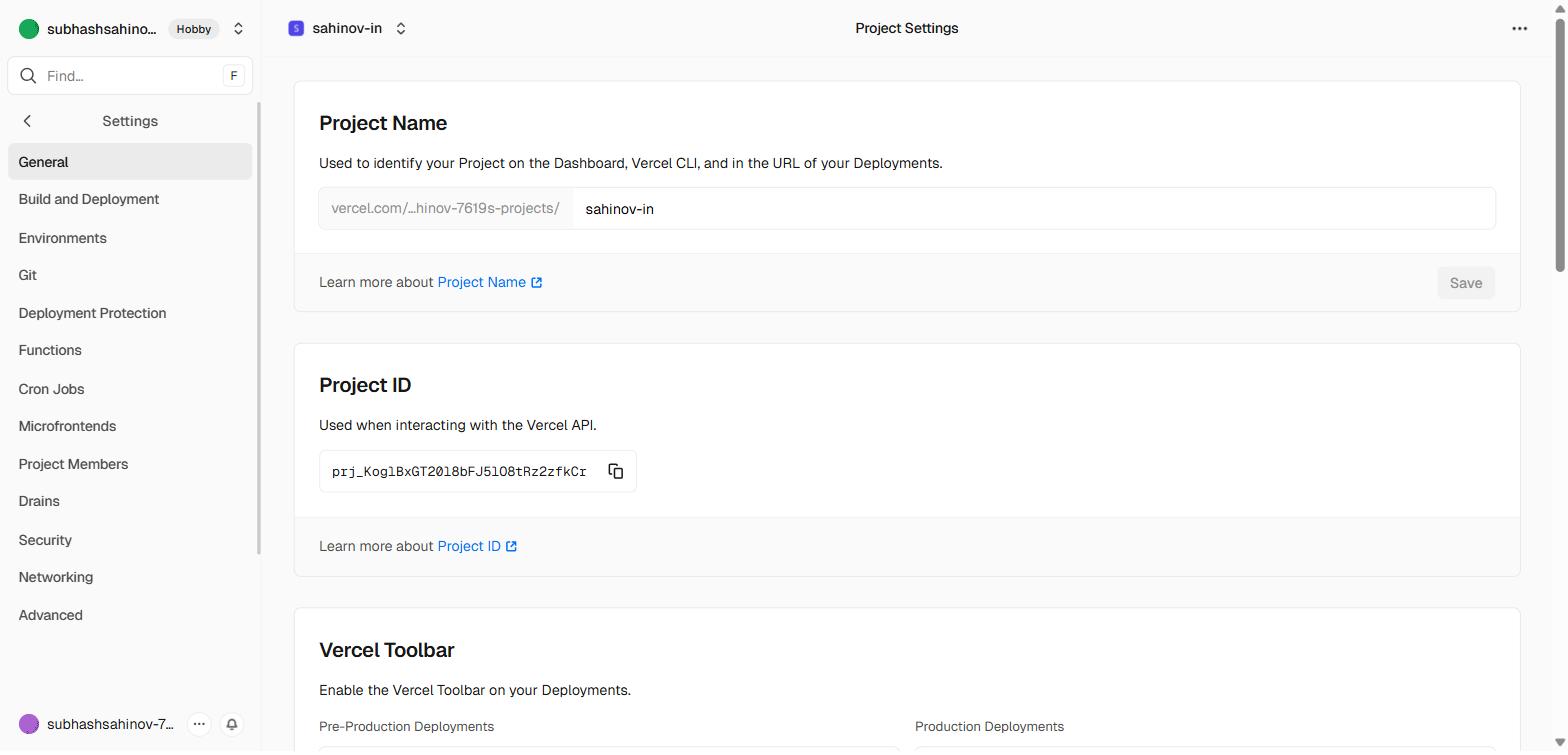 The project Settings page. The left navigation contains Environment Variables, Domains, Git and other project-scoped configuration.
Click "Environment Variables" in the left sidebar
You'll see a form with fields for Key, Value, and Environment.
Add your first variable
Key: Type the variable name exactly as it appears in your .env.local file. For Next.js projects use NEXT_PUBLIC_SUPABASE_URL. For Vite projects use VITE_SUPABASE_URL.
Value: Paste the actual value. For Supabase URL, this is something like https://abcdefghijklmnop.supabase.co. Find it in your Supabase dashboard under Project Settings → API.
Environment: Three checkboxes appear — Production, Preview, and Development. Check all three. This ensures the variable is available when Vercel builds a production deploy (from main), a preview deploy (from a PR branch), and when you use Vercel's local dev feature.
Click Save.
Repeat for each variable
For a project that connects to Supabase, you'll add at minimum:
| Key | Where to find the value |
|---|---|
NEXT_PUBLIC_SUPABASE_URL | Supabase dashboard → Project Settings → API → Project URL |
NEXT_PUBLIC_SUPABASE_ANON_KEY | Supabase dashboard → Project Settings → API → Project API Keys → anon / public |
For Vite projects (not Next.js), the key names are:
VITE_SUPABASE_URLVITE_SUPABASE_ANON_KEY
Re-deploy after adding variables
Environment variables are baked into your app at build time. If you add them after a deploy, the running app does not automatically pick them up — it was built without them. You must trigger a new build.
Go to the Deployments tab. Click the three-dot menu (...) on the most recent deployment. Click Redeploy. The app will rebuild with the new environment variables included.
After adding environment variables, always redeploy. The running site was built before the variables existed. A redeploy is a 60-second operation. Without it, your variables aren't active regardless of what Vercel's settings panel shows.
Public Variables vs Secret Variables
This is the most important concept in this section. Get it wrong and you either break your app or expose a secret key to the world.
Variables the browser can see (public)
Your React app runs in the user's browser. The browser can only access variables that you explicitly mark as "public." Every framework has a prefix for this:
| Framework | Public variable prefix | Example |
|---|---|---|
| Next.js | NEXT_PUBLIC_ | NEXT_PUBLIC_SUPABASE_URL |
| Vite | VITE_ | VITE_SUPABASE_URL |
The Supabase URL and the anon key are safe to mark as public. The anon key is designed to be used from the browser — it's restricted by Row Level Security policies on your database. Anyone who inspects your app's JavaScript bundle will be able to see it, and that's fine — Supabase accounts for this.
Variables the browser must never see (private/server-only)
The service role key is different. It bypasses all Row Level Security policies and has unrestricted access to your entire database. It must never reach the browser.
To keep a variable server-only: do NOT use the NEXT_PUBLIC_ or VITE_ prefix. A variable named just SUPABASE_SERVICE_ROLE_KEY (no prefix) is only available to server-side code — Next.js API routes, Server Components, Supabase Edge Functions. It is stripped out of the browser bundle entirely.
| Variable | Prefix | Safe in browser? | Used for |
|---|---|---|---|
| Supabase URL | NEXT_PUBLIC_ / VITE_ | Yes | Connecting from React components |
| Supabase anon key | NEXT_PUBLIC_ / VITE_ | Yes | Read/write with RLS enforced |
| Supabase service role key | None | Never | Server-only admin operations |
| Resend API key | None | Never | Sending emails from edge functions |
| Razorpay secret key | None | Never | Payment verification on server |
During training, you will only use public variables. The service role key and API keys for payments, email, and analytics are only relevant when you're working on Phase 4 and Phase 5 projects. When you get there, the relevant module will explain where to put each key. For now: NEXT_PUBLIC_SUPABASE_URL and NEXT_PUBLIC_SUPABASE_ANON_KEY are the only two you need.
Checking If Your Variables Are Working
After redeploying, open your live site. Open your browser's DevTools (F12 on Windows, Cmd + Option + I on Mac). Go to the Console tab.
If environment variables are missing, you'll typically see errors saying supabaseUrl is required or Cannot read properties of undefined. These errors appear because your Supabase client is receiving undefined where it expects a URL string. The fix is always: add the variable to Vercel settings → redeploy.
If the console is clean and your app connects to Supabase correctly — you're done.
F12 (Windows) or Cmd + Option + I (Mac) to open DevTools. Click the Console tab. If you see zero red error lines and your app loads and connects to Supabase, your environment variables are working. If you see a red error mentioning undefined or supabaseUrl, go back to Vercel → Settings → Environment Variables and verify the value was pasted correctly, then redeploy.Common Mistakes
Mistake 1: Adding the variable but forgetting to redeploy The settings panel saved successfully, but nothing changed on the live site. Fix: redeploy.
Mistake 2: Wrong prefix for the framework
Using NEXT_PUBLIC_ in a Vite project (or VITE_ in a Next.js project). Your app reads import.meta.env.VITE_SUPABASE_URL or process.env.NEXT_PUBLIC_SUPABASE_URL — these are different. Match the prefix to what your code actually reads.
Mistake 3: Trailing space in the value When pasting a URL or key, accidentally pasting a space at the beginning or end. The value looks correct but fails silently. If you're getting strange URL errors, delete the value and re-paste it carefully.
Mistake 4: Wrong key from the Supabase dashboard
Using the service_role key instead of the anon key for the public variable. The service role key is longer and starts with eyJhbGc... just like the anon key — they look similar. Double-check the label in Supabase: you want the one labelled anon / public, not service_role.
Other Settings Tabs You'll Use
While you're in the Settings panel, it's worth knowing what the other tabs control. You won't need most of them during training — but when you do, they'll be familiar.
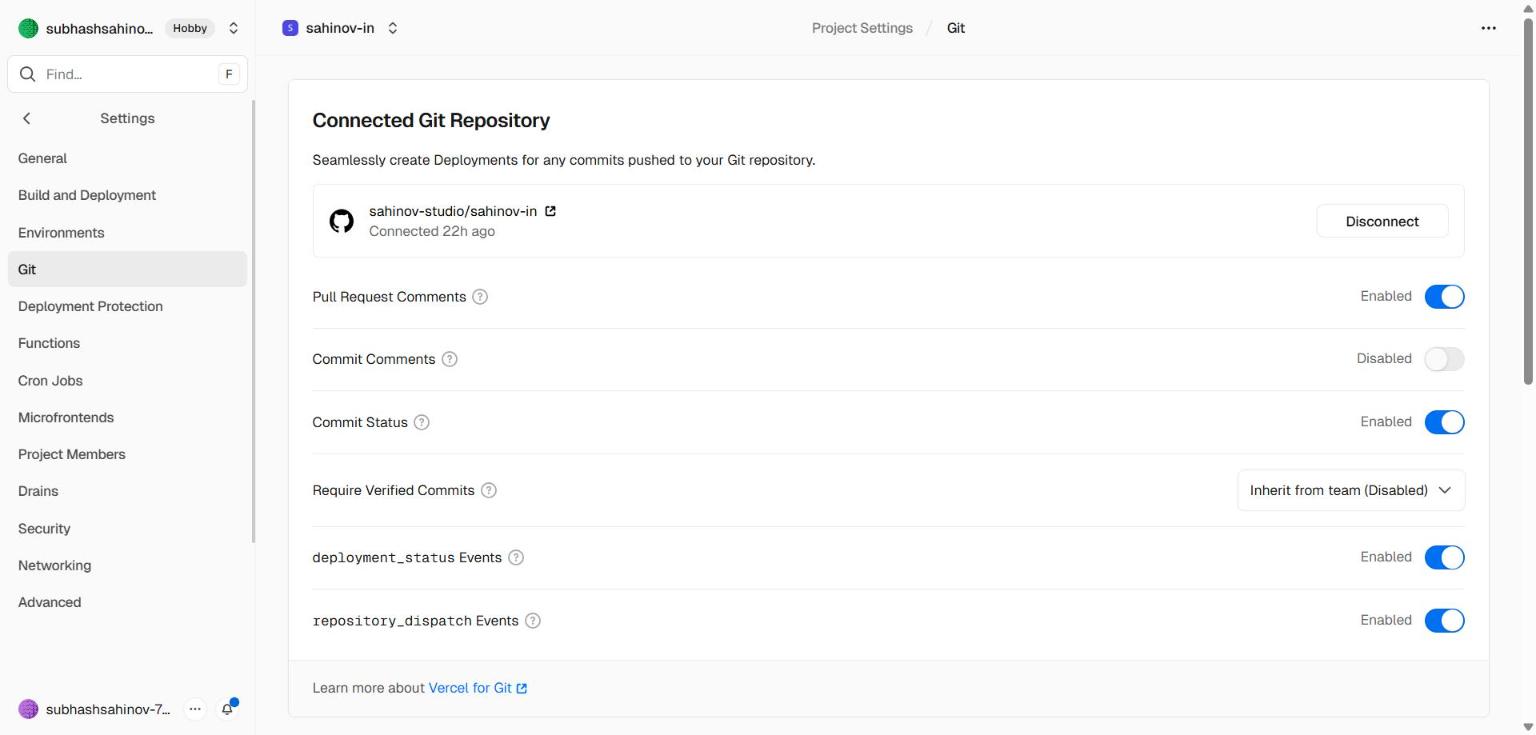 Settings → Git — controls which GitHub repository and branch Vercel watches for deployments. If you ever rename your main branch or transfer the repository, this is where you update the connection.
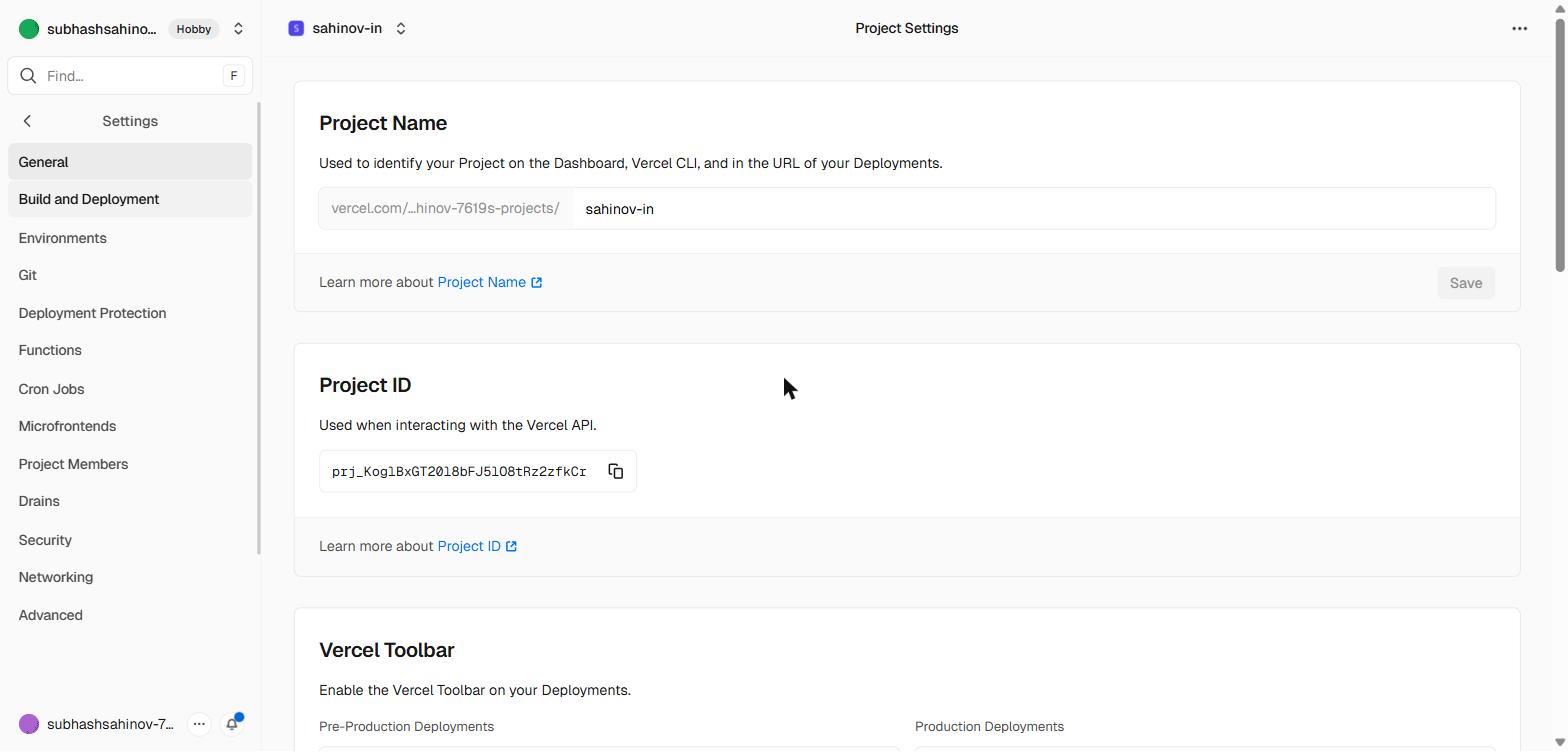 Settings → Build & Deployment — shows the build command, output directory, and root directory. Normally auto-detected. Only change these if Vercel picks the wrong framework preset or your project has a non-standard structure.
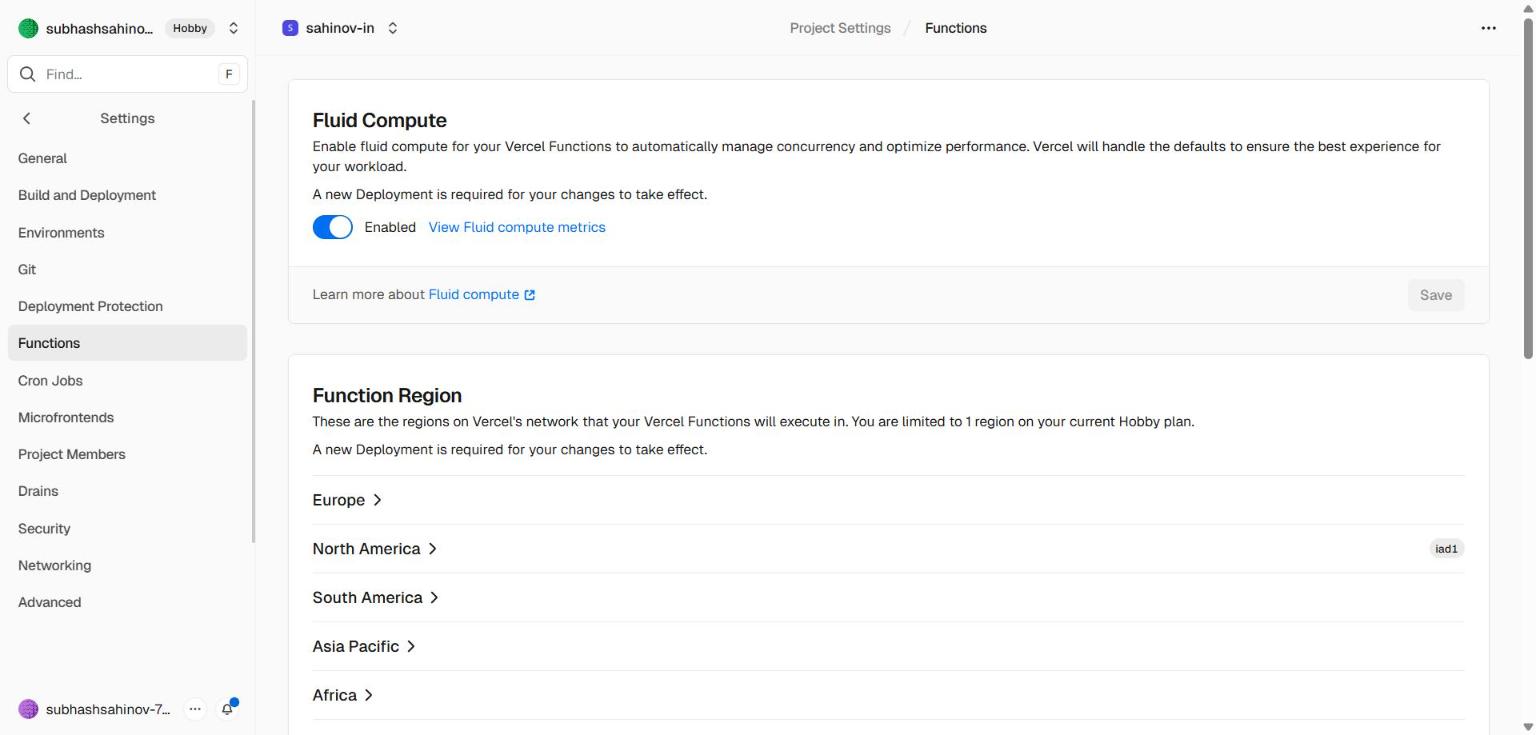 Settings → Functions — runtime settings for serverless functions (Next.js API routes, Edge Functions). Default settings work for all training projects.