Account Setup
Creating your Vercel account, connecting GitHub, and navigating the dashboard.
Vercel account setup takes about 3 minutes. The most important step is connecting it to GitHub — that connection is what makes automatic deployments possible. Without it, Vercel cannot see your repositories.
Before You Start
You need a GitHub account before setting up Vercel. If you haven't completed the GitHub setup section, do that first.
To confirm you're ready:
- You have a GitHub account and can log into it
- You have at least one repository on GitHub (even an empty one is fine)
Creating Your Account
Go to vercel.com
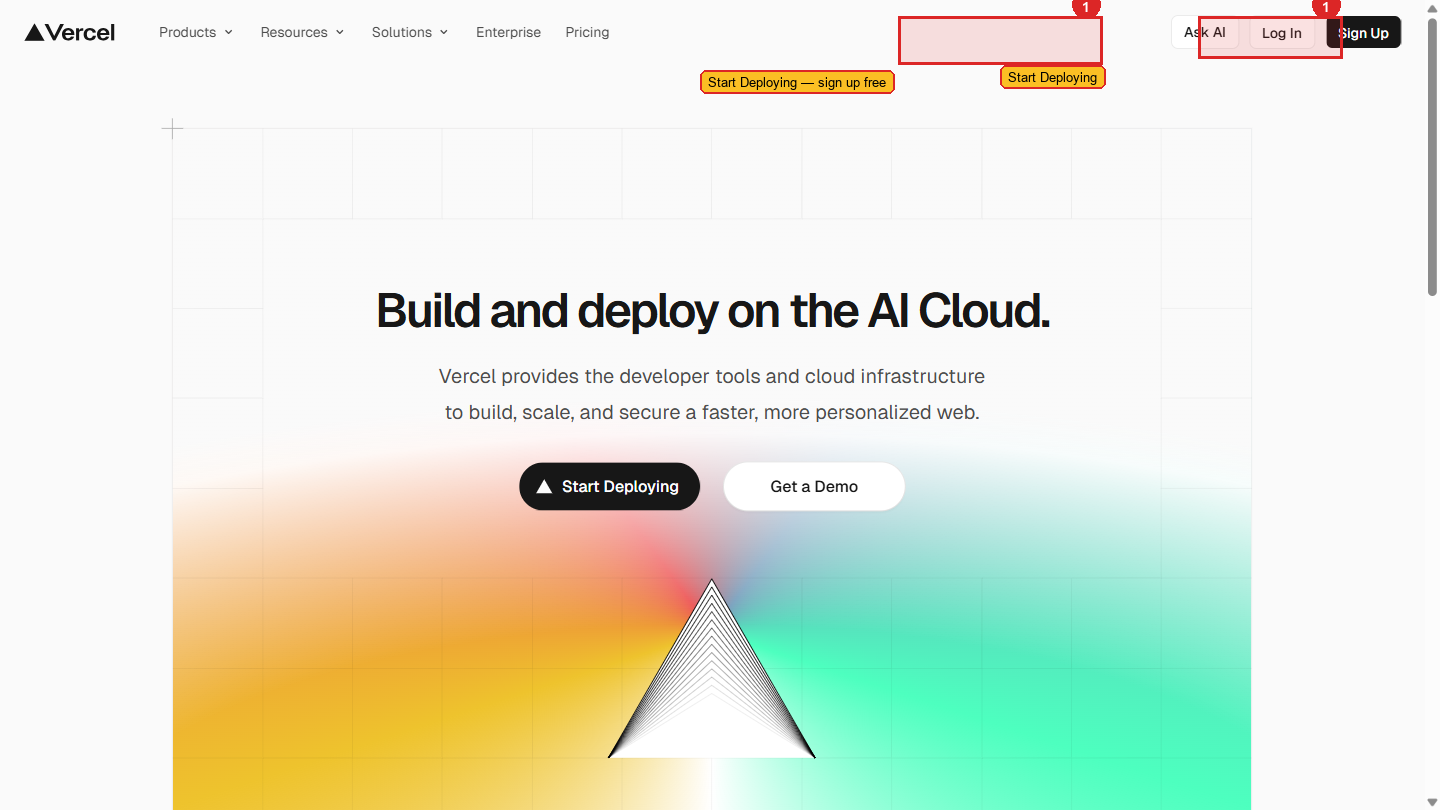
Open your browser and navigate to vercel.com. You'll see a homepage with a "Start Deploying" or "Sign Up" button in the top right.
Click "Sign Up"
 The Vercel signup page — three sign-up options are shown.
The signup page will show three options:
- Continue with GitHub
- Continue with GitLab
- Continue with Bitbucket
Select "Continue with GitHub". This is the correct choice for this workshop. Connecting via GitHub is what allows Vercel to watch your repositories and deploy automatically when you push code. If you create an account with email instead, you lose this integration and will have to connect GitHub manually later.
Authorise Vercel to access GitHub
A GitHub authorisation screen will appear. It says "Vercel by Vercel wants to access your account" and lists the permissions it's requesting.
The permissions include:
- Reading your repositories (so it can deploy them)
- Writing commit statuses (so it can show the preview URL on pull requests)
- Reading your email address (for account identification)
Click "Authorize Vercel". You'll be redirected back to Vercel.
Select the Hobby plan
Vercel will ask you to choose a plan. Select Hobby — it is free with no credit card required. The Pro plan ($20/month) is for commercial teams. You don't need it for training or personal projects.
Skip team creation
Vercel may ask you to create a team. Click "Skip" or "Continue with Personal Account". Teams are for organisations with multiple Vercel accounts sharing billing. You're working individually.
You're on the dashboard
You'll land on the Vercel dashboard. It will look mostly empty — no projects yet, which is expected.
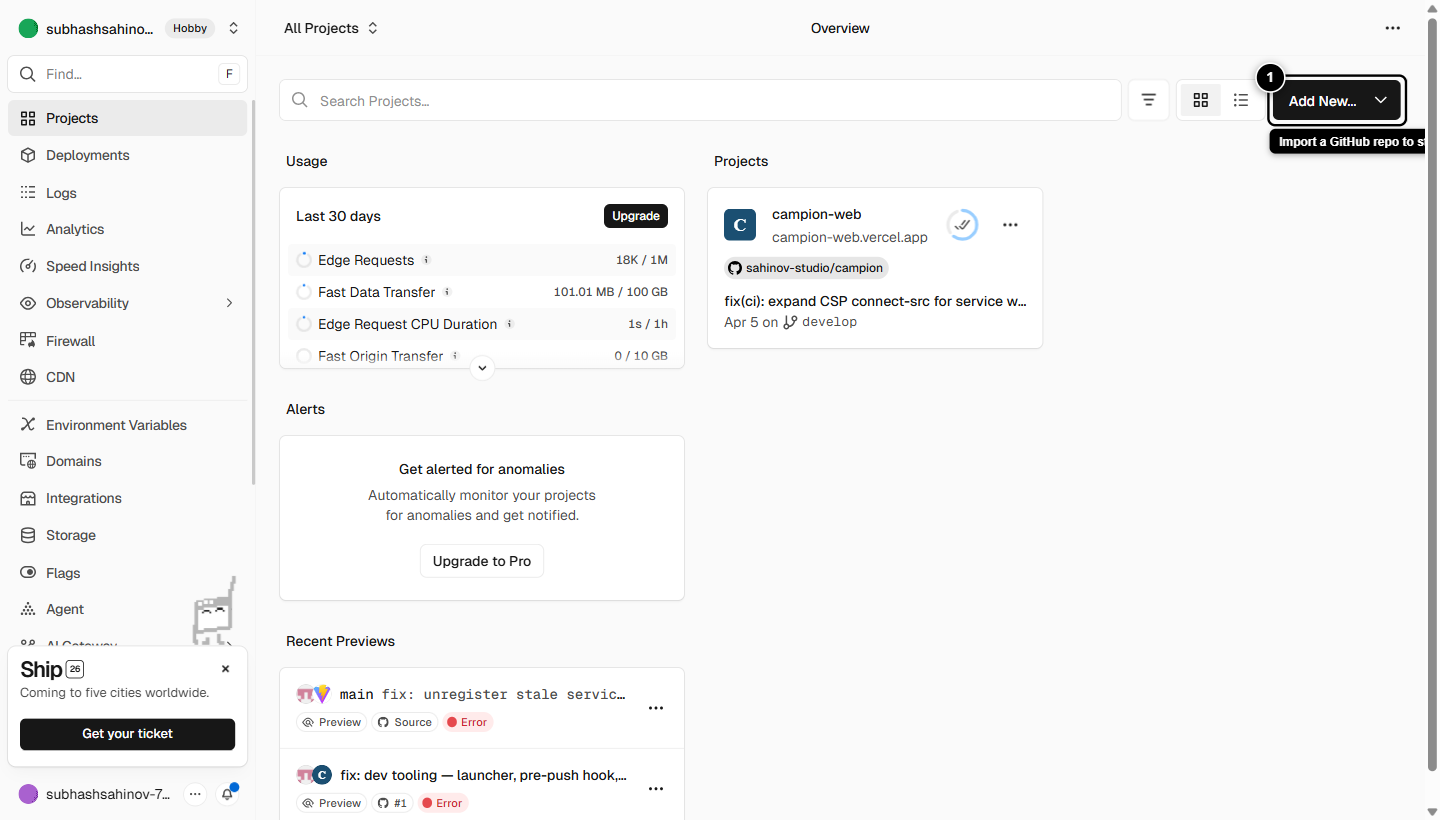 The Vercel dashboard. Notice the Add New button at the top right — you'll click this every time you start a new project.
Understanding the Vercel Dashboard
The dashboard has a few areas worth knowing before you deploy your first project.
 The numbered items in the left sidebar correspond to the table below.
The top navigation bar
| Element | What it does |
|---|---|
| Vercel logo (top left) | Click to return to the dashboard from anywhere |
| Add New button | Starts the process of deploying a new project — you'll use this constantly |
| Your profile icon (top right) | Access account settings, billing, logout |
The left sidebar
| Item | What it shows |
|---|---|
| Overview | Your recent projects and recent deployments |
| Projects | All your deployed projects in one list |
| Domains | Manage custom domains you've connected to Vercel |
| Analytics | Traffic data (requires enabling per project) |
| Speed Insights | Core Web Vitals performance data per route |
| Billing | Plan details and usage — Hobby plan users rarely need to look here |
| Settings | Account-level settings (not project settings — those are inside each project) |
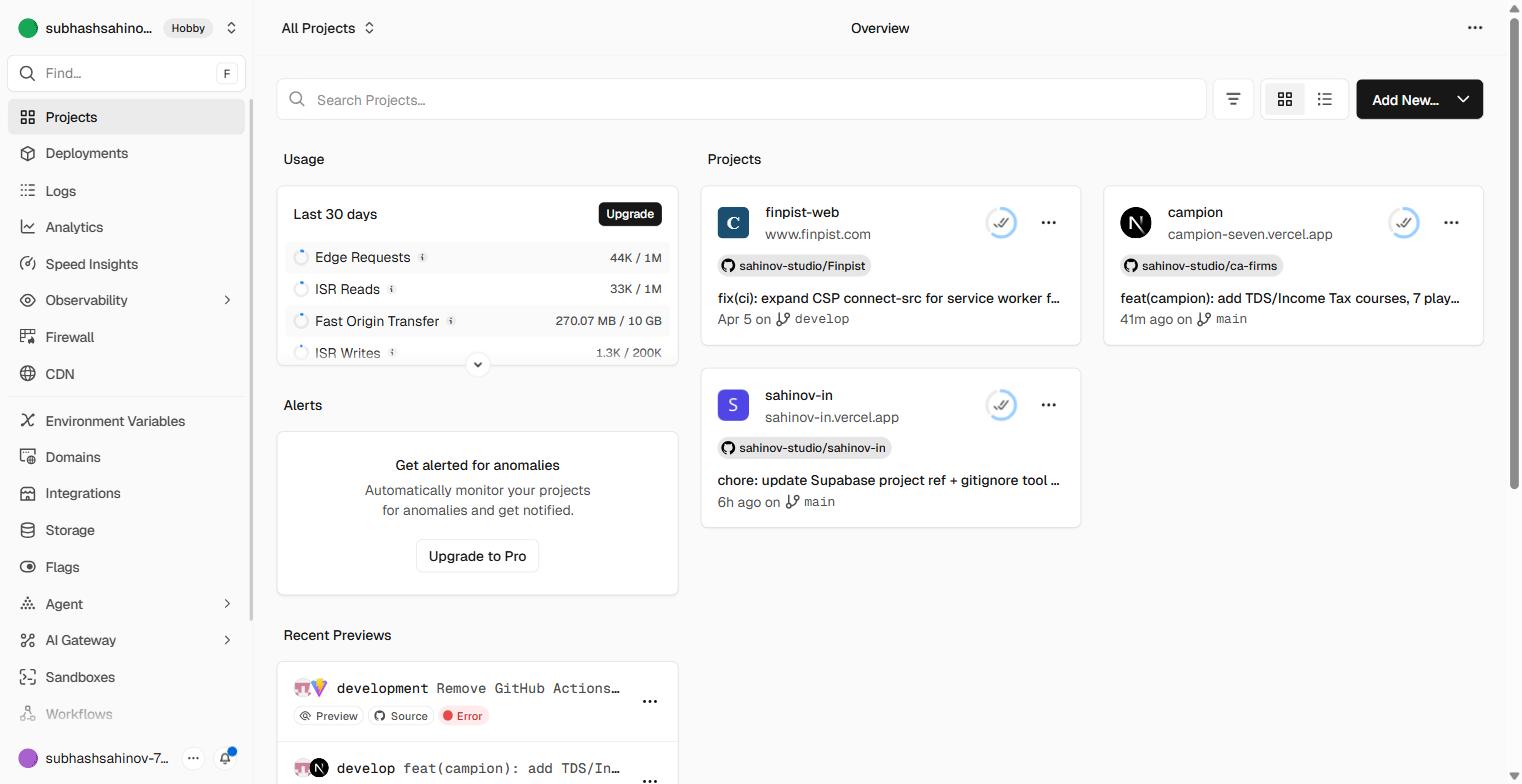
The centre area
This is where your projects will appear. Each project card shows:
- The project name
- The last deployment time
- A quick link to visit the live site
Right now it's empty. After you complete the next page, your first project will appear here.
Verifying the GitHub Connection
Before moving on, confirm Vercel can see your GitHub repositories.
Click "Add New" → "Project"
This opens the new project flow.
Look for the "Import Git Repository" section
You should see a list of GitHub repositories. If your repositories appear in this list, the GitHub connection is working correctly.
If the list is empty or GitHub isn't shown
Click "Adjust GitHub App Permissions" or "Configure GitHub App" — Vercel will redirect you to GitHub to re-authorise. This sometimes happens if your GitHub account has extra security settings.
Repository visibility options: Vercel will ask whether to access "All repositories" or "Only select repositories". For training purposes, "All repositories" is the simplest choice. If you prefer to keep it tight, select specific repositories — you can always add more later from your Vercel account settings.
What Vercel Cannot Do Without GitHub Access
It's worth being explicit about why the GitHub connection matters:
| Feature | Requires GitHub connection |
|---|---|
Deploy when you push to main | Yes |
| Preview URL on every pull request | Yes |
| Show the preview URL in GitHub PR comments | Yes |
| Manual deploy by uploading a folder | No — but this defeats the purpose |
The entire workflow of "push code → Vercel deploys automatically" only works because Vercel is watching your GitHub repository. This connection is the foundation of everything else in this section.
A Note on Security
Vercel's GitHub integration uses GitHub's official OAuth and App systems — the same mechanisms used by large companies connecting their tools to GitHub. Vercel does not store your GitHub password. It receives a token with specific permissions that you can revoke at any time from your GitHub account's "Applications" settings.
If you ever want to disconnect Vercel from GitHub: GitHub → Settings → Applications → Authorized GitHub Apps → Vercel → Revoke.