Account Setup
Creating your Supabase account, understanding the dashboard layout, and navigating the interface for the first time.
Your Supabase account is your developer identity on the platform. Every project you create, every database you build, every edge function you deploy — it all lives under this account. Set it up once and you are ready to create databases for every app you build.
Why First
Imagine you want to rent office space for your CA firm. You need a building (the server), a security desk (authentication), a filing system (database), and a document room (storage). Normally you'd have to arrange each of these separately from different vendors, negotiate contracts, and coordinate setup. Supabase is the fully furnished, staffed, ready-to-move-in office — you walk in, sign the lease, and you are operational.
Creating your account is signing that lease.
Creating Your Account
Go to supabase.com
Open your browser and navigate to https://supabase.com. You will see the Supabase homepage — dark background, a green "Start your project" button in the top right corner. Click it.
Choose how to sign in
You will land on a sign-in page with two options:
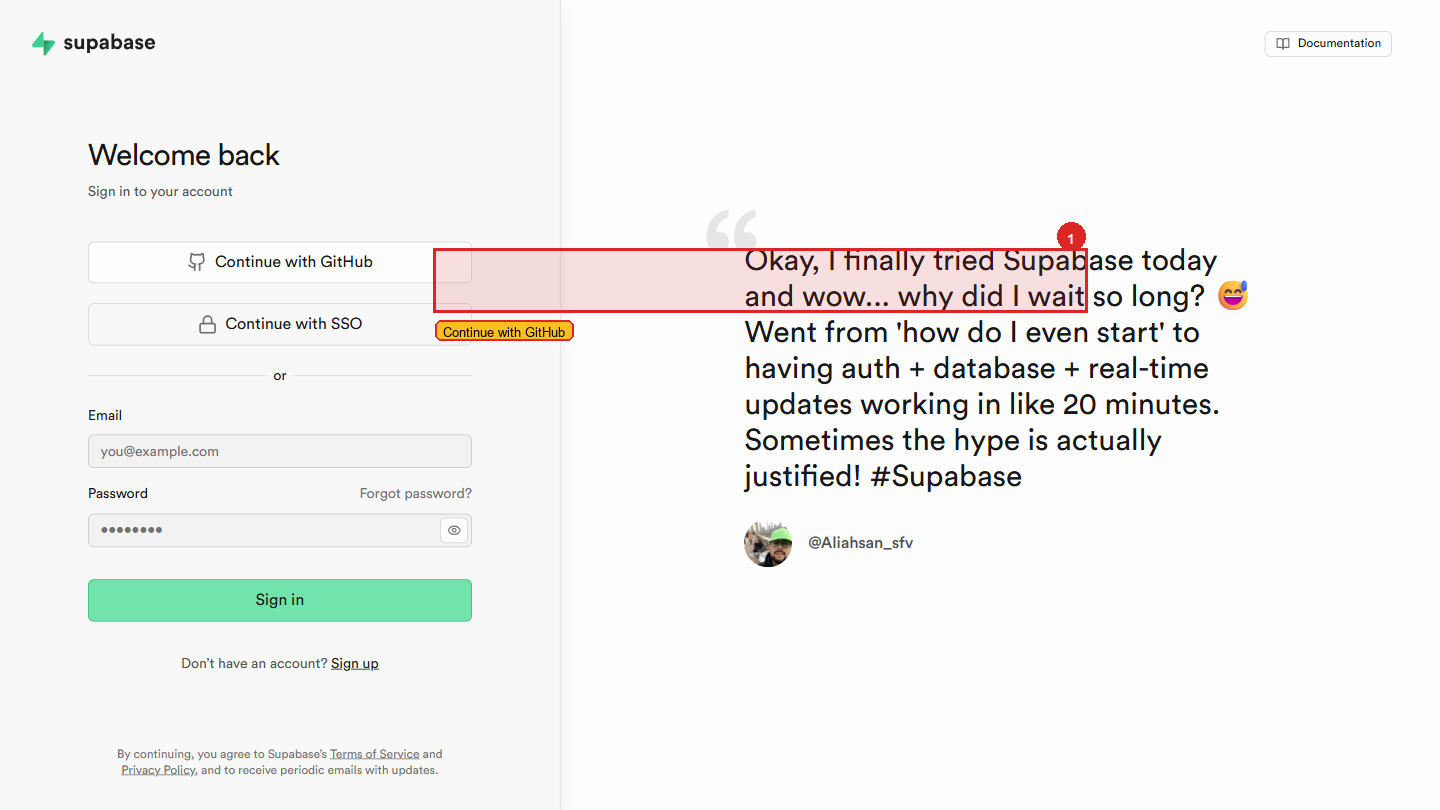 Sign in with GitHub (recommended) or with email + password.
Option A — Sign in with GitHub (Recommended)
Click the "Continue with GitHub" button. If you are already logged into GitHub in your browser, it will ask you to authorise Supabase to access your GitHub account. Click "Authorise supabase." You are immediately logged in.
Why this is recommended: one less password, your developer identity stays consistent across GitHub and Supabase, and GitHub login is slightly faster for day-to-day use.
Option B — Sign up with email
Click "Sign up" at the bottom of the form. Enter your email address and a strong password. Supabase sends a confirmation email — open it and click the confirmation link. Then log in.
You are on the Supabase Dashboard
After signing in, you land on the main Supabase dashboard. If this is your first time, you see a clean screen with a single "New project" card in the centre.
This is your home — the starting point for every database you will create.
 The Sahinov Pvt Ltd organisation showing existing projects (Campion, Sahinov). Your view will look similar once you have projects.
supabase.com/dashboard directly.Understanding the Dashboard Layout
When you have no projects yet, the dashboard shows:
- Top bar: Supabase logo on the left, your account avatar/initials on the right. Clicking your avatar shows account settings, billing, and logout.
- Organisation selector: Just below the top bar on the left, you see "Personal" — this is the default organisation. Think of an organisation as a container for projects. "Personal" is yours alone. You can create team organisations for client projects with multiple members.
- Centre: The "New project" card with a large "+" symbol. This is where you will go in the next lesson.
- No left sidebar yet — the full sidebar only appears once you are inside a specific project.
The Left Sidebar (Inside a Project)
Once you create your first project and click into it, the left sidebar appears. You will use it constantly. Here is what every item does:
 The full project sidebar — Table Editor, SQL Editor, Database, Auth, Storage, Edge Functions, Logs, Settings.
| Sidebar Item | What It Is | Excel Analogy |
|---|---|---|
| Table Editor | Visual interface to create tables and manage rows | The formatted data sheet view |
| SQL Editor | Write and run SQL queries directly | Excel's formula bar, but for the whole database |
| Database | Advanced settings — indexes, triggers, replication | Excel's Name Manager and advanced formula settings |
| Auth | User management, login settings, email templates | The firm's staff login system and password policies |
| Storage | File storage — buckets, uploaded files | The shared document drive |
| Edge Functions | Deploy and manage server-side functions | VBA macros, but running in the cloud |
| Reports | Usage graphs — API calls, storage used | Excel dashboard showing how much the system is being used |
| API | Auto-generated API documentation for your project | The connection spec your app uses to talk to the database |
| Settings | Project URL, API keys, team members, billing | The firm's admin panel — passwords, access levels, billing |
You will spend most of your time in three places: Table Editor (creating and viewing data), SQL Editor (querying and modifying data), and Auth (managing users). The rest you will visit when needed.
Personal vs Organisation Accounts
| Account Type | Use for | Who can access |
|---|---|---|
| Personal | Your own learning projects, practice databases | You only |
| Organisation (free) | Small team projects with 2–3 members | Members you invite by email |
| Organisation (paid) | Large teams, advanced permissions, audit logs | Scalable to any team size |
For all training projects, use your Personal account. If you are assigned to a client project team, the lead developer will create an organisation and invite you.
Time Required
| Step | Time |
|---|---|
| Creating account | 2 minutes |
| Understanding the dashboard | 5 minutes reading |
| Total | Under 10 minutes |
You are not installing anything. There is nothing to configure. By the time you reach the end of this page, you have everything you need to create your first database in the next lesson.