Table Editor
Creating database tables, defining columns, and managing rows through Supabase's visual Table Editor — no SQL required.
The Table Editor is Supabase's visual interface for your database. You can create tables, define what columns they have, insert rows, filter data, and edit records — all by clicking, without writing a single line of SQL. If you are comfortable with Excel, the Table Editor will feel immediately familiar.
Why First
Your school management app needs to remember things. Which students are enrolled. Which teachers are assigned to which classes. Which fees were paid, when, and by whom.
In Excel, you'd create a new sheet for each type of data: a "Students" sheet, a "Fee Structures" sheet, a "Fee Records" sheet. Each sheet has column headers in row 1, and each subsequent row is one record.
A Supabase table is exactly this — a named sheet with defined columns. The critical differences:
- It lives in the cloud, not on your laptop
- It can hold millions of rows without slowing down
- It enforces rules about what data is valid (no "abc" in a phone number column)
- It enforces who can see which rows (Row Level Security)
- Multiple apps and multiple users can read and write to it simultaneously, without conflicts
The Table Editor is the interface for building those sheets.
Navigating to the Table Editor
Click "Table Editor" in the left sidebar of your project. The screen shows:
- Left panel: A list of all tables in your database. When you first create a project, this is empty except for system tables that Supabase creates automatically (you do not need to touch those).
- Main area: Prompts you to create your first table with a "New table" button in the centre.
- Top right: A "New table" button and a search bar.
 The Table Editor — left panel lists tables, the main area shows the selected table's grid.
 The "New table" button is in the top left of the table list.
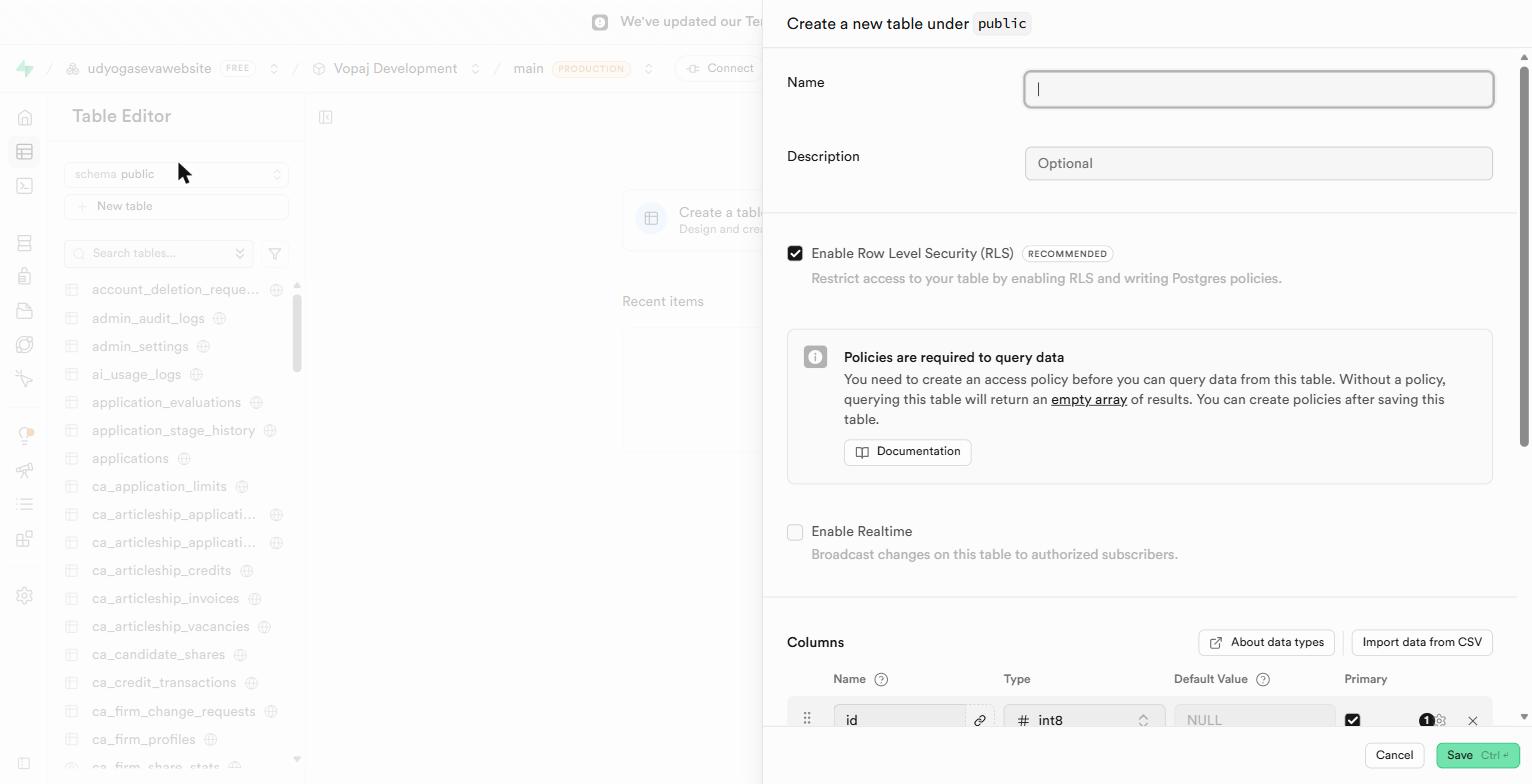
Creating a New Table
Click "New table." A panel opens from the right with the table creation form.
Name your table
Type a table name in the "Name" field.
Naming convention: lowercase, underscores between words. This is not just style — it is the SQL standard.
fee_records— goodstudent_profiles— goodFeeRecords— avoid (mixed case causes confusion in SQL)Fee Records— never (spaces break SQL syntax)
Enable Row Level Security
You will see a toggle labelled "Enable Row Level Security (RLS)." Turn it on. Always.
Always enable RLS before you save the table.
With RLS off, every user of your app — including users who are not logged in — can read every row in this table. Your customers could read each other's data. Your admin data could be read by anyone who knows your API URL.
RLS off means: no security. RLS on means: only the rules you write determine who sees what. It is not possible to accidentally over-enable RLS — you can only accidentally under-enable it.
Never save a table without enabling RLS. This is a hard rule, not a suggestion.
Review the default id column
Supabase automatically creates an id column for every new table. Its default settings are:
- Type:
uuid - Default value:
gen_random_uuid() - Primary key: checked
Leave these exactly as they are.
What this means in Excel terms: Imagine if every row in your Excel sheet automatically got a unique identifier in column A — a code that is guaranteed to be different from every other row in this sheet, every other sheet, and every other database in the world. That is what uuid with gen_random_uuid() gives you. It is the perfect unique key for every record.
Review the default created_at column
Supabase also creates a created_at column automatically:
- Type:
timestamptz(timestamp with timezone) - Default value:
now()
This automatically records the exact date and time (with timezone) when a row is inserted. You almost always want this.
Excel analogy: Like having a formula =NOW() in a column that freezes its value the moment you enter a new row — except this one is accurate, timezone-aware, and never changes after the row is created.
Add your columns
Click "Add column" to add each field your table needs. For each column, you define:
- Name — lowercase, underscored
- Type — what kind of data it holds
- Default value — optional value if the field is left blank
- Is nullable — whether this field can be left empty (like an optional field in a form)
- Is unique — whether every value in this column must be unique (like a national ID or email address)
Column Types — Excel Translation
| Supabase Type | What it holds | Excel equivalent |
|---|---|---|
text | Any text of any length | A plain text cell — names, descriptions, notes |
varchar | Text with a length limit | A text cell with data validation limiting character count |
int8 | Whole numbers (very large range) | An integer number cell — counts, quantities |
int4 | Whole numbers (standard range) | An integer cell — fine for most counting needs |
float8 | Decimal numbers | A number cell formatted to decimal places — prices, percentages |
numeric | Exact decimal numbers | An Accounting-format cell — use for money to avoid rounding |
bool | True or False only | A checkbox cell (TRUE/FALSE) |
timestamptz | Date + time + timezone | A date/time cell, but timezone-aware |
date | Date only, no time | A date-formatted cell |
uuid | Unique identifier (auto-generated) | Excel's row number, but globally unique and never reusable |
jsonb | Flexible structured data | An Excel cell containing a JSON object — a mini-table in a cell |
Use numeric for money, never float8.
Floating-point numbers (float8) are approximations. Computers cannot store 0.1 exactly in binary — they store something like 0.09999999999999.... For most purposes this doesn't matter. For financial data it absolutely does. A field storing service charges, fees, or invoiced amounts should always use numeric, which stores exact decimal values. This is the same reason accountants use fixed-decimal formats in Excel rather than general number format.
Practical Example: A Fee Records Table
Here is a worked example — the columns you might create for a fee records table in Aurora Public School:
| Column name | Type | Notes |
|---|---|---|
id | uuid | Auto-created by Supabase, primary key |
created_at | timestamptz | Auto-created by Supabase |
student_id | uuid | Foreign key to the students table, not nullable |
fee_structure_id | uuid | Foreign key to fee_structures, not nullable |
amount | numeric | The fee amount due — use numeric, never float8 |
due_date | date | When the fee is due |
status | text | "pending", "paid", "overdue" |
paid_at | timestamptz | Nullable — populated when payment is confirmed |
payment_id | text | Razorpay payment ID, nullable |
notes | text | Optional, nullable |
Click Save and the table is created.
Working With Rows
Once your table exists, the Table Editor shows a spreadsheet-like grid — columns across the top, rows below.
Inserting a row manually: Click "Insert row" in the top right of the grid. A form opens with a field for each column. Fill it in and click "Save." The row appears in the grid immediately.
Editing a row: Click on any cell to edit its value inline. Or click the expand icon on the left of a row to see all its fields in a detail panel.
Deleting a row: Click the checkbox on the left of a row to select it, then click the delete button that appears in the top bar. Supabase asks you to confirm — confirm. Deleted rows are gone permanently from the Table Editor (this is why, in production apps, we use "soft delete" — a column called is_deleted set to true instead of removing the row).
Filtering rows: Click "Filter" in the top bar. A filter panel appears where you can add conditions: "status equals confirmed," "created_at is after 2026-01-01." This is equivalent to Excel's AutoFilter. The grid shows only rows that match.
The Primary Key
Every table must have a primary key — one column (or combination of columns) that uniquely identifies each row. Supabase sets the id column (uuid) as the primary key by default.
Excel analogy: In a VLOOKUP, you always need a unique identifier in the first column — a client code, an invoice number, something that appears exactly once and that you can look up. The primary key is that column. If two rows had the same primary key, the database would not know which one you meant when you asked for "the fee record with id X." Primary keys enforce uniqueness at the database level — you cannot insert a duplicate even accidentally.
Database → Tables (the SQL-level view)
The Table Editor is one entry point. Database → Tables in the sidebar shows the same tables from a more technical angle — schema, size, row count, RLS status — and is what you'll use when reviewing the database as a whole.
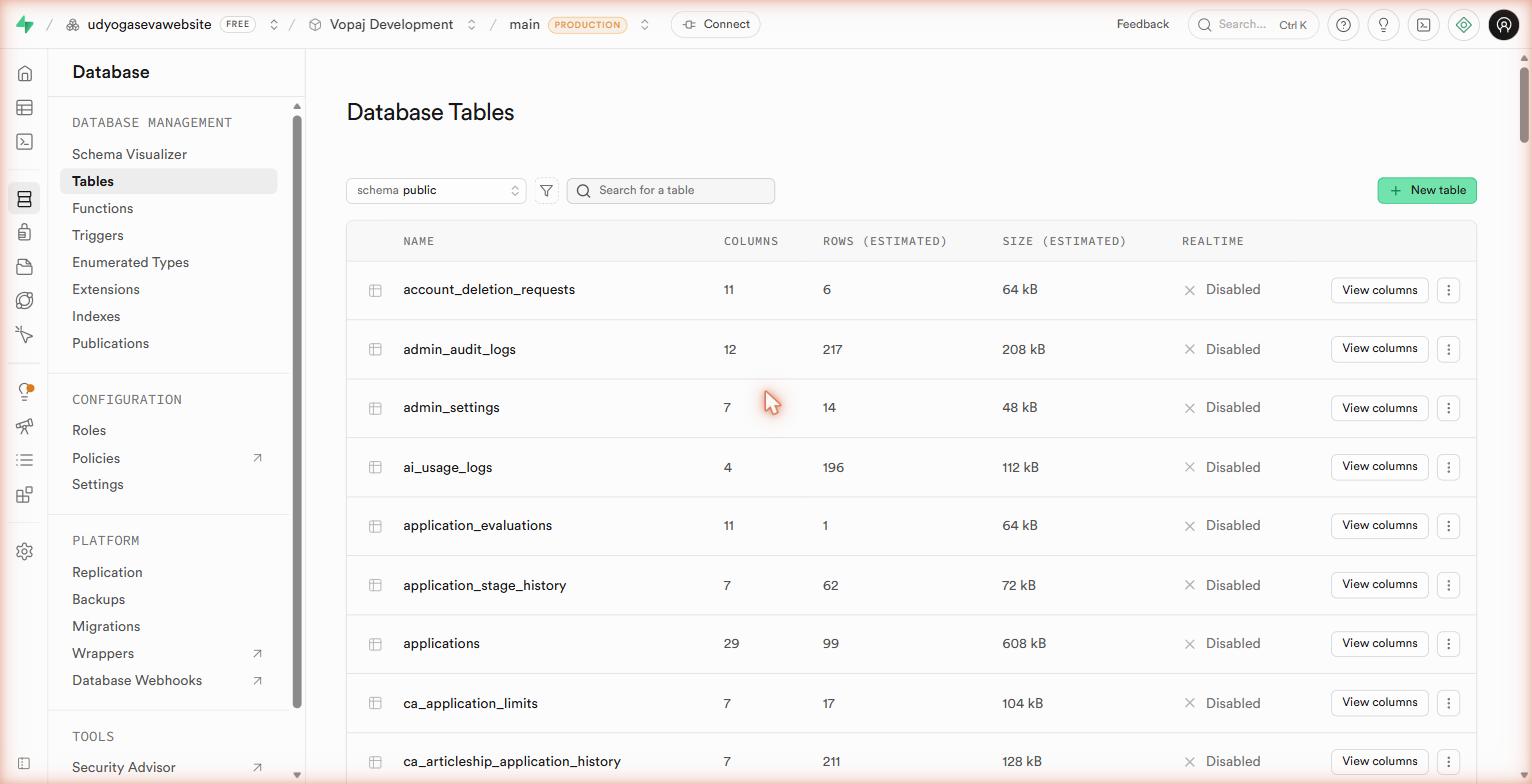 Database → Tables — a flat list of every table in the
 public schema with size and RLS status.
Schema Visualizer
When your project has multiple related tables, the Schema Visualizer (Database → Schema Visualizer) draws them as a diagram with foreign-key arrows between them. Useful for thinking about relationships and onboarding teammates.
 Schema Visualizer — every table as a card, arrows for foreign keys.
Other Database Section Pages
The Database section has several sub-pages you will not need until later in the program — but you should know they exist.
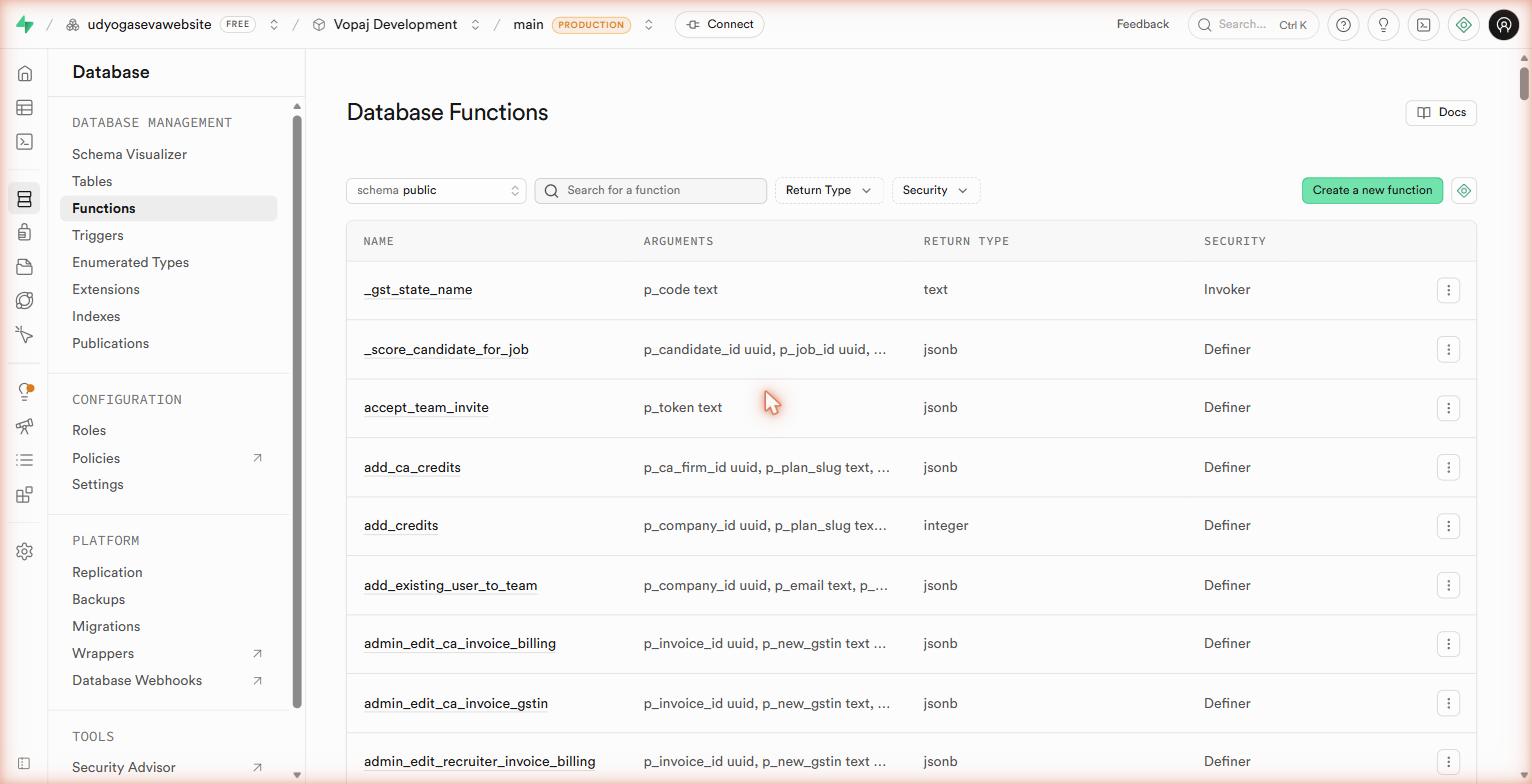 Database → Functions — PostgreSQL functions (stored procedures). Used for complex server-side logic that runs inside the database itself.
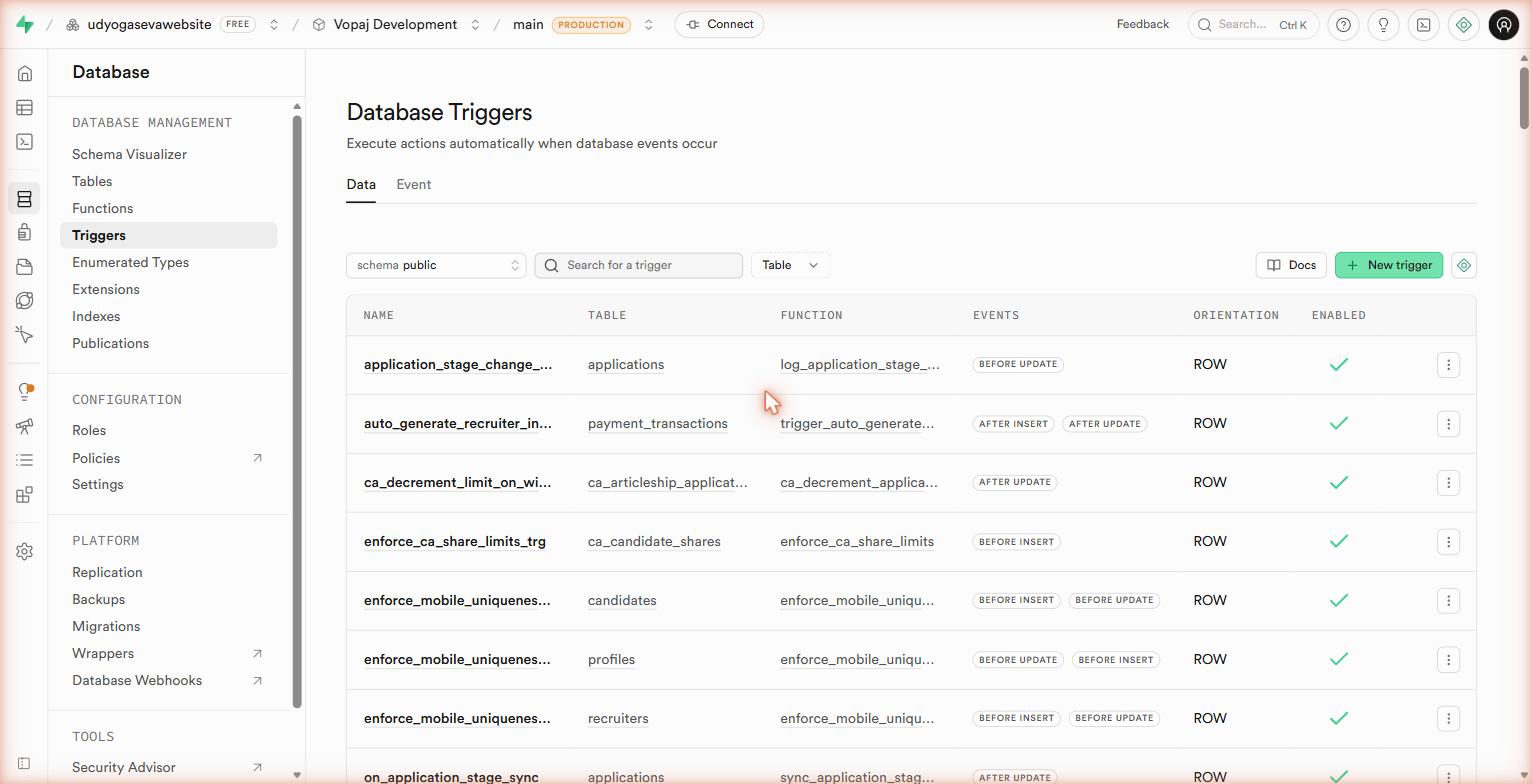 Database → Triggers — automatic actions that fire on INSERT, UPDATE, or DELETE. Used for audit logging, denormalized counts, and notification events.
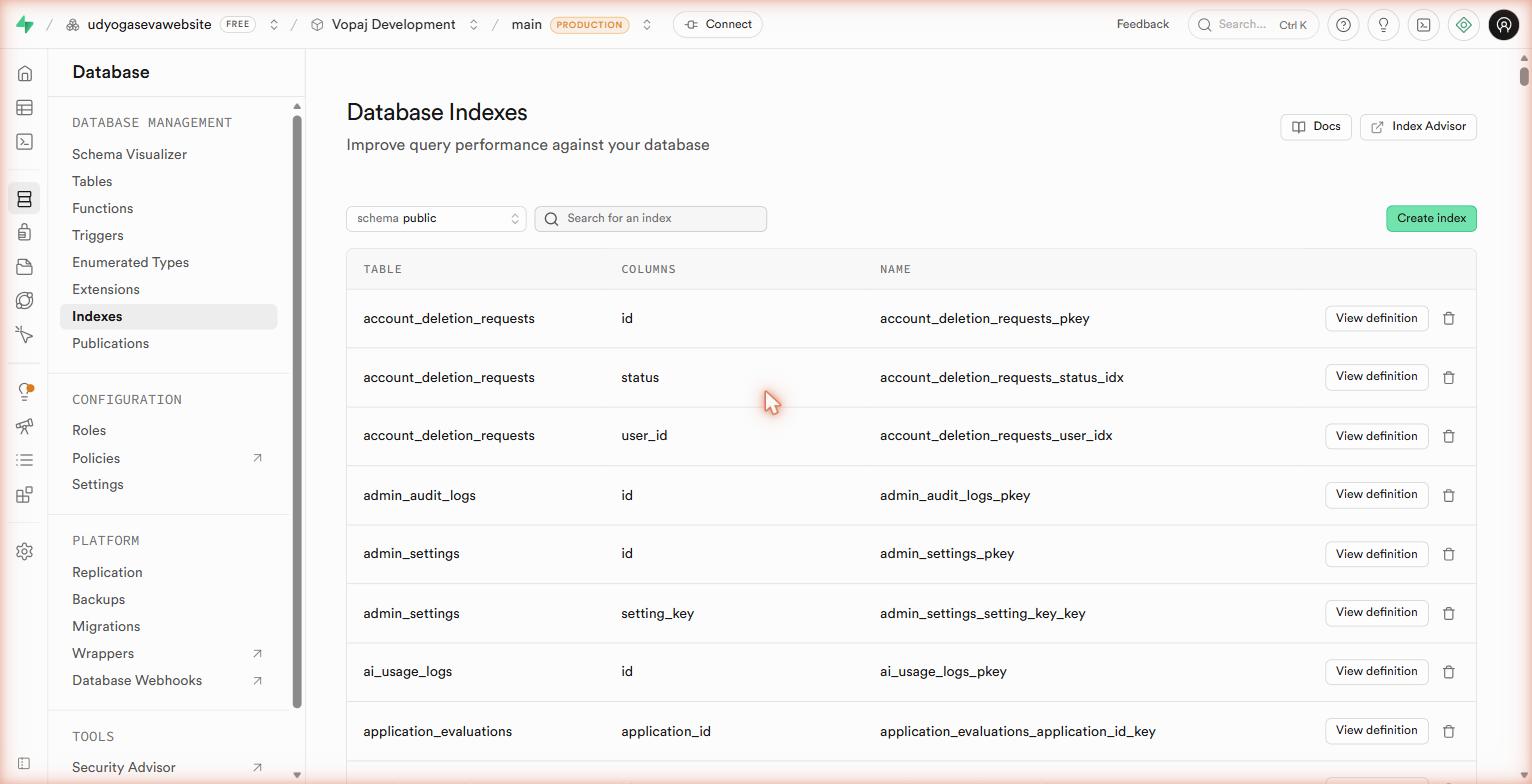 Database → Indexes — speed up queries on frequently-filtered columns. Supabase Advisors will flag when you're missing a critical index.
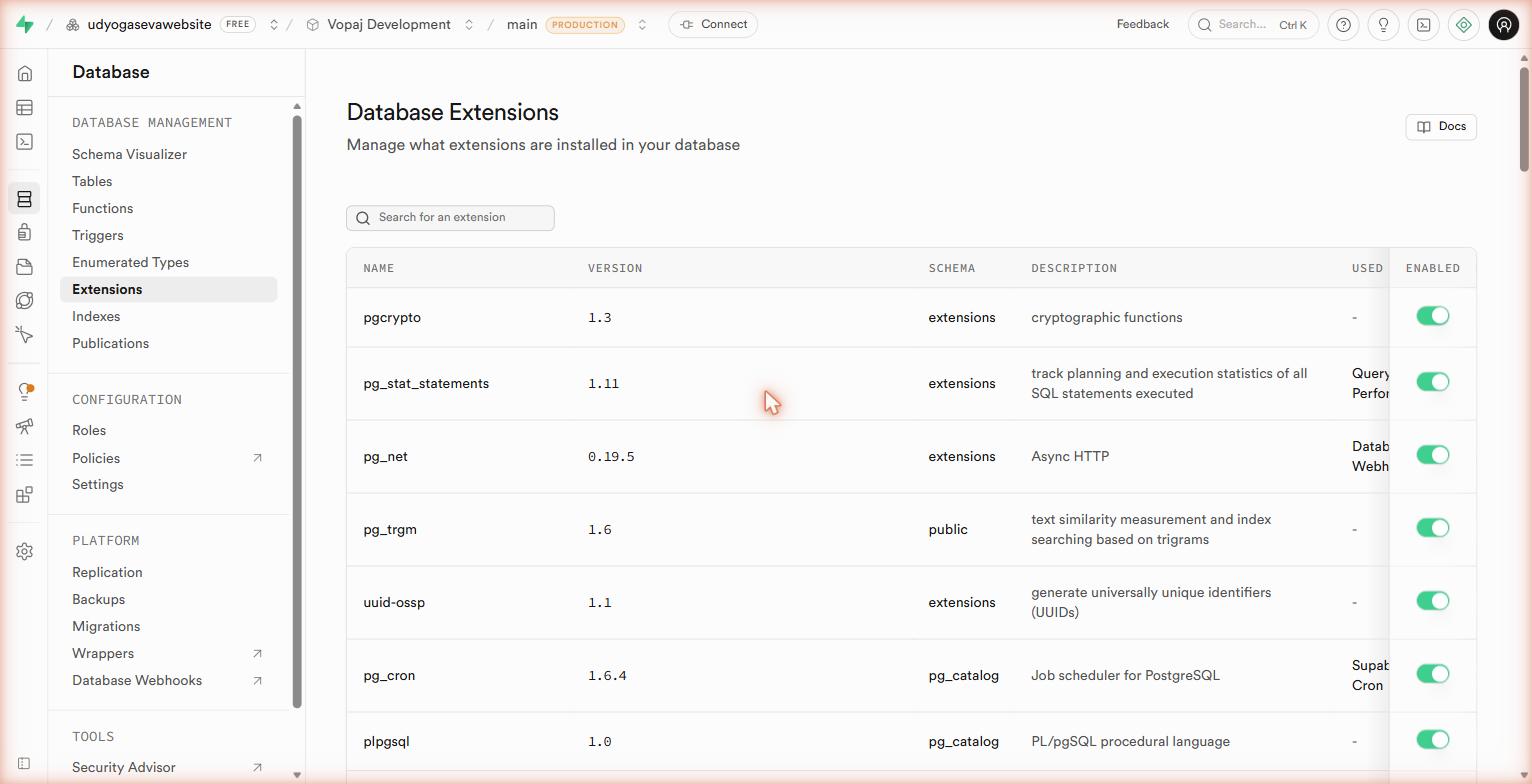 Database → Extensions — PostgreSQL plugins.
 uuid-ossp (UUID generation) and pg_vector (AI vector search) are the ones you'll enable most often.
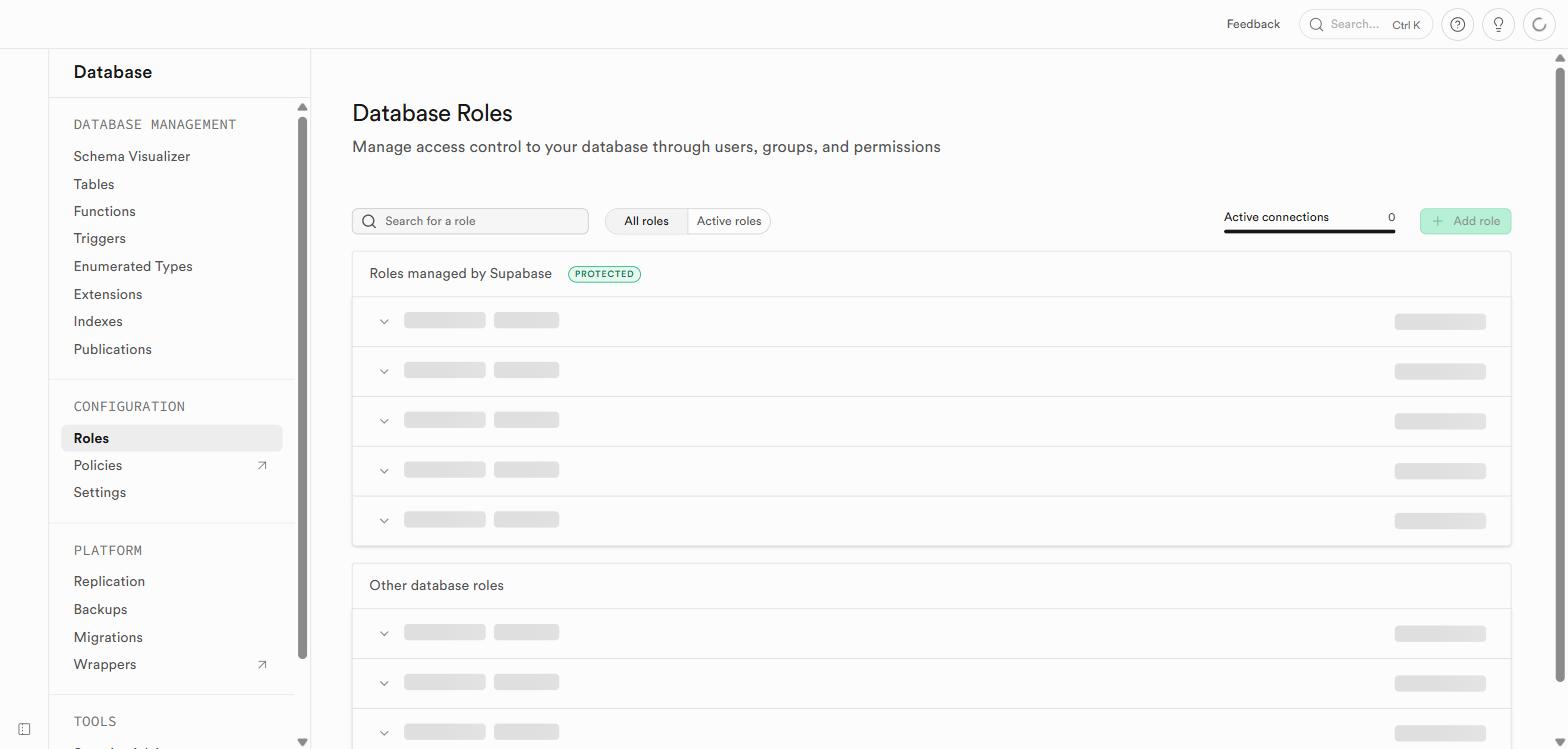 Database → Roles — PostgreSQL roles for access control. You will not need to touch this for standard RLS setups — Supabase manages the
 anon and authenticated roles automatically.
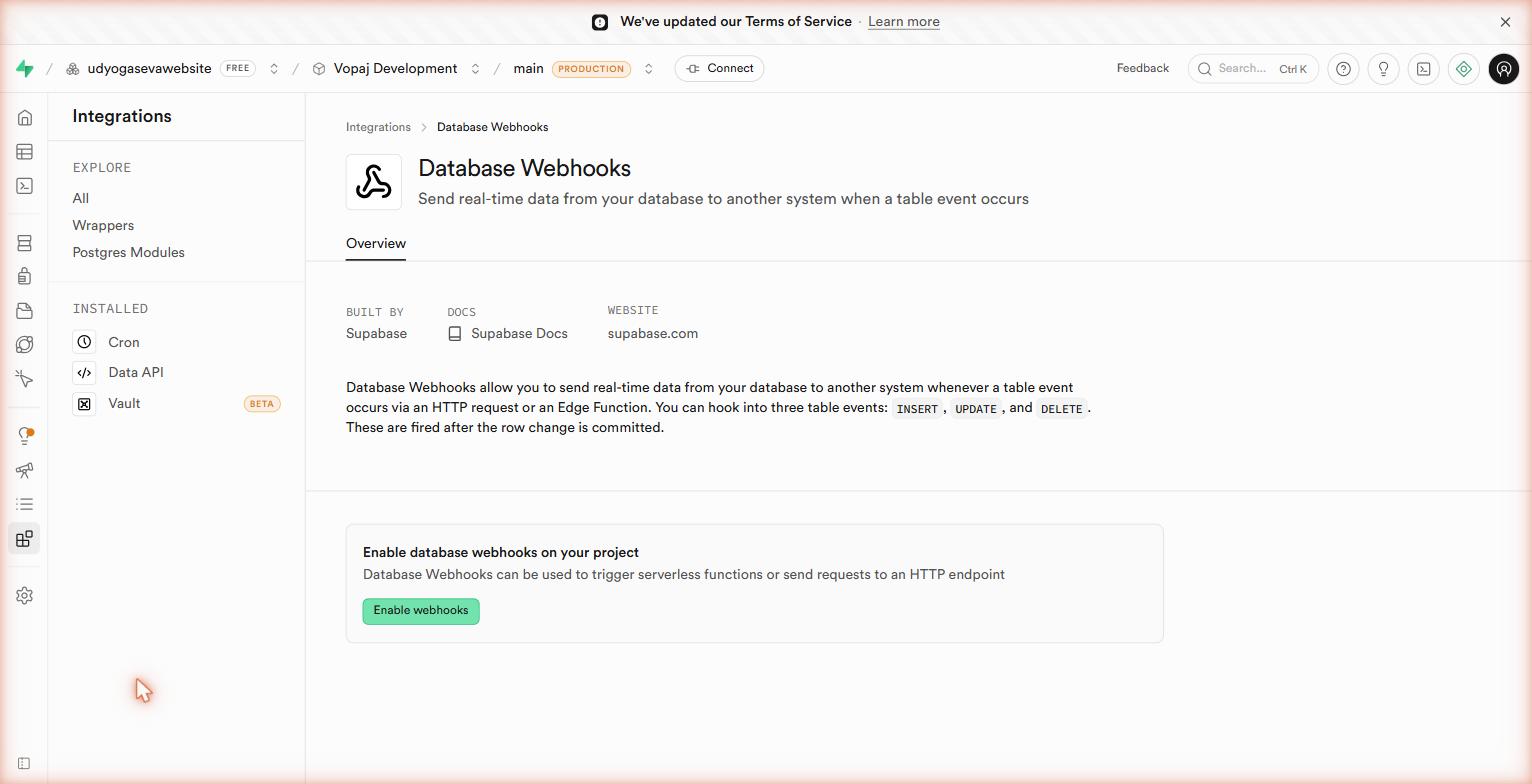 Database → Webhooks — fire HTTP requests to your edge functions when rows change. An alternative to Realtime for event-driven flows.
After This Lesson
You can now create a well-structured table without writing any SQL. In the next lesson, you will write SQL queries to read, filter, and modify data with precision — the skill that separates someone who can use the dashboard from someone who can actually build anything.