SQL Editor
Writing SQL queries to read, filter, insert, update, and delete data — the power tool behind every database operation.
The Table Editor is excellent for creating tables and inserting individual rows. But the moment you need to ask a complex question of your data — "show me all students who have unpaid fees this month, sorted by overdue days" — you write SQL.
SQL (Structured Query Language) has been the language of databases since the 1970s. Every major institution that holds data — banks, government systems, accounting firms, hospitals, airlines — uses SQL. When you read a database for the first time, it is in SQL. When a developer debugs a production issue, they write SQL. When you analyse data from your client's school management system, you write SQL. It is the universal language of data.
Why First
A principal calls. They want to know: how many fee payments were made in April, which fee type generated the most revenue, and which three students still have outstanding dues.
In Excel, you'd open the data sheet, apply filters, use COUNTIF and SUMIF formulas, cross-reference another sheet, and build a pivot table. It might take 20 minutes to get those three answers.
In SQL, you write three queries. Each one runs in under a second. The database does all the filtering, counting, summing, and sorting. You just read the results.
SQL is VLOOKUP, SUMIF, COUNTIF, FILTER, SORT, and pivot tables — combined into one syntax, working on millions of rows, in seconds.
Opening the SQL Editor
Click "SQL Editor" in the left sidebar. The screen has three areas:
- Left panel — Query history and saved queries: Every query you run is saved here automatically. You can also star queries to pin them as "Saved." If you write a query you will reuse often, save it here.
- Centre — Query input area: A large text editor where you type your SQL. This editor has syntax highlighting — keywords appear in one colour, table names in another, strings in another — which makes reading SQL significantly easier.
- Bottom — Results area: After you run a query, results appear here as a table. Columns across the top, matching rows below. Exactly like viewing a filtered sheet.
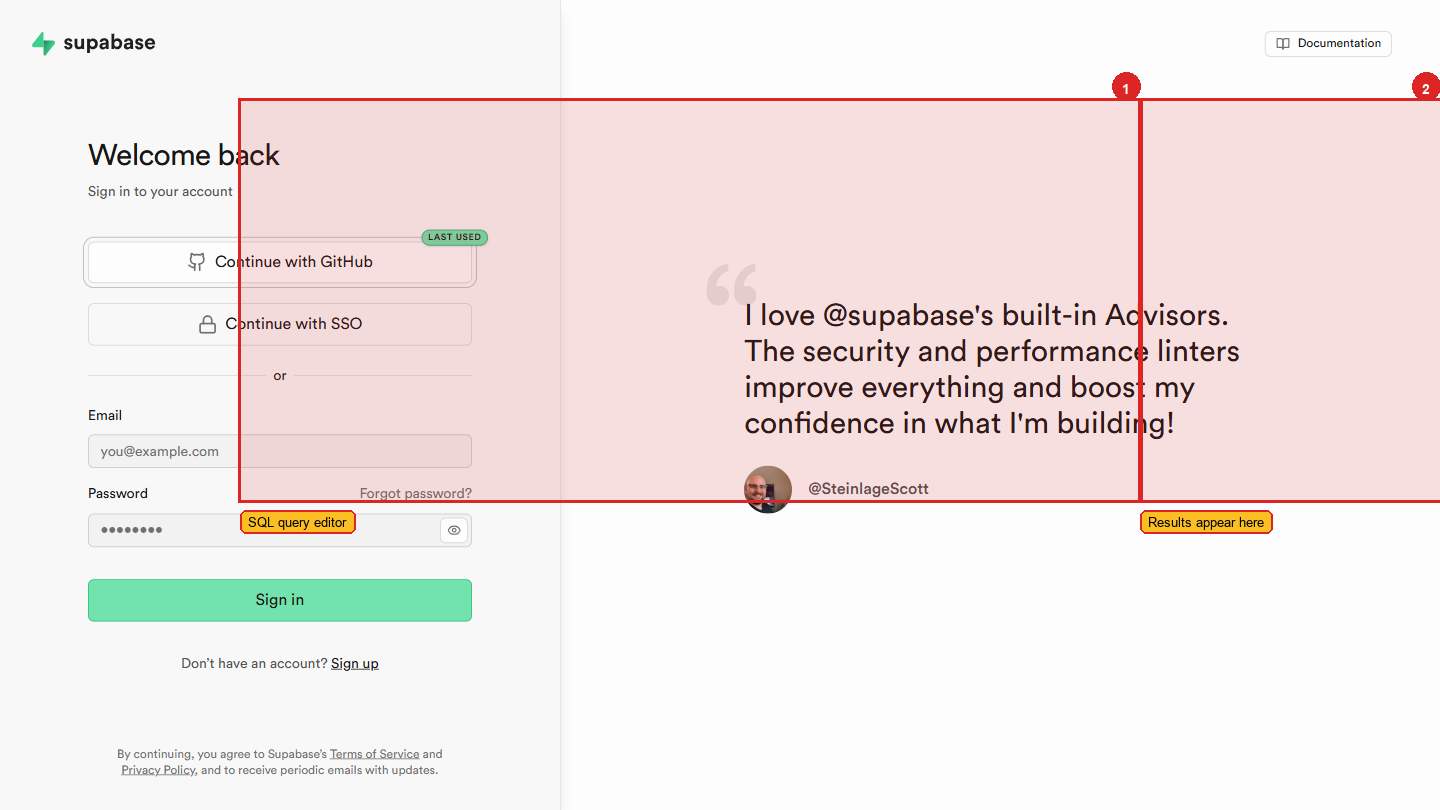 SQL Editor — query area in the centre, results below, the green "Run" button in the top right.
Running a Query
Type your SQL in the centre input area. Press F5 or click the green Run button in the top right of the editor.
Results appear immediately in the bottom panel. If your query had an error — a typo, a missing table name — the error message appears in the bottom panel instead, with a description of the problem.
SELECT 1+1 and press F5. The result should show a single row with the value 2. If you see an error instead, the editor may not be connected to your database — try refreshing the page.The 5 SQL Operations You Use Every Day
1. SELECT — Read Data
The most common operation. "Show me data from this table."
What each part means:
SELECT— I want to read data*— give me all columns (the asterisk means "everything")FROM fee_records— from the table called "fee_records"LIMIT 10— show me only the first 10 rows
Excel analogy: Opening the data sheet and seeing the first 10 rows.
Always add LIMIT when exploring an unfamiliar table. Without it, a query on a table with 500,000 rows tries to return all 500,000 rows to your screen at once.
Selecting specific columns:
Excel analogy: Hiding all columns except the three you want to see.
Adding a filter:
Excel analogy: AutoFilter on the status column showing only "paid", then sorting by payment date newest first.
Aggregating data:
Excel analogy: A pivot table — group by fee type, count the rows in each group, sum the amounts.
2. INSERT — Add a Row
What each part means:
INSERT INTO fee_records— add a row to the fee_records table- The first set of parentheses: column names you are providing values for
VALUES— the values, in the same order as the column names
You do not specify id or created_at — those are auto-generated.
Excel analogy: Typing a new row of data into the sheet.
3. UPDATE — Change Existing Data
What each part means:
UPDATE fee_records— modify rows in the fee_records tableSET status = 'paid'— change the status column to this valueWHERE id = 'abc-123-def-456'— but only for the row with this specific id
Never write an UPDATE without a WHERE clause.
An UPDATE without WHERE is one of the most dangerous mistakes in SQL. It updates every single row in the table — not just the one you meant. Before running any UPDATE, always write the WHERE clause first.
Excel analogy: Finding a specific row by its ID and editing a cell in that row.
4. DELETE — Remove a Row
The same rule applies to DELETE: always include WHERE.
A DELETE without WHERE is not recoverable from the SQL Editor. The rows are gone. In production apps, this is why we use soft delete (is_deleted = true) instead of real DELETE — so mistakes can be undone.
Excel analogy: Deleting a row from the sheet. Except there is no Ctrl+Z.
5. CREATE TABLE — Define a New Table
You will mostly create tables using the Table Editor. But understanding this SQL is important — it shows you exactly what the Table Editor is doing behind the scenes. Every table creation in the Table Editor generates SQL like this.
Excel analogy: Creating a new sheet with defined column headers and data validation rules.
Saving Queries
When you write a query you will use again — a monthly fee collection summary, a list of overdue fee records, a count of active students by branch — save it.
Click the star icon at the top of the editor, give it a name, and click "Save." It appears in the left panel under "Saved." Click it any time to load it back into the editor.
Excel analogy: Saving a complex formula in a named range, or saving a macro for reuse.
Template Snippets
The left panel also has a "Templates" section — a set of common SQL patterns provided by Supabase. These include:
- Creating tables with common column patterns
- Enabling RLS on a table
- Common RLS policies
- Creating database functions
Browse these when you are learning. They demonstrate patterns you will write yourself as you become more comfortable.
A Practical Exercise
After creating your table in the Table Editor lesson:
In the SQL Editor, run SELECT * FROM your_table_name LIMIT 10; (replacing your_table_name) to see all your rows
Add a row using INSERT with values that match your column types
Run SELECT again to confirm the new row appears — the id and created_at fields should have been filled in automatically
Update one value using UPDATE with the specific id of the row you just inserted
Run SELECT a third time to confirm the change is visible in the results