Account Setup
Create your Lovable account, understand the free tier, and navigate the dashboard for the first time.
Before We Start: Why This Tool Exists
Here is a scenario familiar to every CA professional:
A client asks if you can build them a simple tracker — something for their accounts payable team to log vendor invoices and flag overdue ones. It is not complicated. A few forms, a table, maybe a status field. But traditionally you would need to hire a developer, wait weeks, and spend money you do not have budgeted.
Lovable changes that equation. Once your account is set up, you can have a working version of that tracker running in under an hour. The account setup is the door — let us walk through it.
Creating Your Account
Go to Lovable
Open your browser and go to lovable.dev.
You will land on the Lovable homepage. It shows example apps people have built, a headline that reads something like "Build software with AI," and a prominent button to get started or sign up. The page demonstrates confidence — the examples shown are real, functional applications, not mockups.
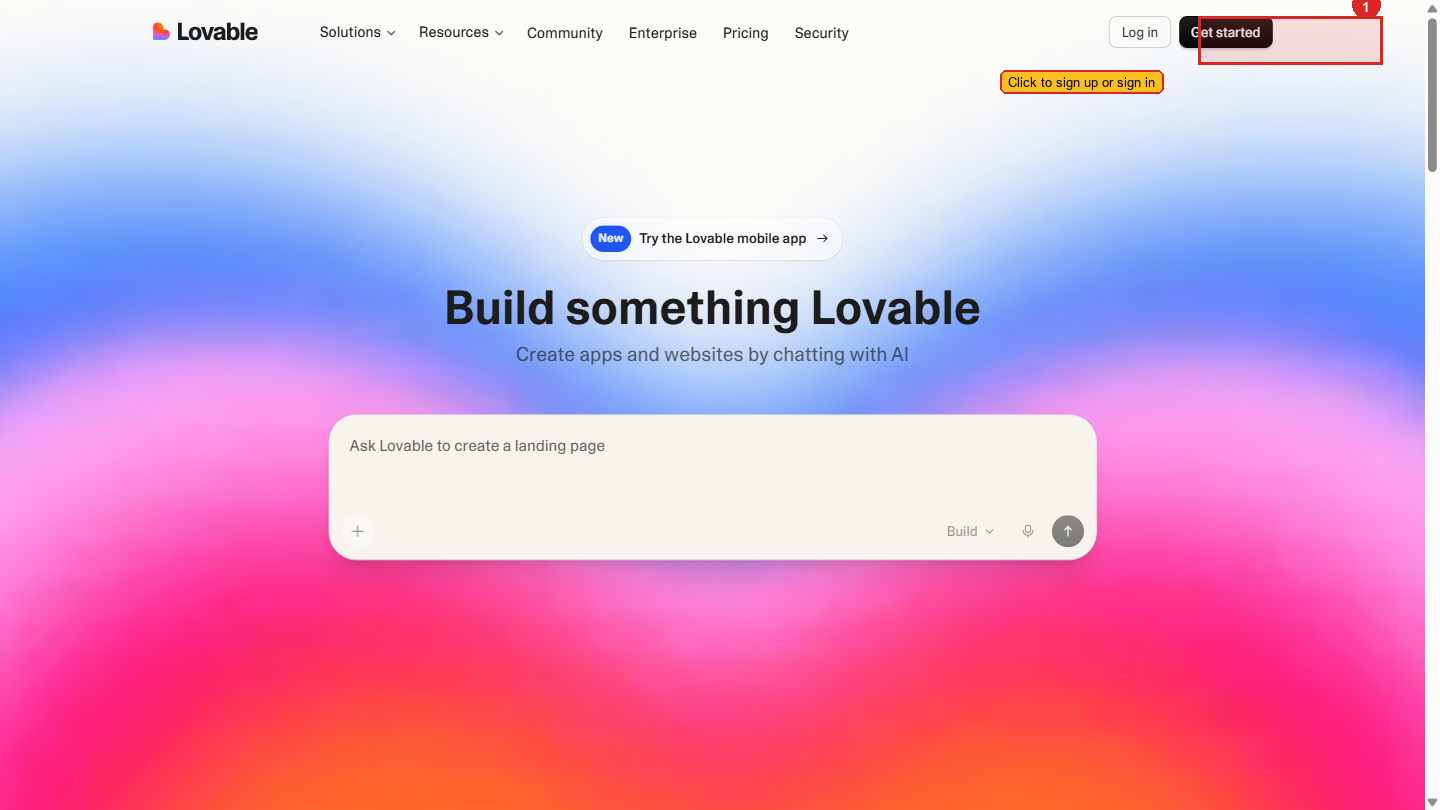 The Lovable homepage. The examples shown are real applications people have built — not mock screenshots.
Click Sign Up
Look for a Sign Up or Get Started button — it is usually in the top-right corner of the page or prominently centered on the hero section.
Clicking it takes you to the sign-up page.
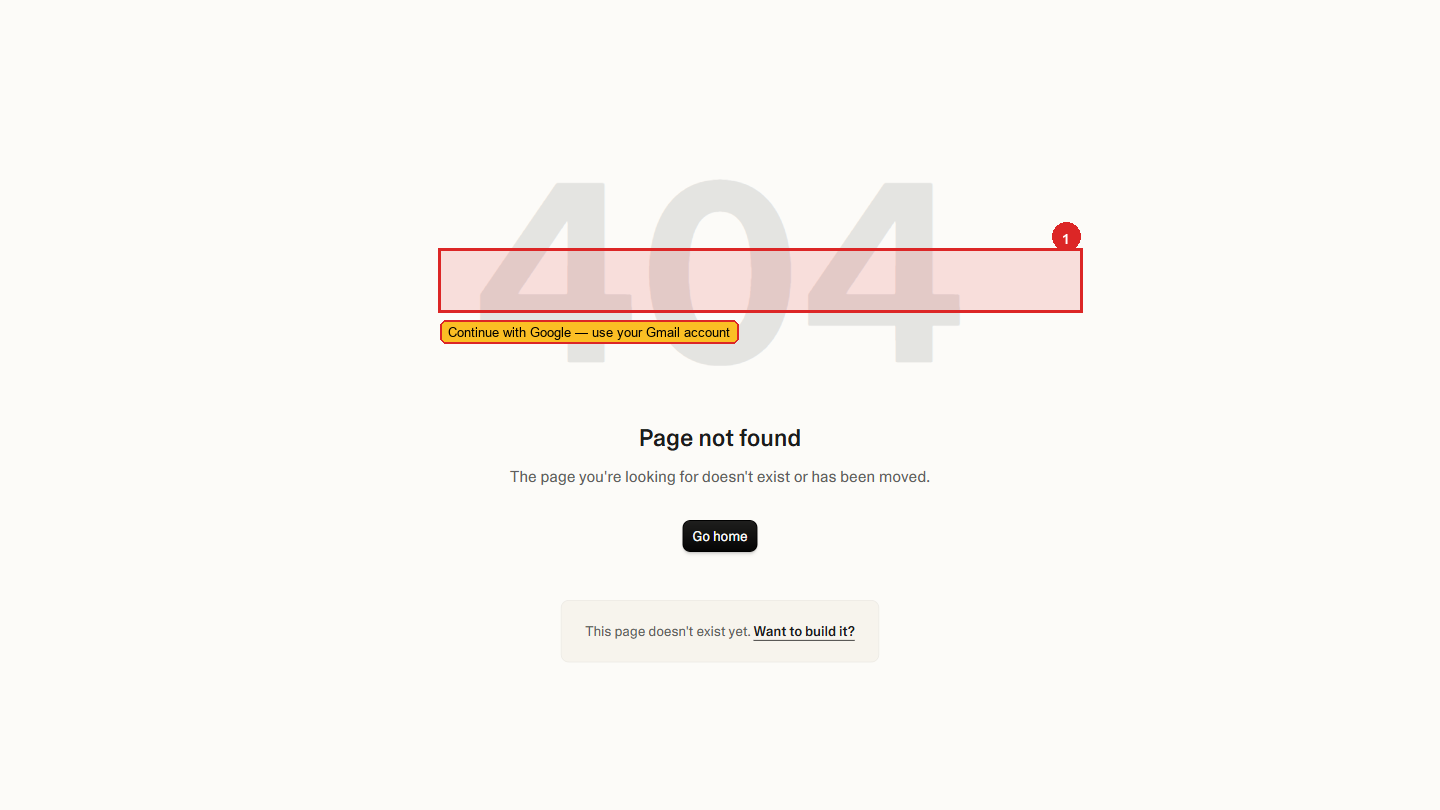 The sign-in page. Google sign-up (top button) is the fastest path — no password to manage.
Choose Your Sign-Up Method
You will see two options:
Option A — Sign up with Google: This is the fastest path. Click the Google button, select your Google account from the popup, and you are done. No password to remember, no email to confirm. Your Lovable account is immediately linked to your Google account.
Option B — Sign up with email: Enter your email address and create a password. After clicking the sign-up button, Lovable will send a confirmation email to your inbox.
We recommend signing up with Google. It is faster, and you have one fewer password to manage. If you use a project-specific Gmail account (like the one created for Aurora Public School), use that one so all your project tools are connected to the same account.
Confirm Your Email (Email Sign-Up Only)
If you signed up with email, check your inbox. You will see an email from Lovable with a confirmation link. Click it.
The link opens back in your browser and confirms your account. If the email does not appear within two minutes, check your spam folder — transactional emails from new services sometimes land there.
If you signed up with Google, skip this step entirely.
Complete Your Profile (If Asked)
Lovable may ask for your name or how you intend to use the tool. Fill these in honestly — they help Lovable tailor suggestions.
You do not need to add a credit card at this stage. The free tier is available without payment information.
Verification: You are now logged in if you see the Lovable dashboard — a page with your projects list (currently empty) and a button to create a new project. If you see this, account setup is complete.
Your First Look at the Dashboard
 The Lovable dashboard. The "New Project" button (top area) is how you start every build. Existing projects appear as cards with thumbnails.
When you log in for the first time, the Lovable dashboard shows:
The projects area (main section): This is where all your apps live. Right now it is empty. After you build your first project, each one will appear here as a card showing the project name, when it was last edited, and a small preview thumbnail of the app.
A "New Project" button: Prominently placed — usually at the top right or center of the empty projects area. This is how you start building something new.
Your account menu (top right): Clicking your profile picture or initials opens a menu showing your account settings, billing, and sign-out option.
A credits/usage indicator (sometimes in the sidebar or account menu): This shows how many messages or credits you have used and how many remain. More on this below.
Understanding the Free Tier
Lovable operates on a credits-based model. Every time you send a prompt and Lovable builds or modifies something, it uses credits.
Credit limits and free tier offerings change periodically. Always check the current details at lovable.dev/pricing — what is written here may be slightly different from what you see today.
What the free tier typically includes:
- A limited number of messages or credits per day (historically around 5 per day, but this changes)
- Access to all core features — building, editing, publishing
- Projects remain accessible even when you run out of daily credits — you just cannot make new changes until credits refresh
What costs money:
- More credits per day (for intensive building sessions)
- Custom domain connection (the default is a lovable.app subdomain, free)
- Some advanced features
The practical reality for training: The free tier is enough to learn, build your first project, and understand the tool thoroughly. During the project phase, if you need to build something substantial quickly, Subhash will guide you on whether a paid plan makes sense for that specific situation.
Account Settings
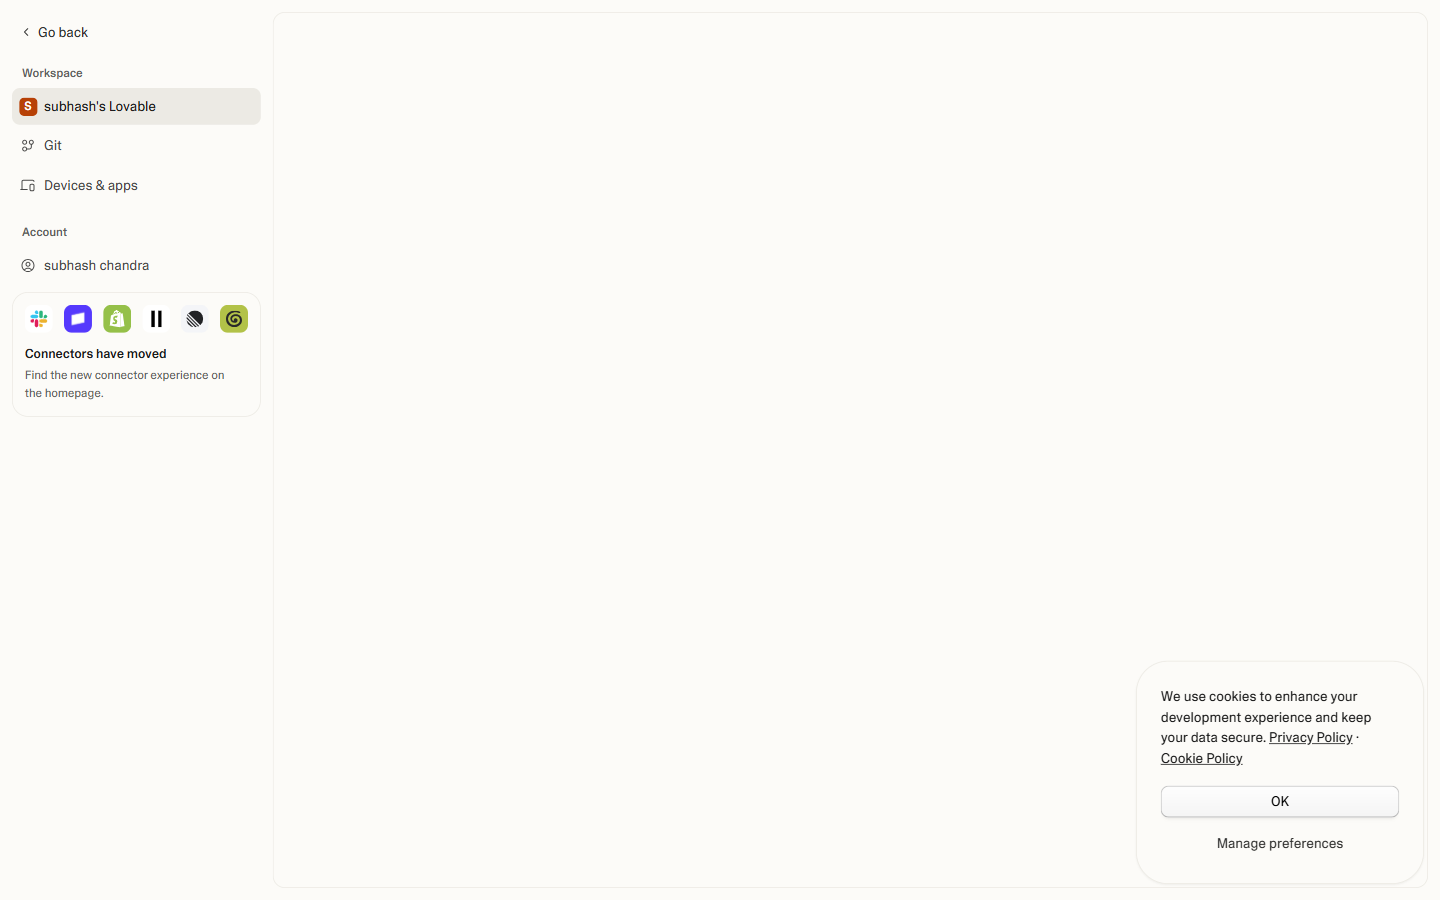 Account settings — change your display name, email, password, and connected accounts. Worth opening once at setup to confirm everything is correct.
Where to Find Billing
 Billing — current plan, credit usage, and upgrade options. You can stay on the free tier indefinitely; upgrade only when daily credits genuinely block your work.
If you do decide to upgrade:
Click your profile picture or initials in the top-right corner of the dashboard.
Look for Settings, Billing, or Plan in the dropdown menu.
You will see your current plan, credit usage, and options to upgrade. Paid plans typically offer significantly more daily credits and remove most limitations.
Do not upgrade to a paid plan without discussing it with Subhash first. The free tier is specifically designed to be sufficient for the learning phase of this program.
Finding Your Projects List
Every app you build in Lovable lives in your projects list. To find it:
- When you first log in, the dashboard is your projects list
- If you are inside a project and want to go back, look for the Lovable logo or a "Home" / "Projects" link at the top-left of the screen
- Each project card shows the project name, its Lovable URL, and the last time it was edited
You can have multiple projects simultaneously. There is no limit to the number of projects you can create on the free tier.
A Note on Your Lovable URL
Every project you create gets a URL that looks like this:
your-project-name.lovable.app
This is a real, public URL. Anyone with the link can open your app. This is deliberate — Lovable is designed for building apps you share with others.
During the learning phase, this is perfectly fine. When building anything for a real client or with real data, you will want to think carefully about who has access to that URL.
Final verification for this section: Log in to your Lovable account, confirm the dashboard loads showing your (empty) projects list, and locate the New Project button. You are ready to build.