Auth Tokens
Creating Sentry auth tokens for source maps and the admin issues widget, and configuring the Sentry Vite plugin.
Auth tokens are the keys that allow external tools — your build process, your admin dashboard — to talk to Sentry's API on your behalf. You'll create two tokens, each with exactly the permissions it needs and nothing more.
The Problem They Solve
Source maps — the readable stack trace problem
When you build a React app for production, Vite minifies and compresses your code. A file that was 800 lines of clean TypeScript becomes one line of compressed characters. The variable names get shortened to single letters. Function names disappear.
This is good for performance — users download less code. But it creates a problem for debugging.
When Sentry captures an error in your production app, it shows the location of the error in the compressed code:
n.t at line 1 character 4892 tells you nothing. You'd have to manually decompress the file and count characters to figure out what function that is.
Source maps are a separate file generated during the build that act as a translation dictionary: "character 4892 on line 1 of main.abc123.js corresponds to line 47 of src/lib/payment.ts, function processPaymentConfirmation."
When Sentry has your source maps, the same error becomes:
That's immediately actionable. You open FeePaymentForm.tsx at line 112, look at what's passed to processPaymentConfirmation, and the bug is usually obvious within a minute.
The Sentry Vite plugin uploads your source maps to Sentry automatically after every build. An auth token is required to authorise this upload.
Admin dashboard issues widget — the read-only API problem
Your project admin dashboard (built in Phase 2 and beyond) includes a widget that shows current Sentry errors to the admin. This widget calls the Sentry API to fetch your issues list — but that API is private. It requires a token with read permissions to access your Sentry data.
This token lives in your Supabase edge function (never in your frontend code) and is kept completely server-side.
Two Tokens, Two Purposes
| Token | Used by | Permissions | Stored in |
|---|---|---|---|
| Source Maps Token | Sentry Vite plugin (during build) | project:releases, org:read | .env.sentry-build-plugin + GitHub Secret SENTRY_AUTH_TOKEN |
| Read Token | Admin dashboard edge function | event:read, project:read | VaultMate + Supabase Edge Function secret SENTRY_READ_TOKEN |
Create them separately so that if one is compromised, you only need to revoke and replace that one. Never use a single all-permissions token for multiple purposes.
Creating the Source Maps Token
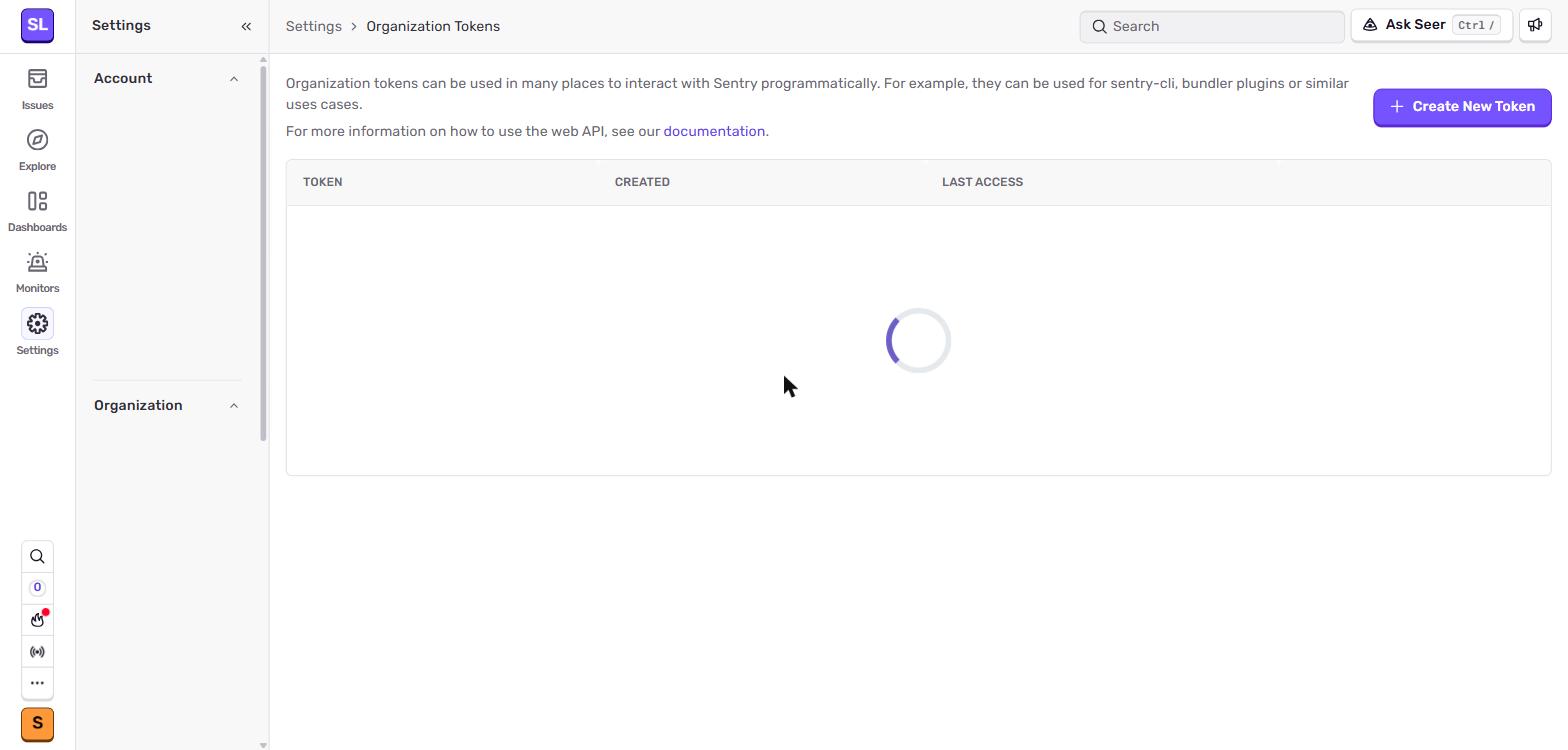 Settings → Auth Tokens at the organisation level. This is where the Source Maps token lives — it needs
 project:releases and org:read scopes to upload source maps during a Vite build.
Open your Sentry account settings
Click your profile icon or organisation name in the top-left of the Sentry dashboard, then go to Settings. In the left sidebar, find Auth Tokens (it may be under "Account" or at the organisation level — look for "Auth Tokens").
There are two locations where Sentry exposes auth tokens — make sure you use the correct one for each token:
| Token type | Location | Why |
|---|---|---|
| Organisation auth token (Source Maps) | Settings → Auth Tokens (org-level) | Tied to the organisation, can upload releases for any project in it |
| Personal auth token (Read Token) | User settings → User Auth Tokens | Tied to your user account; revoked if you leave the org |
For source maps, use the org-level token. For the admin dashboard read token, the user-level page (shown below) is also acceptable, especially when the read access is yours alone.
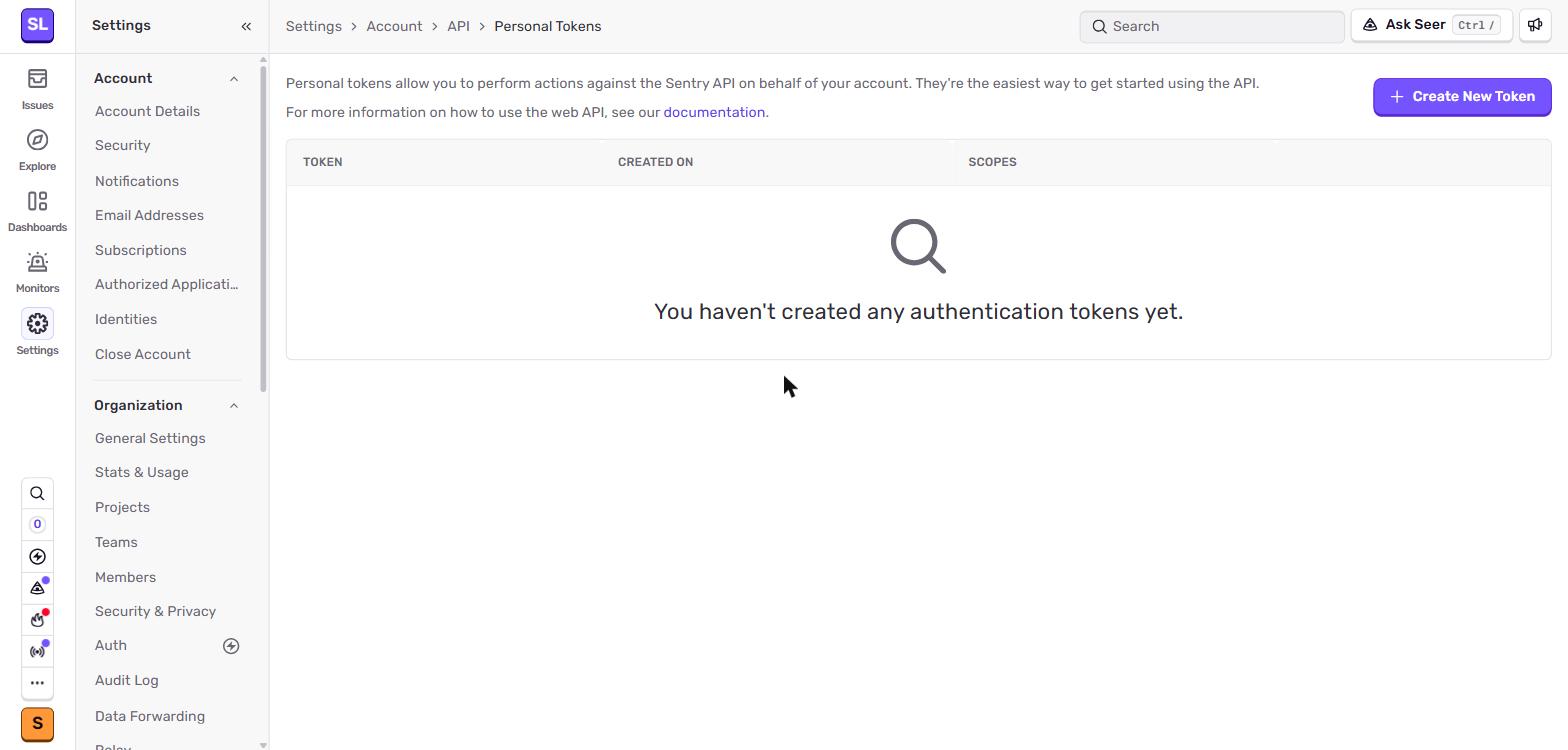 User Auth Tokens page — accessible from your profile menu. Use this for personal-scoped tokens that should follow your user, not the organisation.
Click "Create New Token"
Name the token
Use a clear, descriptive name:
For example: CI/CD Source Maps — Aurora Public School.
Set the permissions
You'll see a list of permission categories. Enable exactly these:
| Category | Permission |
|---|---|
| Project | project:releases |
| Organisation | org:read |
Leave everything else unchecked. This token can only upload source maps and read your org details — it cannot read your issues, modify settings, or do anything else.
Create and copy the token
After clicking "Create Token", Sentry shows you the token value once. It will look like:
Copy it immediately. Sentry will never show you this value again — if you lose it, you create a new one.
Save the token in two places
1. Save to VaultMate immediately:
Open VaultMate, open your project entry, and add a credential:
- Title:
Sentry Auth Token — Source Maps - Category:
API Key - Secret: paste the token
- Notes:
Permissions: project:releases, org:read. Used by Sentry Vite plugin.
2. Create .env.sentry-build-plugin in your project root:
This file is not your main .env file. It's a separate file used only during the build process by the Sentry Vite plugin. Add it to .gitignore immediately:
3. Add as a GitHub Actions Secret (for CI/CD):
When you set up GitHub Actions for automatic deployment (Vercel + GitHub Actions section), add this token as a repository secret named SENTRY_AUTH_TOKEN. The build workflow will use it during the production build step.
Creating the Read Token
Return to Settings → Auth Tokens
Click "Create New Token" again.
Name it clearly
Set the permissions
| Category | Permission |
|---|---|
| Event | event:read |
| Project | project:read |
That's all. This token can only read events (errors) and project metadata. It cannot modify anything.
Create and copy the token
Same as before — copy it immediately and save it.
Save the read token
1. Save to VaultMate:
- Title:
Sentry Read Token — Admin Dashboard - Category:
API Key - Secret: paste the token
- Notes:
Permissions: event:read, project:read. Used by Supabase edge function sentry-issues.
2. Add as a Supabase edge function secret:
In your terminal, with the Supabase CLI installed:
This stores the token server-side in Supabase. Your edge function reads it via Deno.env.get('SENTRY_READ_TOKEN'). It never touches the frontend.
Installing and Configuring the Sentry Vite Plugin
The Sentry Vite plugin handles source map upload automatically after each build. Install it:
Then update vite.config.ts:
The filesToDeleteAfterUpload line is important. Without it, your source map files sit in /dist and get deployed to Vercel alongside your app. Anyone who knows the URL can download your original source code. The delete step removes them after Sentry has received them — your compiled app is on Vercel, your source maps are on Sentry (private), and the .map files exist nowhere publicly.
Verifying Source Maps Work
After your next production build (locally with npm run build, or deployed to Vercel):
- Open Sentry → Issues
- Click any issue that was captured after the build
- Look at the Stack Trace section
- If you see file names like
src/components/FeePaymentForm.tsxwith line numbers — source maps are working - If you see
main.abc123.js:1:4892— source maps aren't being uploaded yet
If source maps aren't working, check:
- Does
.env.sentry-build-pluginexist with the correct values? - Is
SENTRY_ORGset to the exact organisation slug (no extra spaces)? - Is
SENTRY_PROJECTset to the exact project slug? - Did the build run in production mode (
npm run build, notnpm run dev)?
You can also check the build output in your terminal — the Sentry Vite plugin prints a confirmation when it uploads maps successfully: