Account Setup
Creating your Sentry account, choosing the right settings, and understanding the dashboard layout.
Sentry account setup takes about 5 minutes. The choices you make during signup — organisation name, region — are worth getting right the first time, because they affect your project URLs and data storage location.
Before You Start
You'll need an email address to sign up. Using GitHub for signup is possible but not required here — unlike Vercel, Sentry doesn't need direct GitHub repository access to function. Use whichever email is associated with the project.
Which email to use: For training projects, use your personal email. For client projects like Aurora Public School, use the project Gmail account (check VaultMate for the credential). This keeps client project credentials separate from your personal accounts — important when handing over a project or working as a team.
Creating Your Account
Go to sentry.io
Open sentry.io in your browser. Click "Get Started" or "Try for Free" — both lead to the same signup page.
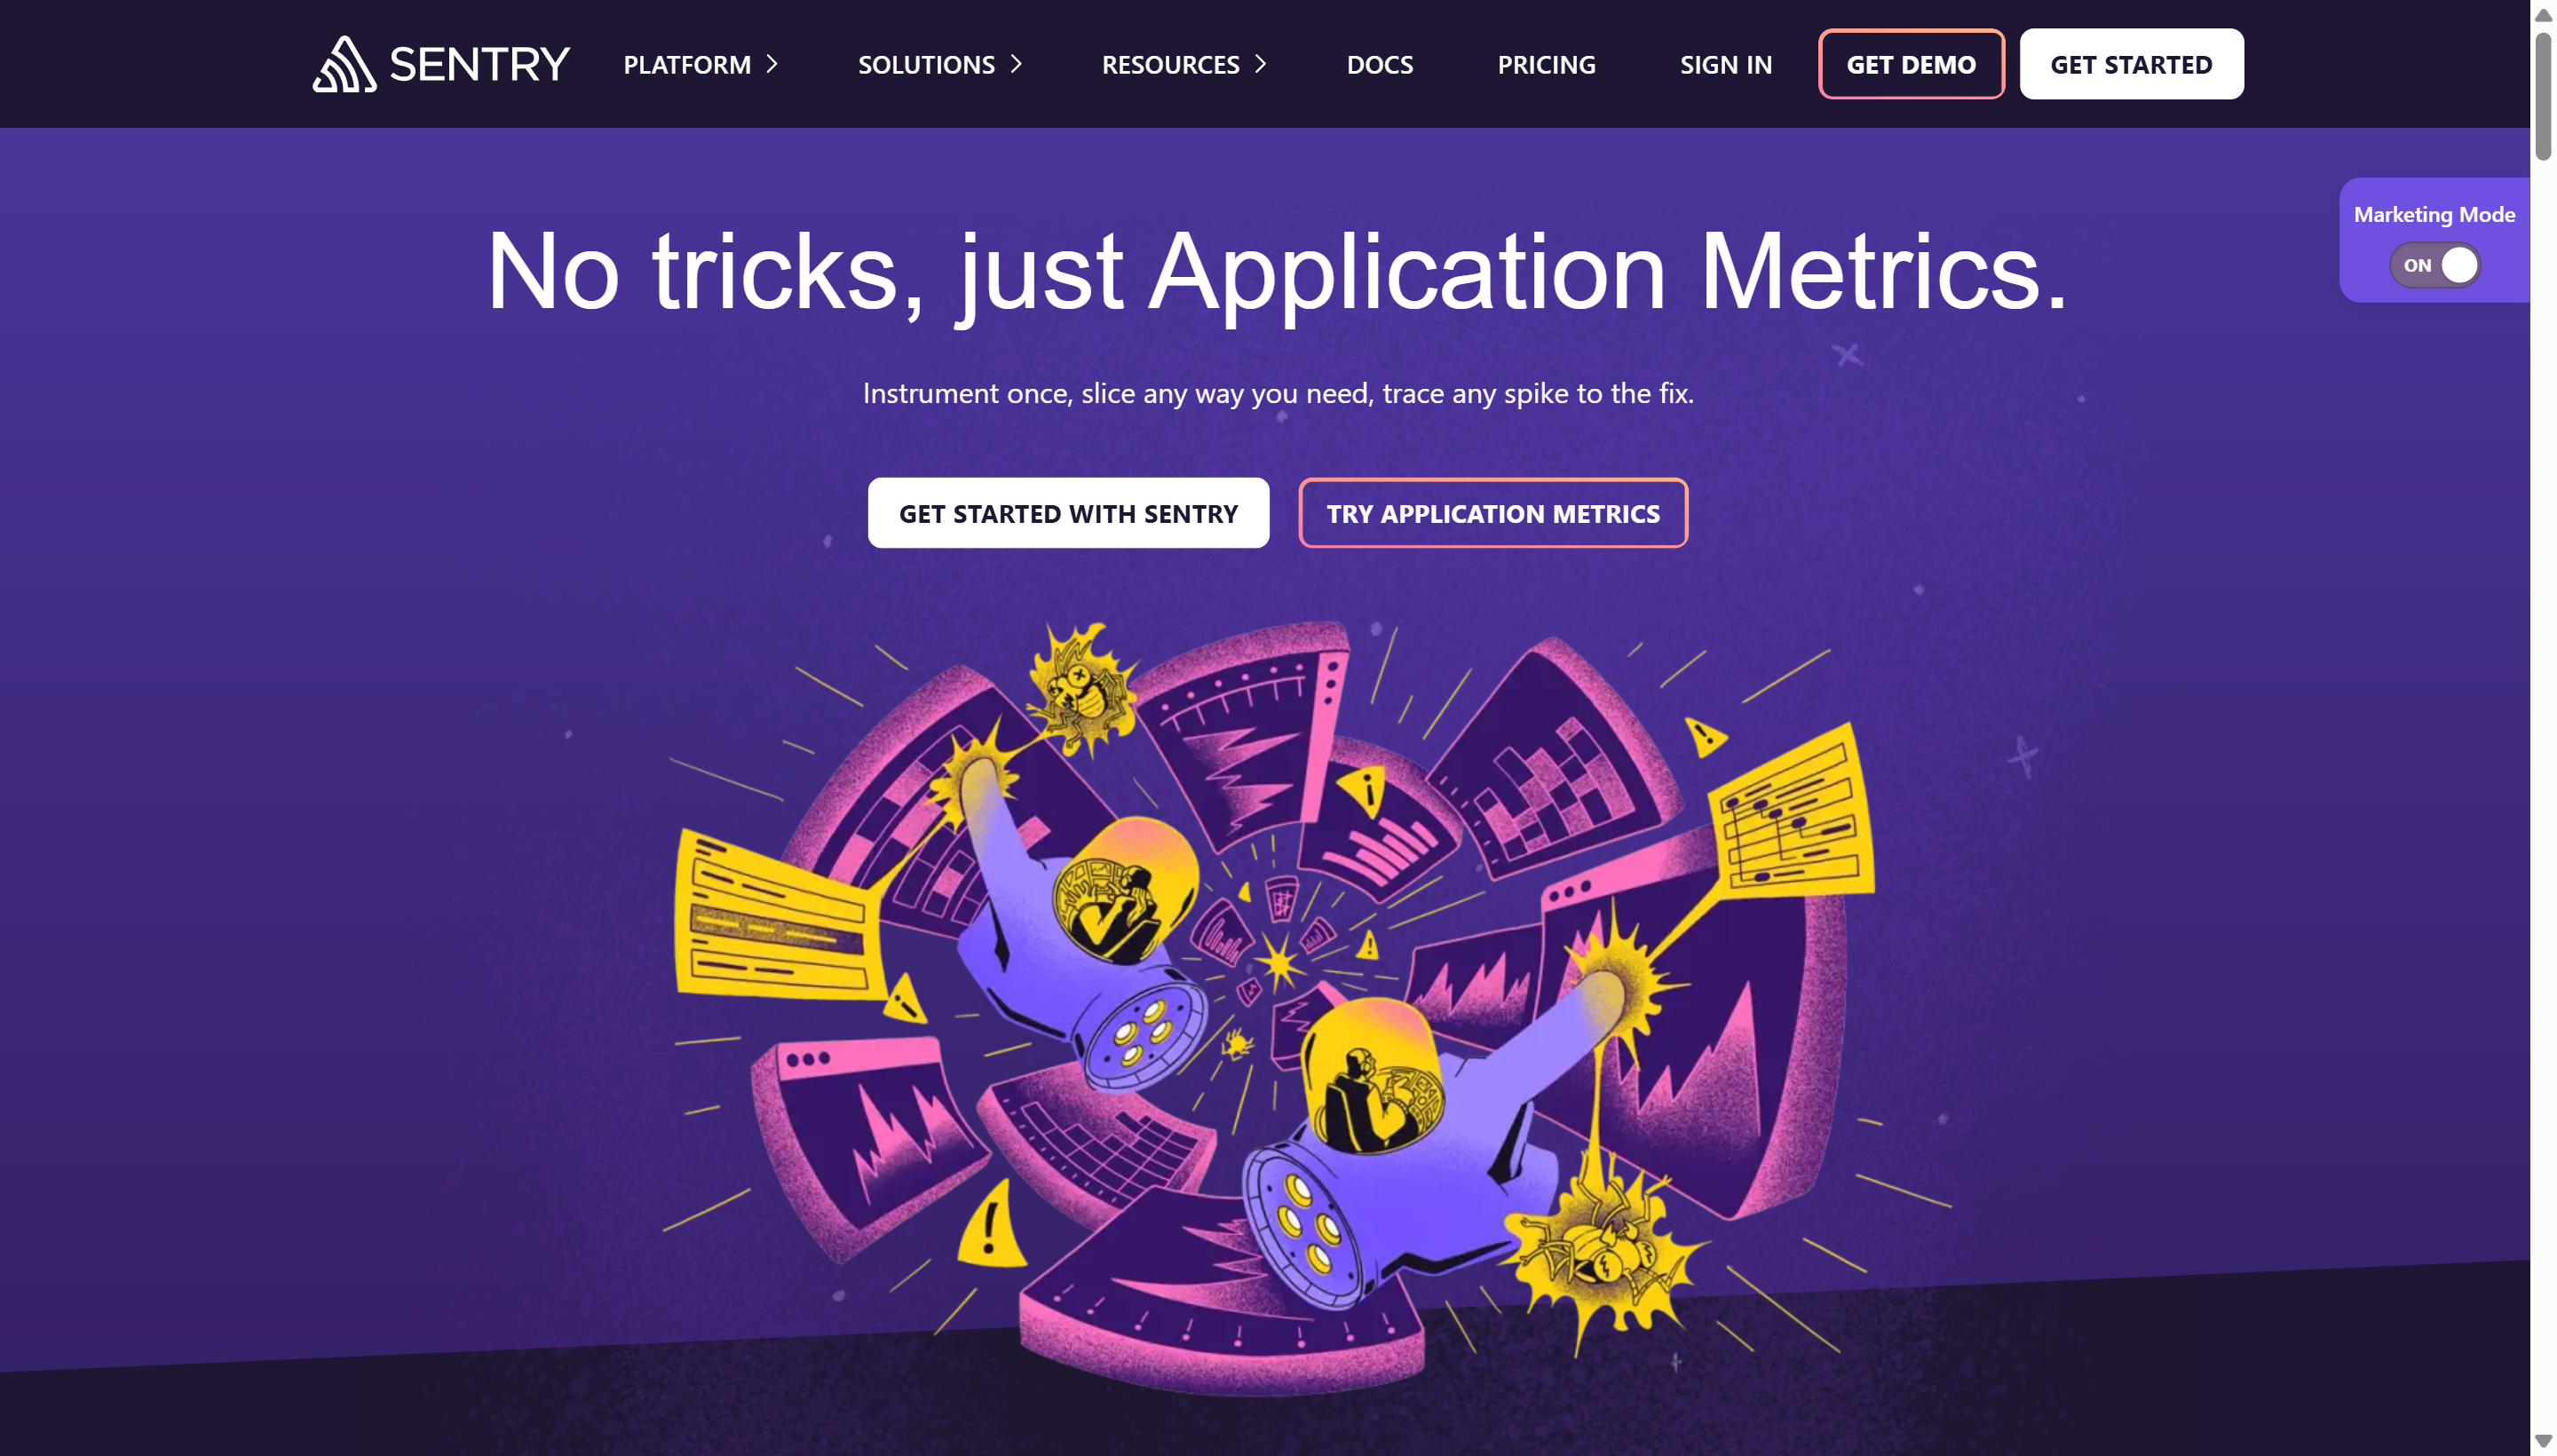 Sentry's homepage. Click "Get Started" to begin the signup flow. The tagline gives you the key promise: you find out about errors before your users do.
Choose your signup method
You'll see options to sign up with GitHub, Google, or email. Any of these work. For training projects, sign up with email and use the address associated with this project.
If signing up with email: enter your email, create a password, and verify your email address before continuing. Sentry will send a verification link — click it before proceeding.
Choose your organisation name
This is one of the most important steps to get right. Your organisation name becomes your Sentry organisation slug — a short identifier used in all your project URLs and configuration settings.
For example, if you name your organisation "Sahinov", your Sentry URLs will look like:
And your configuration references will use sahinov as the org value.
Rules for naming:
- Use your company or team name — not a project name (this is the organisation, not a project)
- Lowercase, hyphens allowed, no spaces
- You cannot easily change this later, so choose deliberately
- Examples:
sahinov,aurora-dev,my-ca-firm
Choose your plan
Select Free. You'll see options for Developer (free), Team ($26/month), and Business. The Developer plan includes everything you need for training and small client projects.
You don't need to enter a credit card for the free plan.
Choose your data region
Sentry will ask where you want your data stored:
- United States — Default. Slightly better performance for apps served globally.
- European Union — Required if your app stores EU citizens' personal data and you need GDPR compliance.
For training projects and Indian market apps: select United States. For any future European client work, revisit this — data region cannot be changed after account creation, you'd need a new organisation.
Complete onboarding
Sentry may walk you through a short onboarding flow asking what kind of app you're building. You can skip this — you'll create a proper project in the next page. Click "Skip" or "I'll explore on my own" if offered.
Understanding the Sentry Dashboard
Once you're logged in, you'll land on the Sentry dashboard. It looks mostly empty — no issues, no projects — which is expected until you connect an app.
The left sidebar
This is your main navigation. The key sections:
| Sidebar Item | What it shows |
|---|---|
| Issues | Every error captured from your apps — the section you'll use most |
| Performance | Page load times, slow transactions, Core Web Vitals per route |
| Releases | Which version of your code is running, which errors appeared in each release |
| Discover | Custom queries — build your own views across all your error data |
| Alerts | Rules that email or notify you when error rates cross a threshold |
| Projects | List of all your connected projects |
| Settings | Organisation-level settings: team members, auth tokens, integrations |
The top bar
| Element | What it does |
|---|---|
| Organisation name (top left) | Confirms which organisation you're in — matters if you have multiple |
| Project selector dropdown | Filter the dashboard to show data from one specific project |
| Date range picker | Control the time window shown — default is "Last 14 days" |
| Create Project button | Start the process of connecting a new app to Sentry |
Issues list (what it looks like when populated)
The Issues list is a table where each row is a distinct error. Columns you'll see:
- Title — The error message (e.g. "TypeError: Cannot read properties of undefined")
- Graph — A small bar chart showing how frequently this error has occurred over the selected period — spikes mean something triggered it repeatedly
- Events — Total number of times this error has occurred
- Users — How many distinct users were affected
- Assignee — Which team member is investigating this issue
- First Seen — When this error first appeared in production
- Last Seen — When it last occurred
Click any row to open the full issue detail — stack trace, breadcrumbs, user context, device info. You'll explore this in the Dashboard Guide page.
The Organisation Slug — Keep It Handy
Your organisation slug appears in two places you'll need it:
-
In
vite.config.tswhen configuring the Sentry Vite plugin: -
In the admin dashboard when linking to the Sentry issues page:
Find your slug at any time: Settings (gear icon) → Organisation → "Organisation Slug" field.
Save to VaultMate now. Before moving on, open VaultMate and save your Sentry login credentials (email + password) under the project name. You'll also need to save auth tokens later — this is the right moment to create the VaultMate entry so you have a place to put them.
Multiple Organisations vs Multiple Projects
A question that comes up early: "Do I create a new Sentry organisation for each client?"
No. One organisation is enough for all your projects. Inside that organisation, you create separate projects — one per app. Each project has its own DSN, its own issues list, its own error rate. Your organisation is the container; projects are what you create inside it.
| What it is | When to create |
|---|---|
| Organisation | Once — for you (or for Sahinov Pvt Ltd) |
| Project | Once per app — one for Aurora Public School admin panel, one for Aurora Public School customer app, one for each CA firm site |
The only reason to create a second organisation is if you're handing a project entirely to a client and want to give them their own Sentry account that you don't have access to.