Account Setup
Creating a Razorpay account, navigating the dashboard, and understanding what each section does before writing any code.
For training purposes you do not need a real business. Razorpay's Test Mode is available immediately after signup — no KYC, no documents, no waiting. You can build and test the complete payment flow today.
Creating the Account
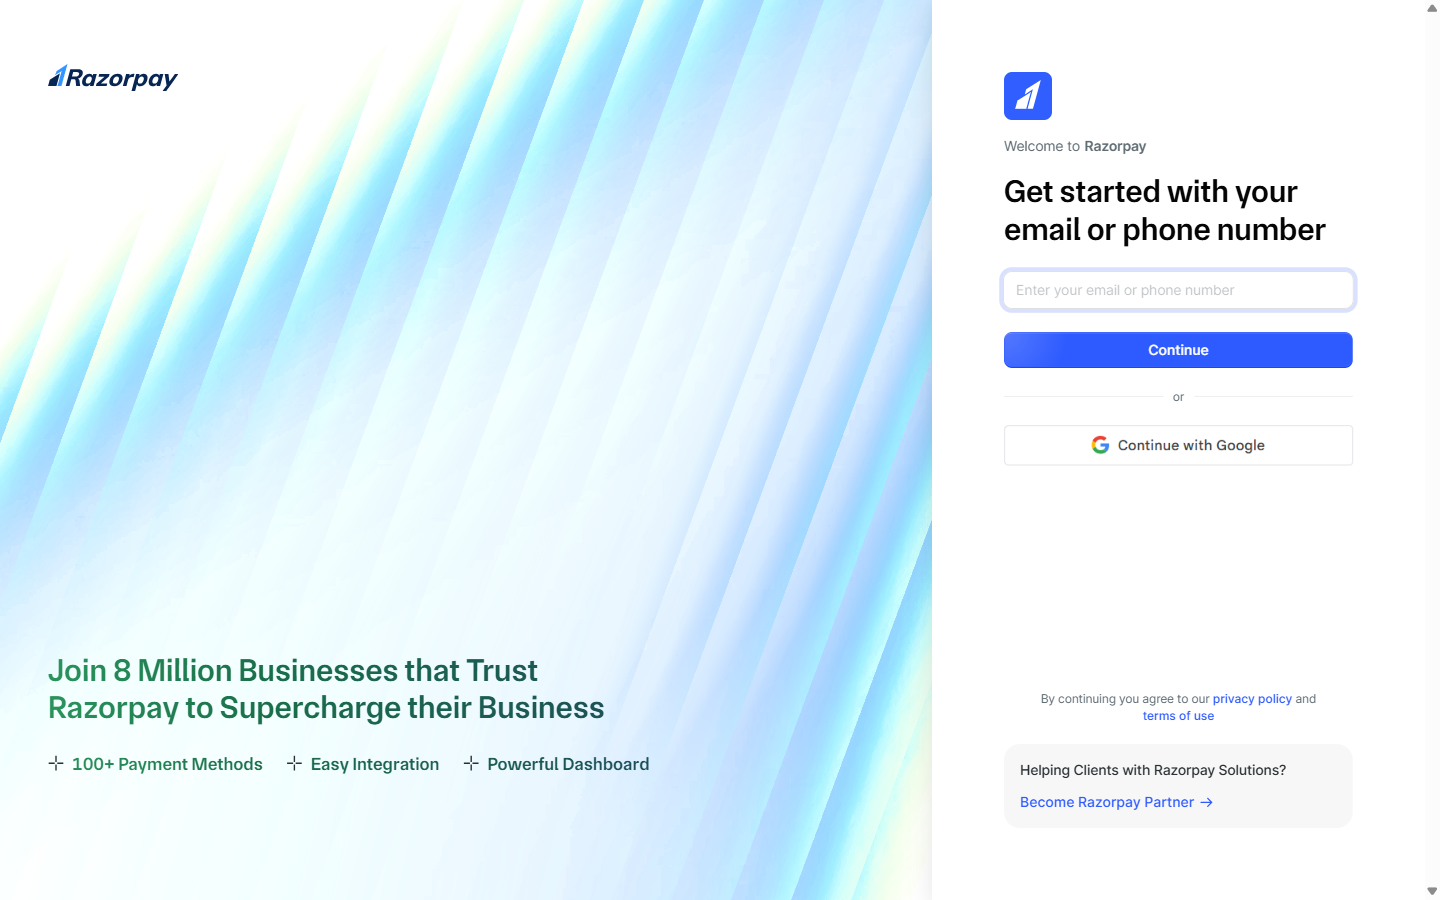
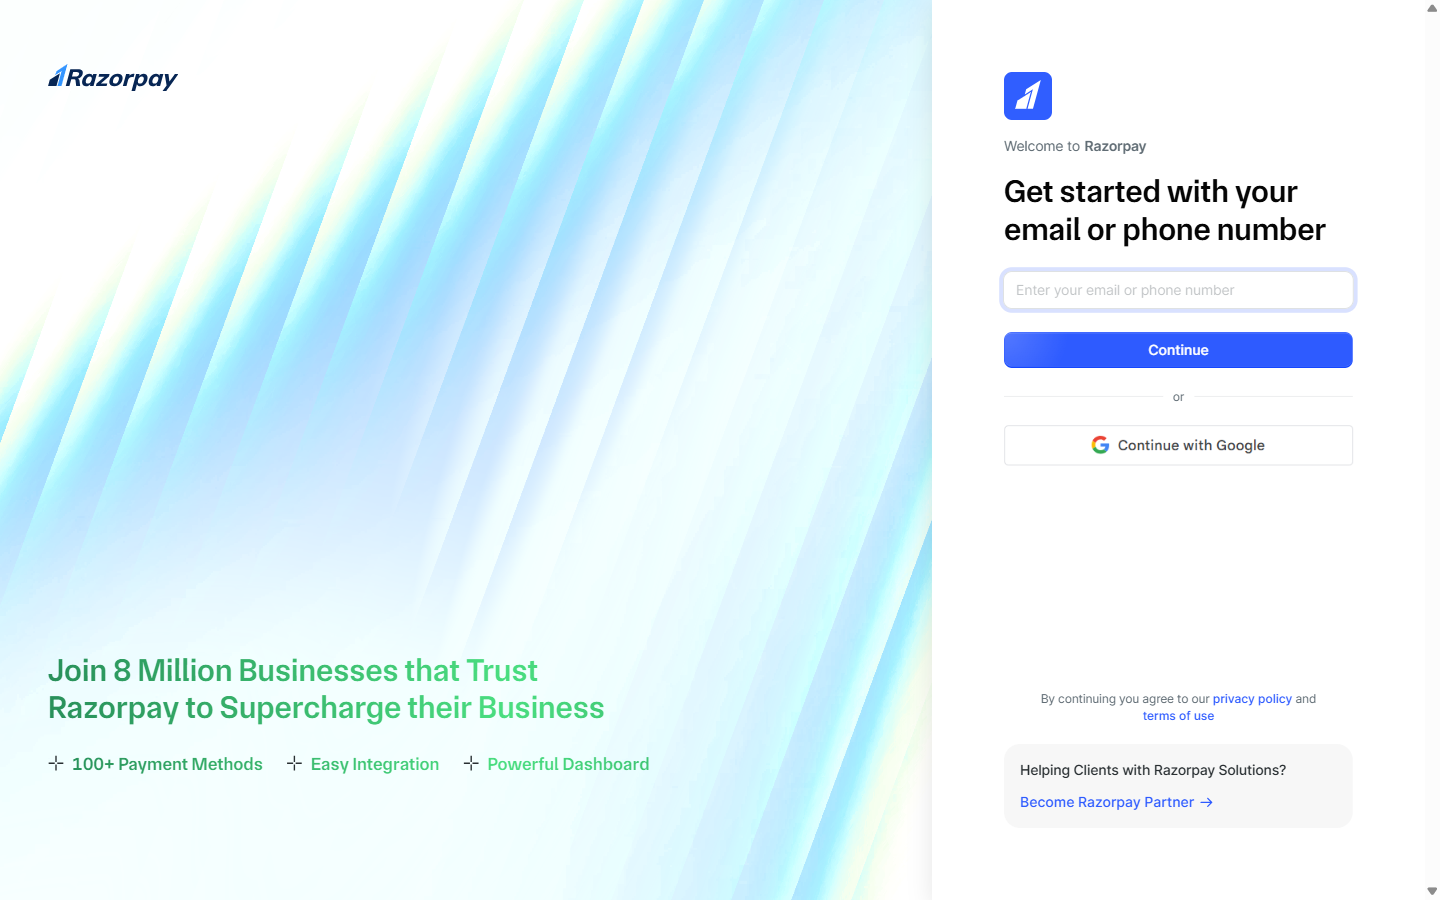
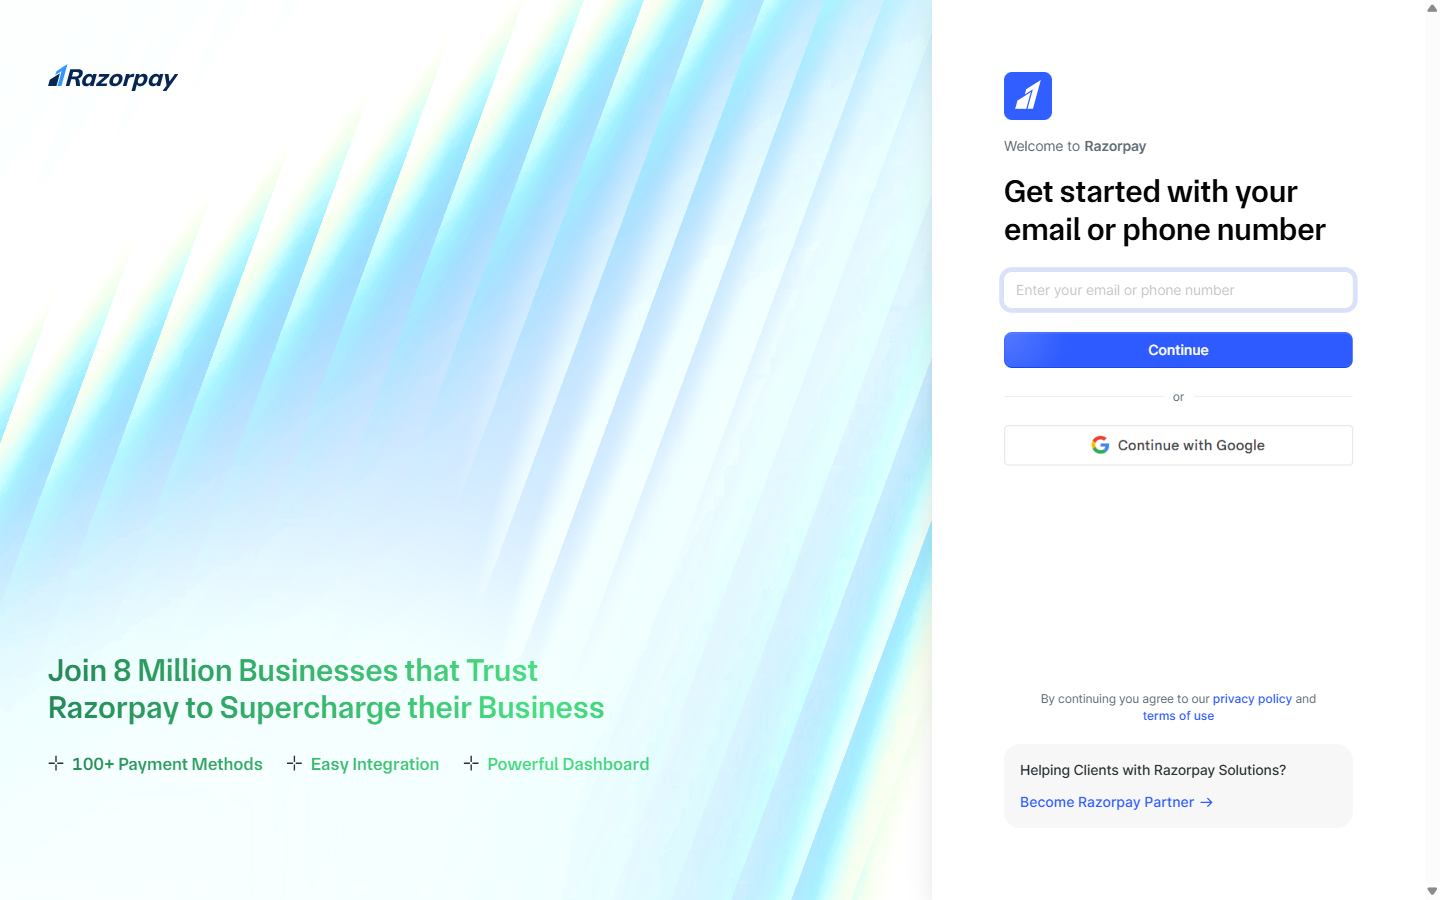
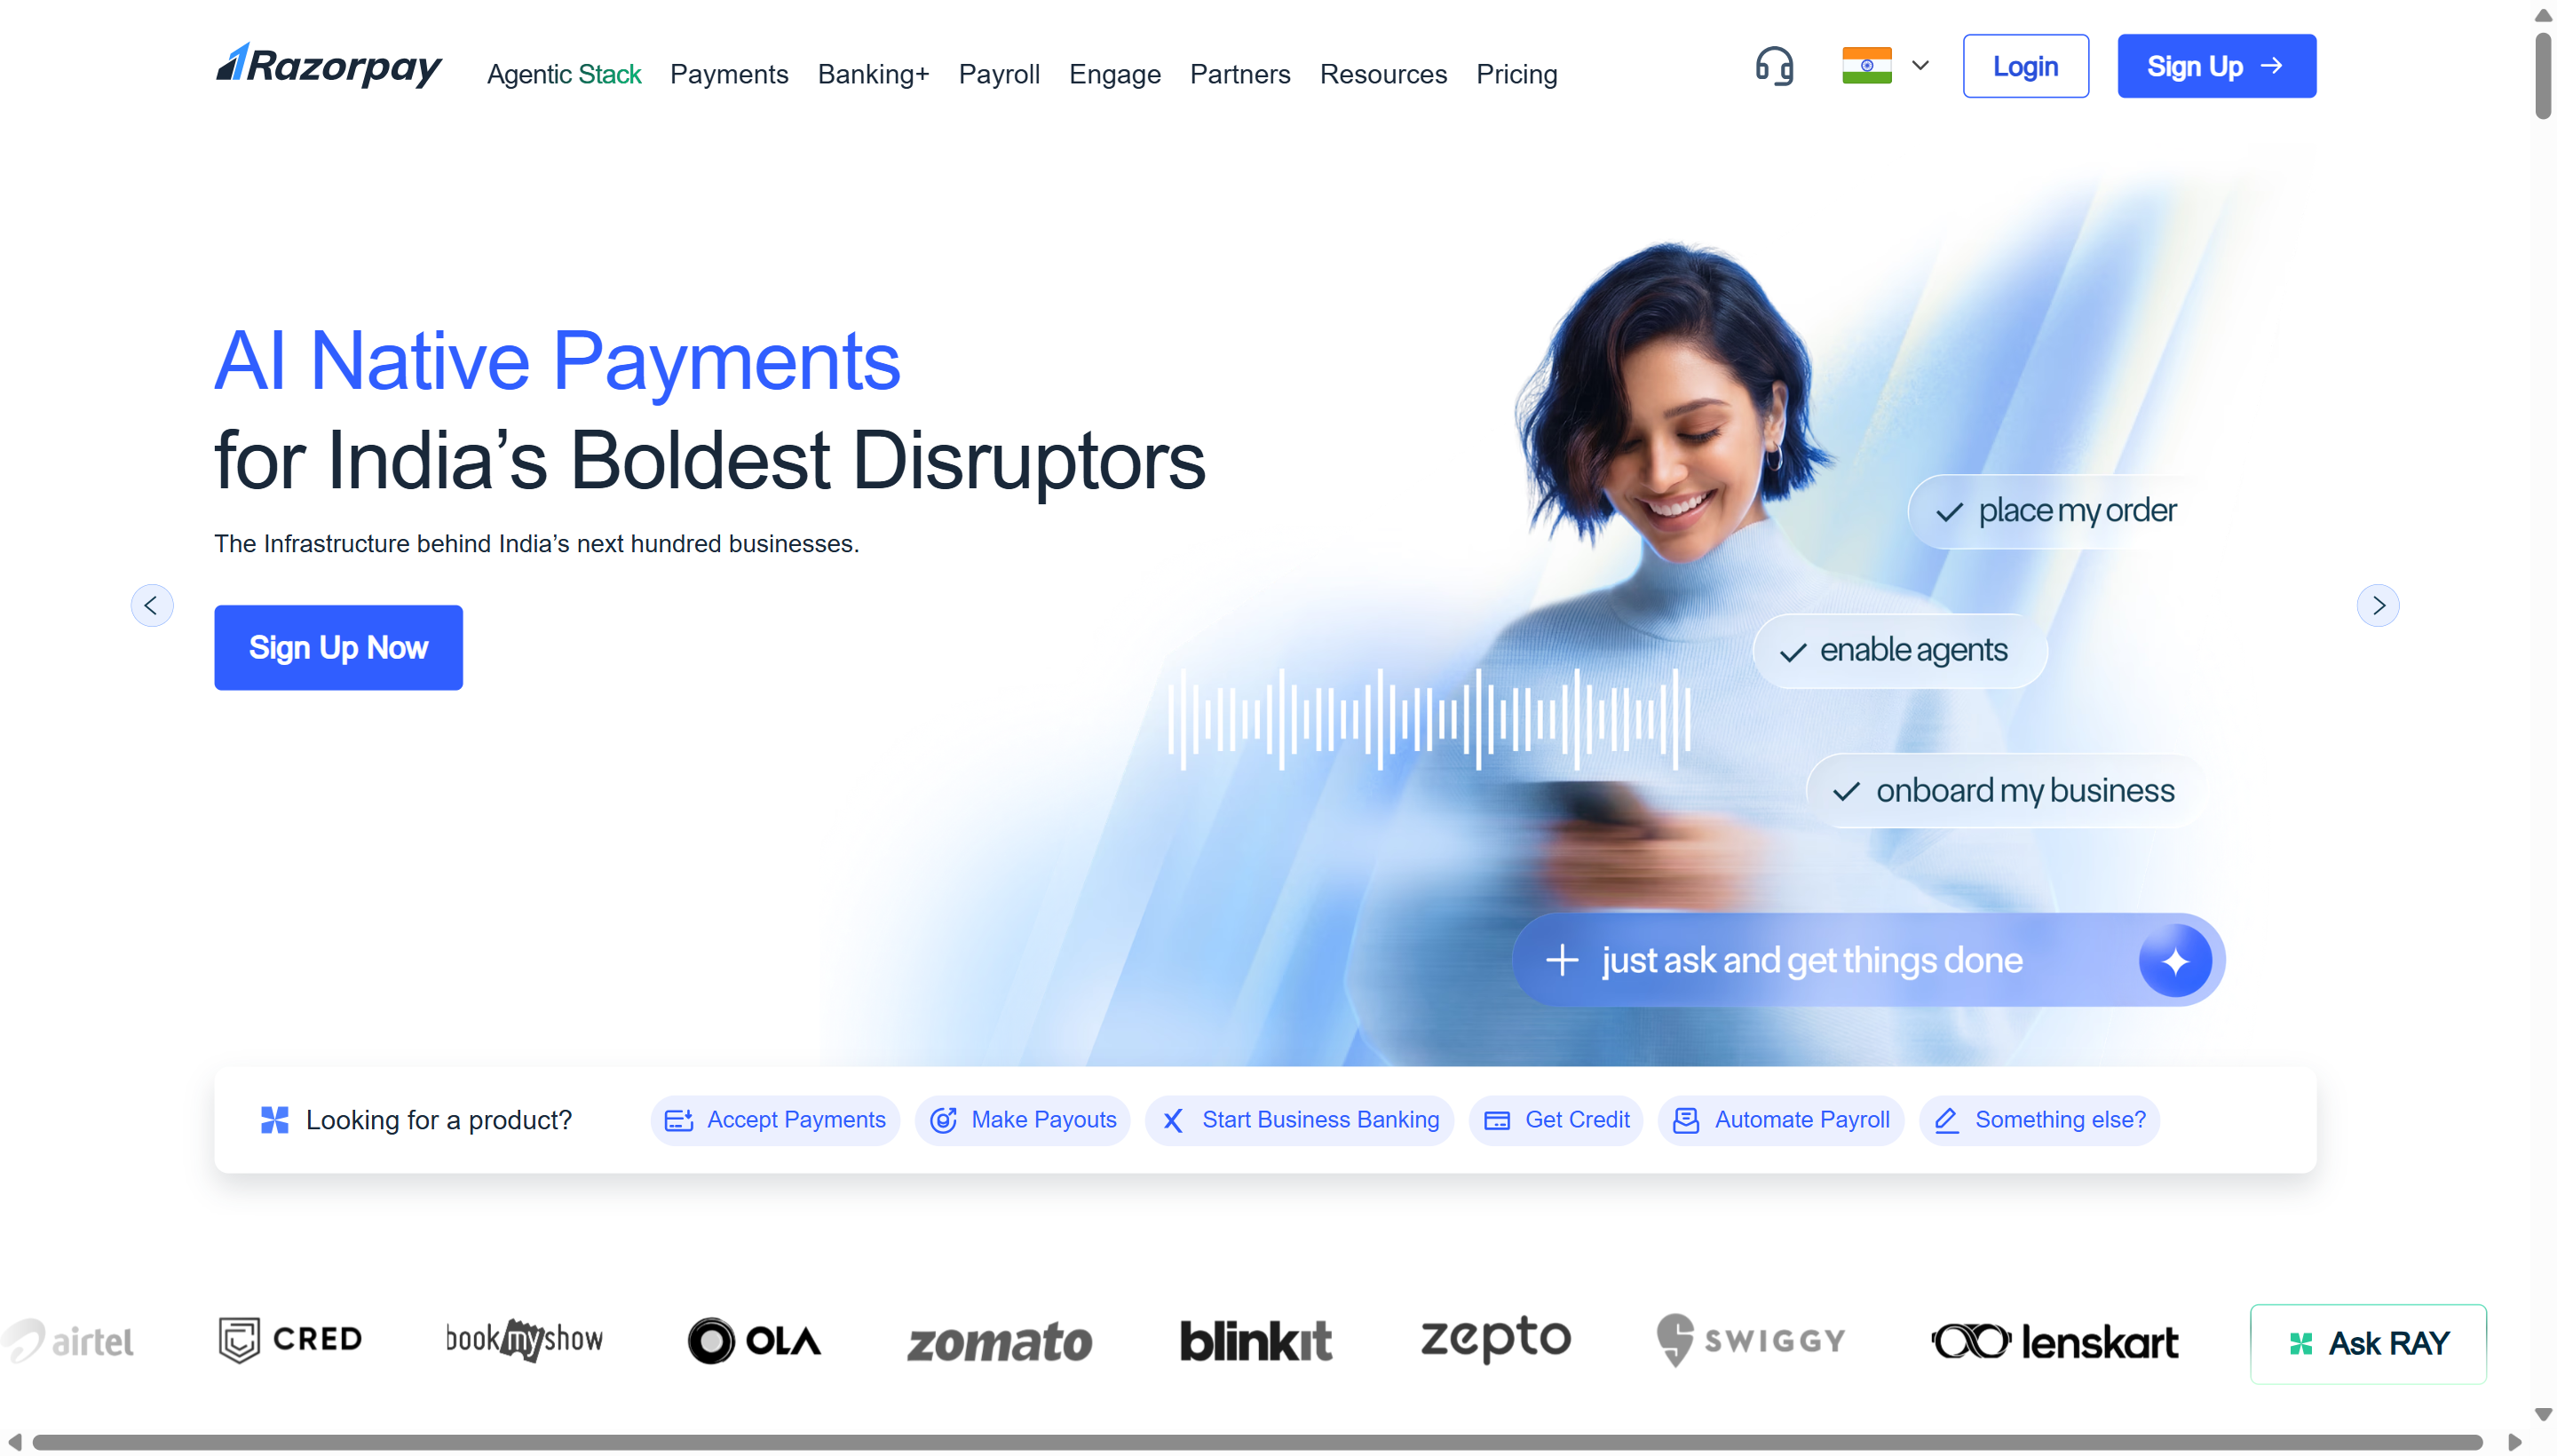 Razorpay homepage. Click "Sign Up" to begin. Note "Test Mode available immediately" — you can start building the payment flow without KYC or bank account details.
Go to Razorpay and click Sign Up
Go to razorpay.com and click Sign Up.
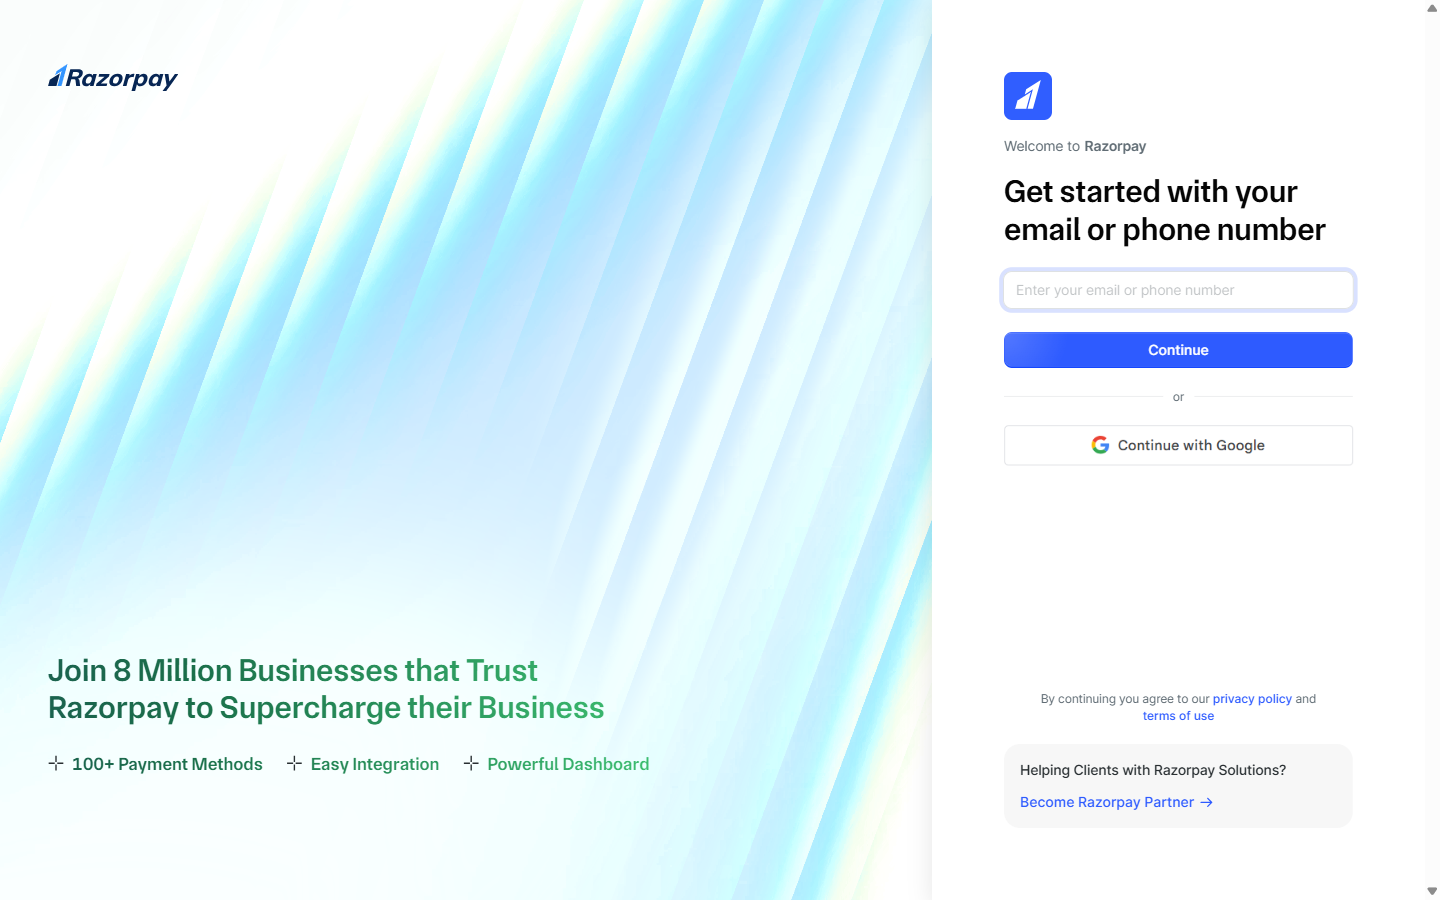
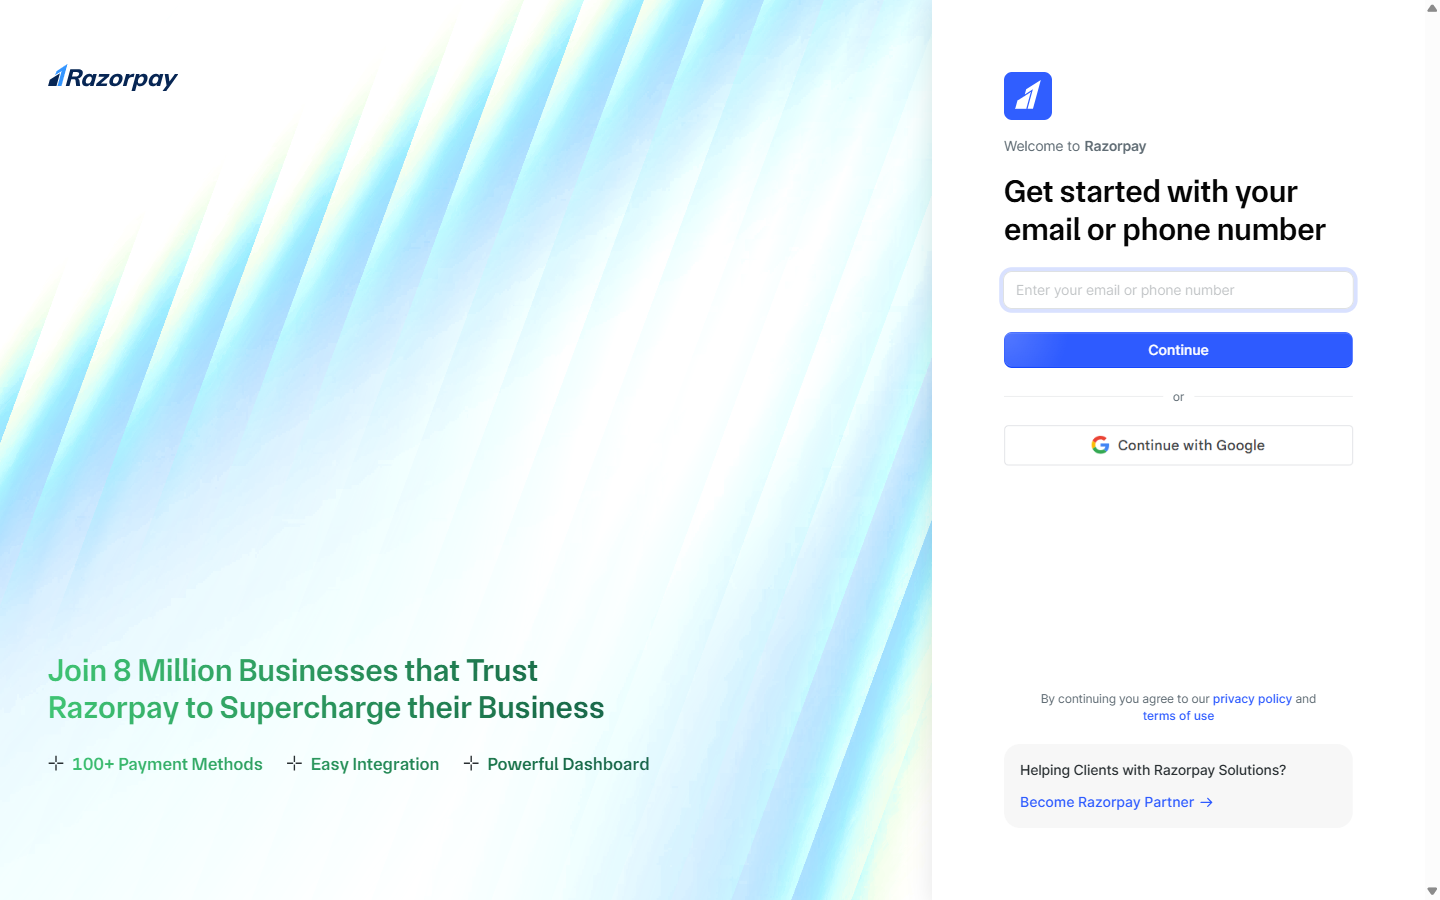
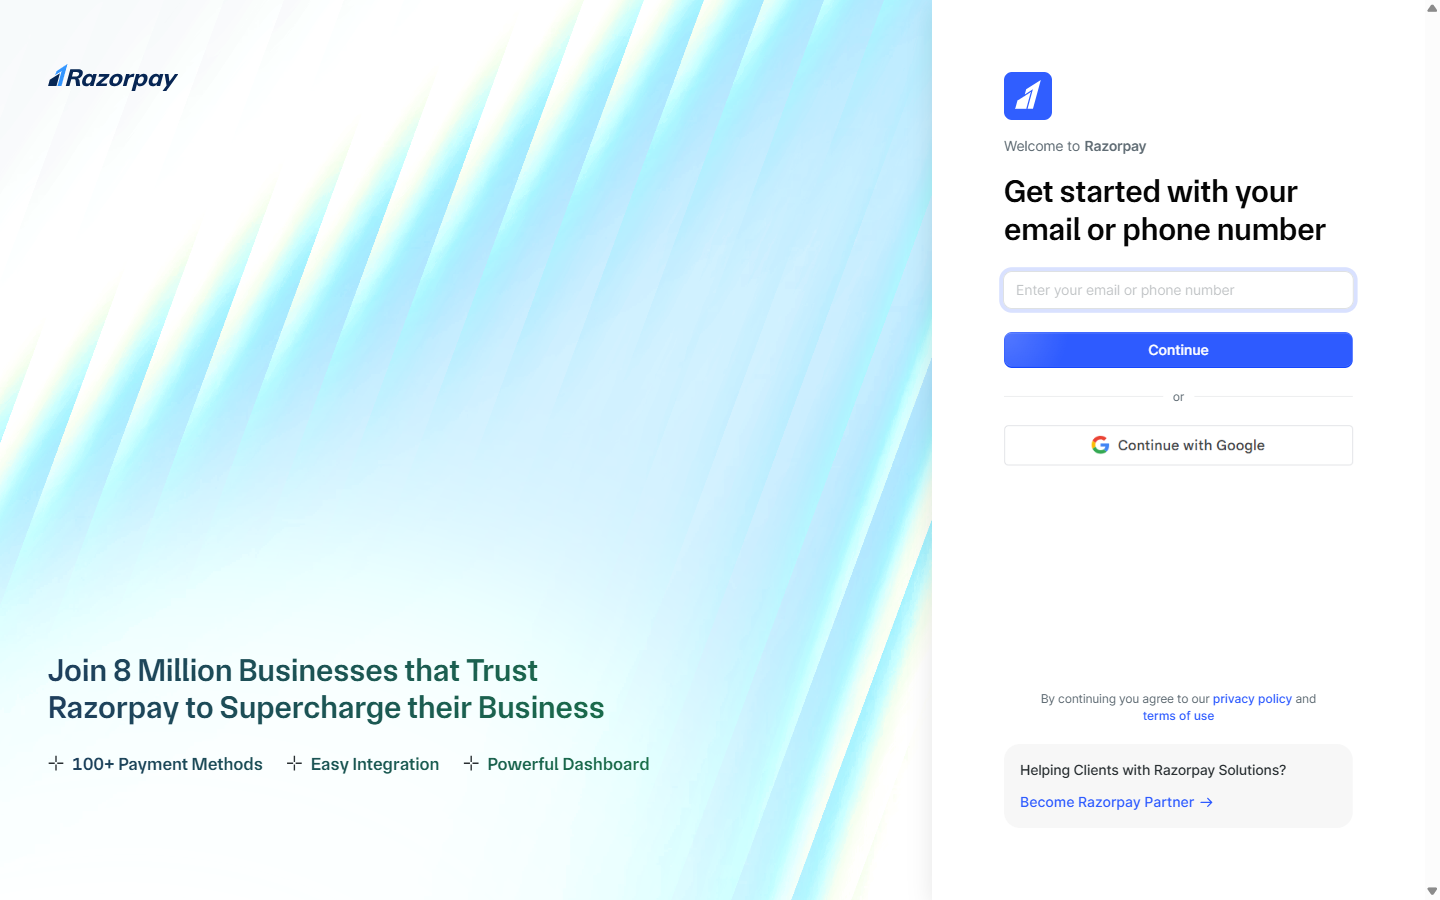
Enter your details
Enter your name, email address, and Indian mobile number. Select Business Type — for training choose Individual or Proprietorship. For a real client project, choose the correct legal entity type.
Verify email and mobile
Check your inbox for the email verification link, then enter the OTP sent to your mobile.
Confirm you're in Test Mode
You are now on the Razorpay Dashboard. Confirm the top-right indicator shows Test Mode — if you see a blue "Test Mode" badge, you're ready to build.
Use the project's dedicated Gmail account, not your personal email. For Aurora Public School, use the Gmail account created for the project (check VaultMate under the project name). This keeps all project credentials together and prevents access issues if team members change.
Dashboard Overview
When you first log in, you are in Test Mode. Everything you see is a sandbox — no real money, no real transactions. The dashboard layout is the same in both Test and Live Mode, so learn it once.
 The Razorpay home page in Test Mode. A fresh account shows zeros and loading skeletons until you process your first test payment — this is normal.
Left Sidebar — Main Sections
| Section | What it contains |
|---|---|
| Home | Today's revenue, transaction count, pending settlements, quick stats |
| Transactions / Payments | Every payment attempt — successful, failed, pending — with full details |
| Orders | Orders you created via the API (before the customer paid) |
| Customers | Customer contact database (name, email, phone — auto-populated from payments) |
| Settlements | When and how much Razorpay settled to your bank account |
| Reports | Downloadable CSV/Excel reports by date range |
| Items / Plans | Reusable products and subscription plans |
| Subscriptions | Recurring billing for plan-based products |
| Smart Collect | Payment links, QR codes (not used in this training — we use checkout modal) |
 The Payments page lists every payment attempt with status, amount, method, and a payment ID starting with
 pay_.
 The Orders page shows each order created by your edge function — these exist before the parent pays. The receipt column is your fee record ID.
 Customers are auto-populated from payment data — name, email, phone collected through the checkout modal.
 Settlements show when Razorpay transferred money to your bank account, net of the 2% commission and 18% GST. T+3 business day cycle.
 Reports download payment, order, and settlement data as CSV/Excel — useful at month-end for client reconciliation.
 Items and Plans are reusable products with fixed pricing. For Aurora Public School's dynamic per-fee pricing we use Orders, not Items — but if a client ever needs a fixed-price catalogue, this is where it lives.
 Subscriptions handle recurring billing tied to a Plan. Out of scope for the fee payment flow but relevant for any future SaaS-style project.
Settings — Where You Spend Most Setup Time
Settings → API Keys — Generate and manage your Test and Live API keys. This is where you start.
Settings → Webhooks — Configure which events Razorpay POSTs to your edge function. Covered in the Webhook Setup page.
Settings → Business — Upload KYC documents when activating Live Mode.
Settings → Bank Account — Link the bank account where Razorpay will settle funds.
Settings → Branding / Checkout — Customize the look of the Razorpay checkout modal: logo, brand colour, business name shown to the customer.
 The Settings area collects every account-level configuration: API keys, webhooks, business profile, bank account, branding.
 Branding controls the colours, logo, and business name customers see in the Razorpay checkout modal. Match it to the client's brand for a seamless experience.
Activating Live Mode (For Real Client Projects)
Skip this during training. Live Mode activation is needed only when you are ready to accept real payments from real customers. Come back to this section when you are deploying a client project to production.
To activate Live Mode, Razorpay requires:
| Document | What Razorpay needs |
|---|---|
| PAN | Director's PAN (individual) or Company PAN |
| Business proof | GST certificate, CIN, or Shop & Establishment certificate |
| Bank account | Account number + IFSC — Razorpay verifies with a ₹1 penny drop |
| Business address | Matches the GST/CIN document |
Processing time: 1–3 business days after documents are submitted and verified.
The practical sequence for client projects:
Build and test everything in Test Mode
Complete the full payment flow in Test Mode before starting KYC.
Start KYC one week before the planned launch date
Submit all required documents at least a week before the client's go-live date.
Build in buffer for document rejection
Document rejection requires resubmission, which adds another 1–3 business days.
Do not commit to a launch date until Live Mode is activated
Only promise a date once Razorpay has approved the account.
The Test/Live Toggle
At the top right of every Razorpay Dashboard page, there is a toggle labelled Test Mode / Live Mode.
 The mode toggle. Always confirm you are in Test Mode during development — the indicator at the top of the page tells you which environment is active.
- Test Mode (blue indicator): All transactions are simulated. API keys start with
rzp_test_. - Live Mode: Real money. API keys start with
rzp_live_. Only accessible after KYC approval.
The two environments are completely separate. Test transactions never appear in Live Mode reports and vice versa. Test API keys will be rejected in Live Mode and vice versa.
After Account Creation — What to Do Immediately
Before moving to the API Keys page, do these two things while you are in the dashboard:
1. Bookmark the dashboard
You will open this dashboard constantly during development — to check if an order was created, to see if a payment went through, to copy a payment ID for debugging. Bookmark it.
2. Note the account name (your "slug")
In Settings → Business, you will see your Business Name. In Razorpay's Live Mode dashboard URL, this appears as a slug (razorpay.com/dashboard/...). You do not need this for Test Mode but you will need the business name for the webhook URL in production.
The Razorpay Merchant ID
In Settings → Profile or the dashboard header, Razorpay shows your Merchant ID (a short alphanumeric string like HG2Xh7ABCDEfgh). You rarely need this directly — your API keys are how you identify yourself to the Razorpay API — but customer support will ask for it if you ever contact them.
Save it to VaultMate now while you are in the dashboard:
| Field | What to save |
|---|---|
| Title | Razorpay Merchant Account |
| Username/Email | The email you registered with |
| Merchant ID | From Settings → Profile |
| URL | https://dashboard.razorpay.com |
| Notes | Test Mode only until KYC approved |
| Category | Other |
You will save the API keys separately on the API Keys page once you generate them.