Verifying a Sending Domain
Why you can't send from a Gmail address, how domain verification works, and the exact DNS records to add for an Indian production domain.
This page explains why domain verification exists, how it works, and how to complete it step by step. If you are setting up a production project (like Aurora Public School), complete this page. If you are working on a training project without a custom domain, read the top section and then skip to the API Key page using the development workaround described at the bottom.
Why You Can't Send From Gmail
Here is the problem domain verification solves.
Imagine you receive an email that says it's from invoices@hdfc.com — HDFC Bank. You trust it because it looks like it comes from HDFC. But anyone can put any "From" address in an email. I can right now send you an email that claims to be from ceo@infosys.com. The text will say that. That doesn't mean Infosys sent it.
Email servers figured this out in the 1990s. The internet's inbox providers (Gmail, Outlook, Yahoo, iCloud) now check: "Does the server that just sent this email actually have permission to send email on behalf of the domain it claims to represent?"
If the answer is no, the email goes to spam. Or it gets rejected entirely.
Domain verification is how you prove to Resend — and through Resend, to every inbox provider in the world — that you actually control the domain you're sending from.
This is done through DNS records.
What DNS Is (the 30-second version)
DNS is the "phone book" of the internet. When you type google.com in your browser, your computer asks the DNS system: "What's the IP address for google.com?" DNS responds with the actual server address, and your browser connects.
DNS records are entries in this phone book. Some records say what IP address a domain points to. Others say things like: "Resend is authorized to send email for aurorapublicschool.in." That's an SPF record. Inbox providers read it before deciding whether to trust an email.
When you "verify a domain" in Resend, you are adding entries to this phone book that say: "We authorize Resend to send on our behalf."
The Development Workaround (For Training Projects)
For development and training projects: You do not need to verify a domain. Resend provides a shared development address — onboarding@resend.dev — that you can use immediately without any DNS setup. Emails sent from this address are real emails that arrive in real inboxes.
Use onboarding@resend.dev as your "from" address in all training projects. Skip the rest of this page and continue to the API Key page. Come back to this page when you are setting up a production project with a real domain.
Domain Verification for Production (Step-by-Step)
This walkthrough uses Aurora Public School (aurorapublicschool.in) as the example. Replace aurorapublicschool.in with your actual domain wherever it appears.
What You Need Before Starting
- Your Resend account (created in the previous step)
- Access to your domain registrar — wherever the domain was purchased. Common registrars used in India:
- GoDaddy — godaddy.com
- Namecheap — namecheap.com
- BigRock — bigrock.in
- Google Domains (now Squarespace Domains)
- Hostinger — hostinger.in
- The login credentials for that registrar account
Add Your Domain in Resend
- Open the Resend dashboard and click "Domains" in the left sidebar.
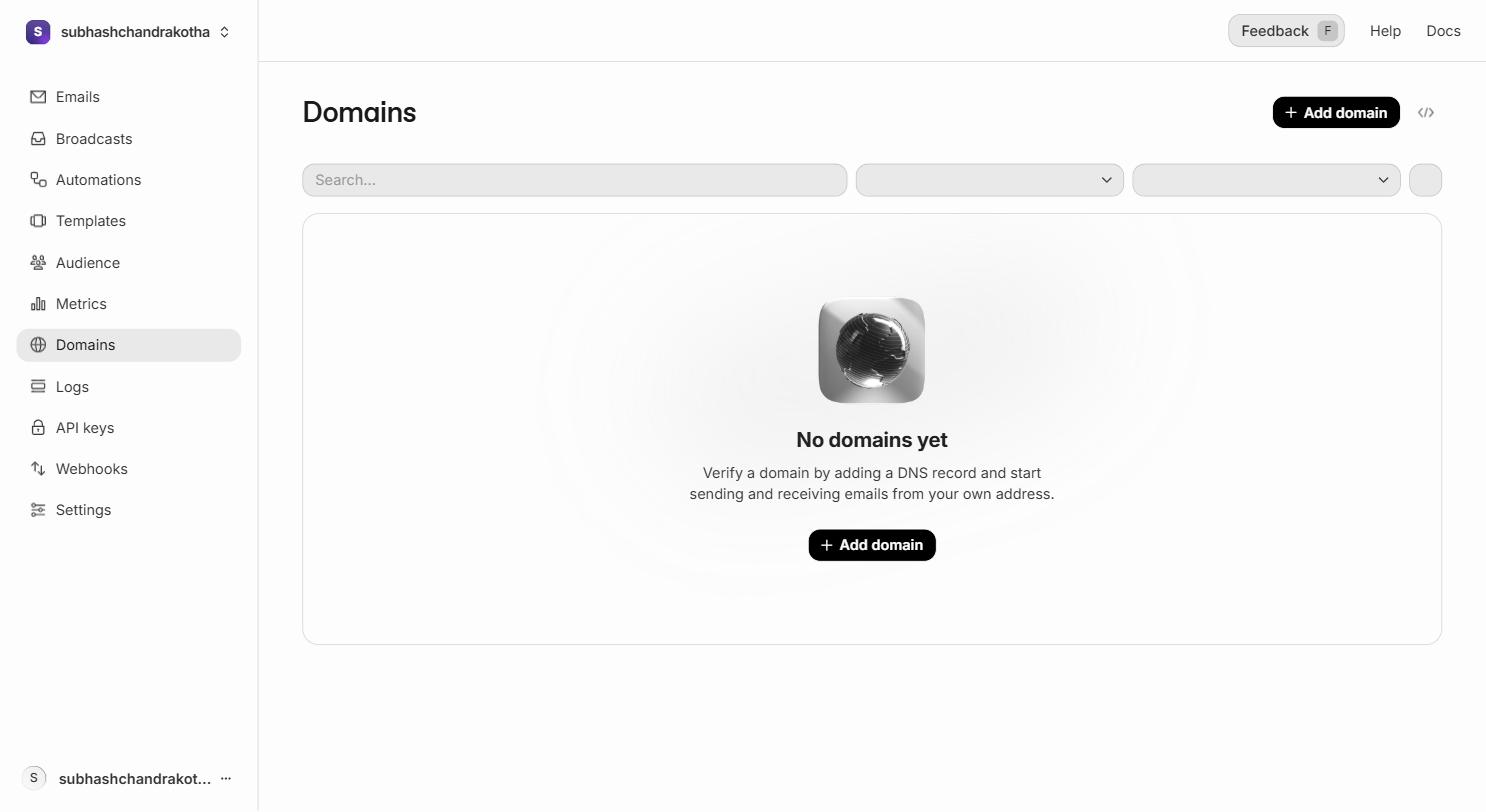 The Domains page. Click the highlighted "Add Domain" button (top right) to start verification.
- Click "Add Domain" (top right button).
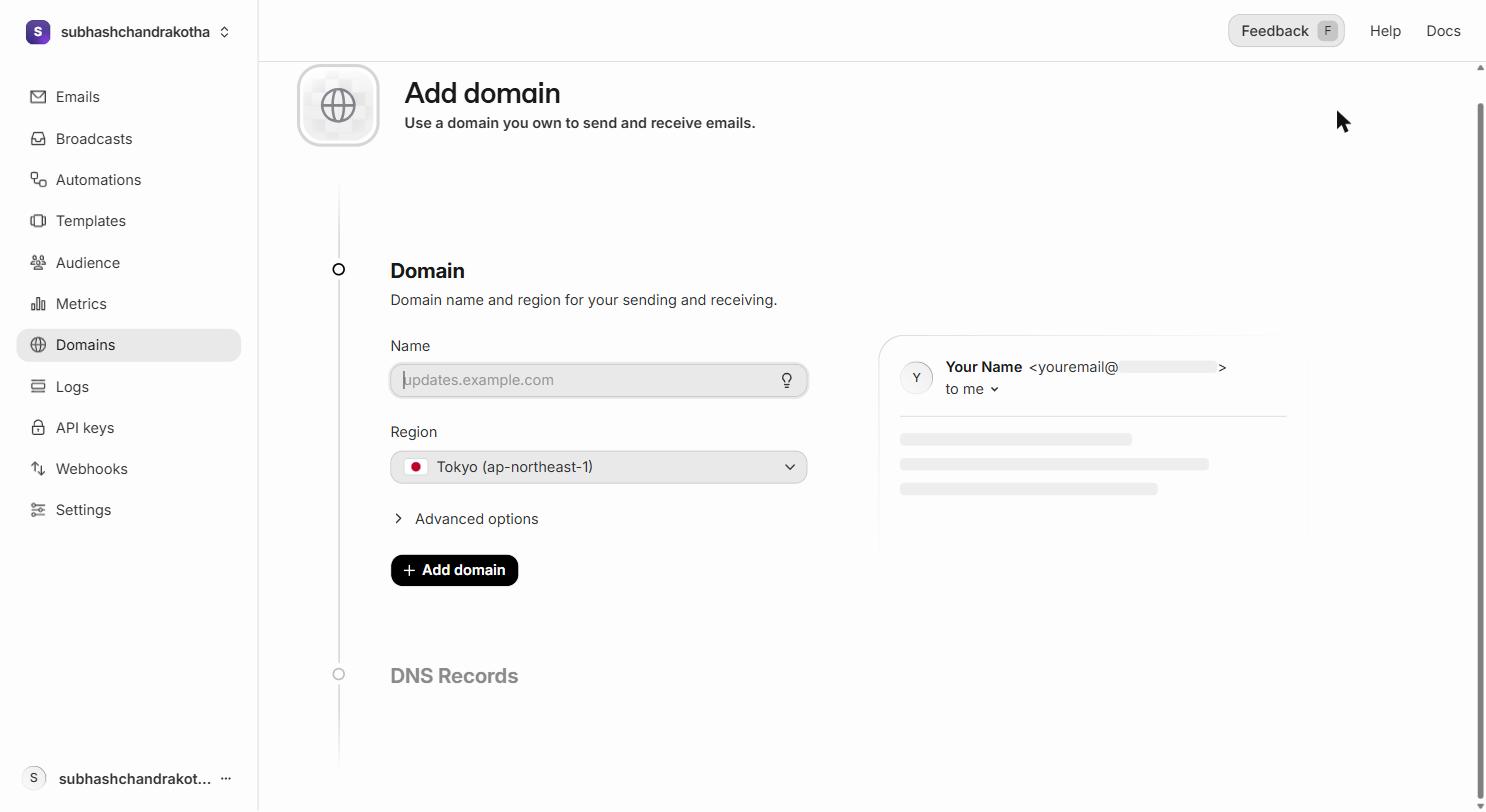
- A form appears. Enter your domain:
aurorapublicschool.in(nowww, nohttps://, just the bare domain). - Select region:
ap-south-1(Asia Pacific — Mumbai). This routes your emails through servers geographically close to India, reducing latency. For Indian apps serving Indian users, always chooseap-south-1. - Click "Add".
Resend now shows you a list of DNS records to add. Do not close this screen. You need these values in the next step.
 The domain detail page after adding a domain. Resend lists the SPF, DKIM, and DMARC records you need to add at your registrar.
Read the DNS Records Resend Gives You
Resend will show you 3–4 records. They look something like this (your actual values will be different):
Record 1 — SPF (Type: TXT)
Record 2 — DKIM (Type: TXT)
Record 3 — DKIM (Type: TXT)
(Resend sometimes adds a second DKIM key for key rotation)
Record 4 — DMARC (Type: TXT)
(Resend may add this or you may add it separately)
Copy each value carefully. The DKIM values especially are long strings — copy the entire value, including any = characters at the end.
Do not close the Resend DNS records screen until you have successfully added all records in your registrar and confirmed they are saved. The values Resend shows are what you must copy exactly. An error in one character of a DKIM value will cause verification to fail.
Log In to Your Domain Registrar
Open a new browser tab. Go to your domain registrar (wherever you bought aurorapublicschool.in). Log in.
Find the DNS management section. Every registrar has a slightly different name for it:
- GoDaddy: "DNS" tab on the domain's management page
- Namecheap: "Advanced DNS" in the domain's settings
- BigRock: "DNS Management" in the control panel
- Hostinger: "DNS / Nameservers" in the domain settings
You will see a table of existing DNS records. There will already be some records there — A records, NS records, CNAME records that point to your current hosting. Do not delete any existing records. You are only adding new ones.
Add the SPF Record
Click "Add Record" (or the equivalent button in your registrar).
Fill in the fields:
- Type: TXT
- Host/Name:
@(the@symbol means "the root domain itself" —aurorapublicschool.in) - Value / Content: Paste the entire SPF value from Resend (starts with
v=spf1) - TTL: 600 (or use "Automatic" if 600 is not an option)
Click Save.
What "TTL" means: Time To Live. It tells other DNS servers how long to cache this record before checking for updates. 600 seconds (10 minutes) means changes propagate relatively quickly. "Automatic" at most registrars defaults to 3600 seconds (1 hour), which is also fine for this purpose.
If an SPF record already exists: Your domain may already have an SPF record from another email service (like Google Workspace). You cannot have two SPF records. Instead, combine them into one:
Add all include: entries into a single TXT record.
Add the DKIM Record(s)
Add another new record:
-
Type: TXT
-
Host/Name:
resend._domainkeyAt some registrars, you enter only the subdomain part —
resend._domainkey— and the registrar appends your domain automatically. At others, you enter the full value:resend._domainkey.aurorapublicschool.in. If you're unsure, enter justresend._domainkeyfirst. The registrar will show you a preview of the final DNS name, and you can adjust if needed. -
Value / Content: Paste the entire DKIM value from Resend (starts with
p=) -
TTL: 600
Click Save.
If Resend showed a second DKIM record (a resend2._domainkey entry), add it the same way.
Add the DMARC Record (Recommended)
DMARC is not strictly required, but it improves deliverability significantly and is considered best practice for any production email setup.
Add another new record:
-
Type: TXT
-
Host/Name:
_dmarc -
Value:
v=DMARC1; p=none; rua=mailto:postmaster@aurorapublicschool.inReplace
postmaster@aurorapublicschool.inwith an email address you can access — this is where DMARC aggregate reports will be sent (weekly summaries of email activity). If you don't want the reports, you can omit therua=part:- TTL: 600
Click Save.
Wait for DNS Propagation
DNS changes do not take effect immediately. When you add or change a DNS record, DNS servers around the world need time to pick up the change. This process is called DNS propagation.
Typical wait times:
- Most registrars: 10–30 minutes
- Maximum: up to 48 hours (rare for new records; more common when replacing existing records)
- Indian registrars (BigRock, Hostinger): usually 15–60 minutes
What to do while you wait:
- Continue to the API Key page — you can create your API key now
- Set up a test edge function — you can write the code before the domain verifies
- Read the Email Templates page
Do not sit and refresh the Resend dashboard waiting for verification. The change will propagate when it propagates. Check back in 20–30 minutes.
Verify in Resend
Return to the Resend Dashboard → Domains.
Your domain appears with a status of "Pending". Click "Verify DNS Records" next to your domain.
Resend will check whether your DNS records are correct. If everything is in place, the status changes to "Verified" with a green indicator. Each record (SPF, DKIM, DMARC) gets its own green checkmark.
If any record fails:
- Double-check that you copied the value exactly (no leading/trailing spaces)
- Confirm the Host/Name field is correct for your registrar's format
- Wait another 15 minutes and try again
After Verification — What You Can Send From
Once a domain is verified, you can use any address on that domain as your "From" address:
You do not need to create these email addresses anywhere. You do not need email hosting for them. Resend handles the sending side. The domain verification is what matters — the subdomain (the part before @) can be anything.
Do not use a generic "from" address like noreply@gmail.com or any address you don't own. Sending from a domain you haven't verified will cause Resend to reject the send request entirely. Always send from your verified domain, or from onboarding@resend.dev during development.
Checking Verification Status Later
Domains → click your domain name. You see the status of each DNS record:
- Green checkmark = record is correct and verified
- Red X = record is missing or incorrect
- Yellow clock = record was recently added and Resend is still checking
If a record goes from verified to unverified later, it means the DNS record was accidentally deleted or changed at your registrar. Re-add it and click "Verify" again.
Summary: What Each Record Does
| Record | Type | Purpose |
|---|---|---|
| SPF | TXT | Tells inbox providers which servers are authorized to send email for your domain |
| DKIM | TXT | Adds a cryptographic signature to each email — proves the email wasn't tampered with in transit |
| DMARC | TXT | Tells inbox providers what to do if SPF/DKIM checks fail (reject, quarantine, or do nothing) |
Together, these three records are what make email recipients' servers trust your emails enough to deliver them to inboxes rather than spam folders.
Next Step
Domain verification is underway. While DNS propagates, continue to the API Key page to create the key your code will use.