Creating a Resend Account
Step-by-step: sign up for Resend, verify your email, and understand every section of the dashboard before you need it.
Resend has a free tier that covers all your training projects and small client sites. The account takes about 5 minutes to set up.
Sign Up
Open your browser and go to resend.com.
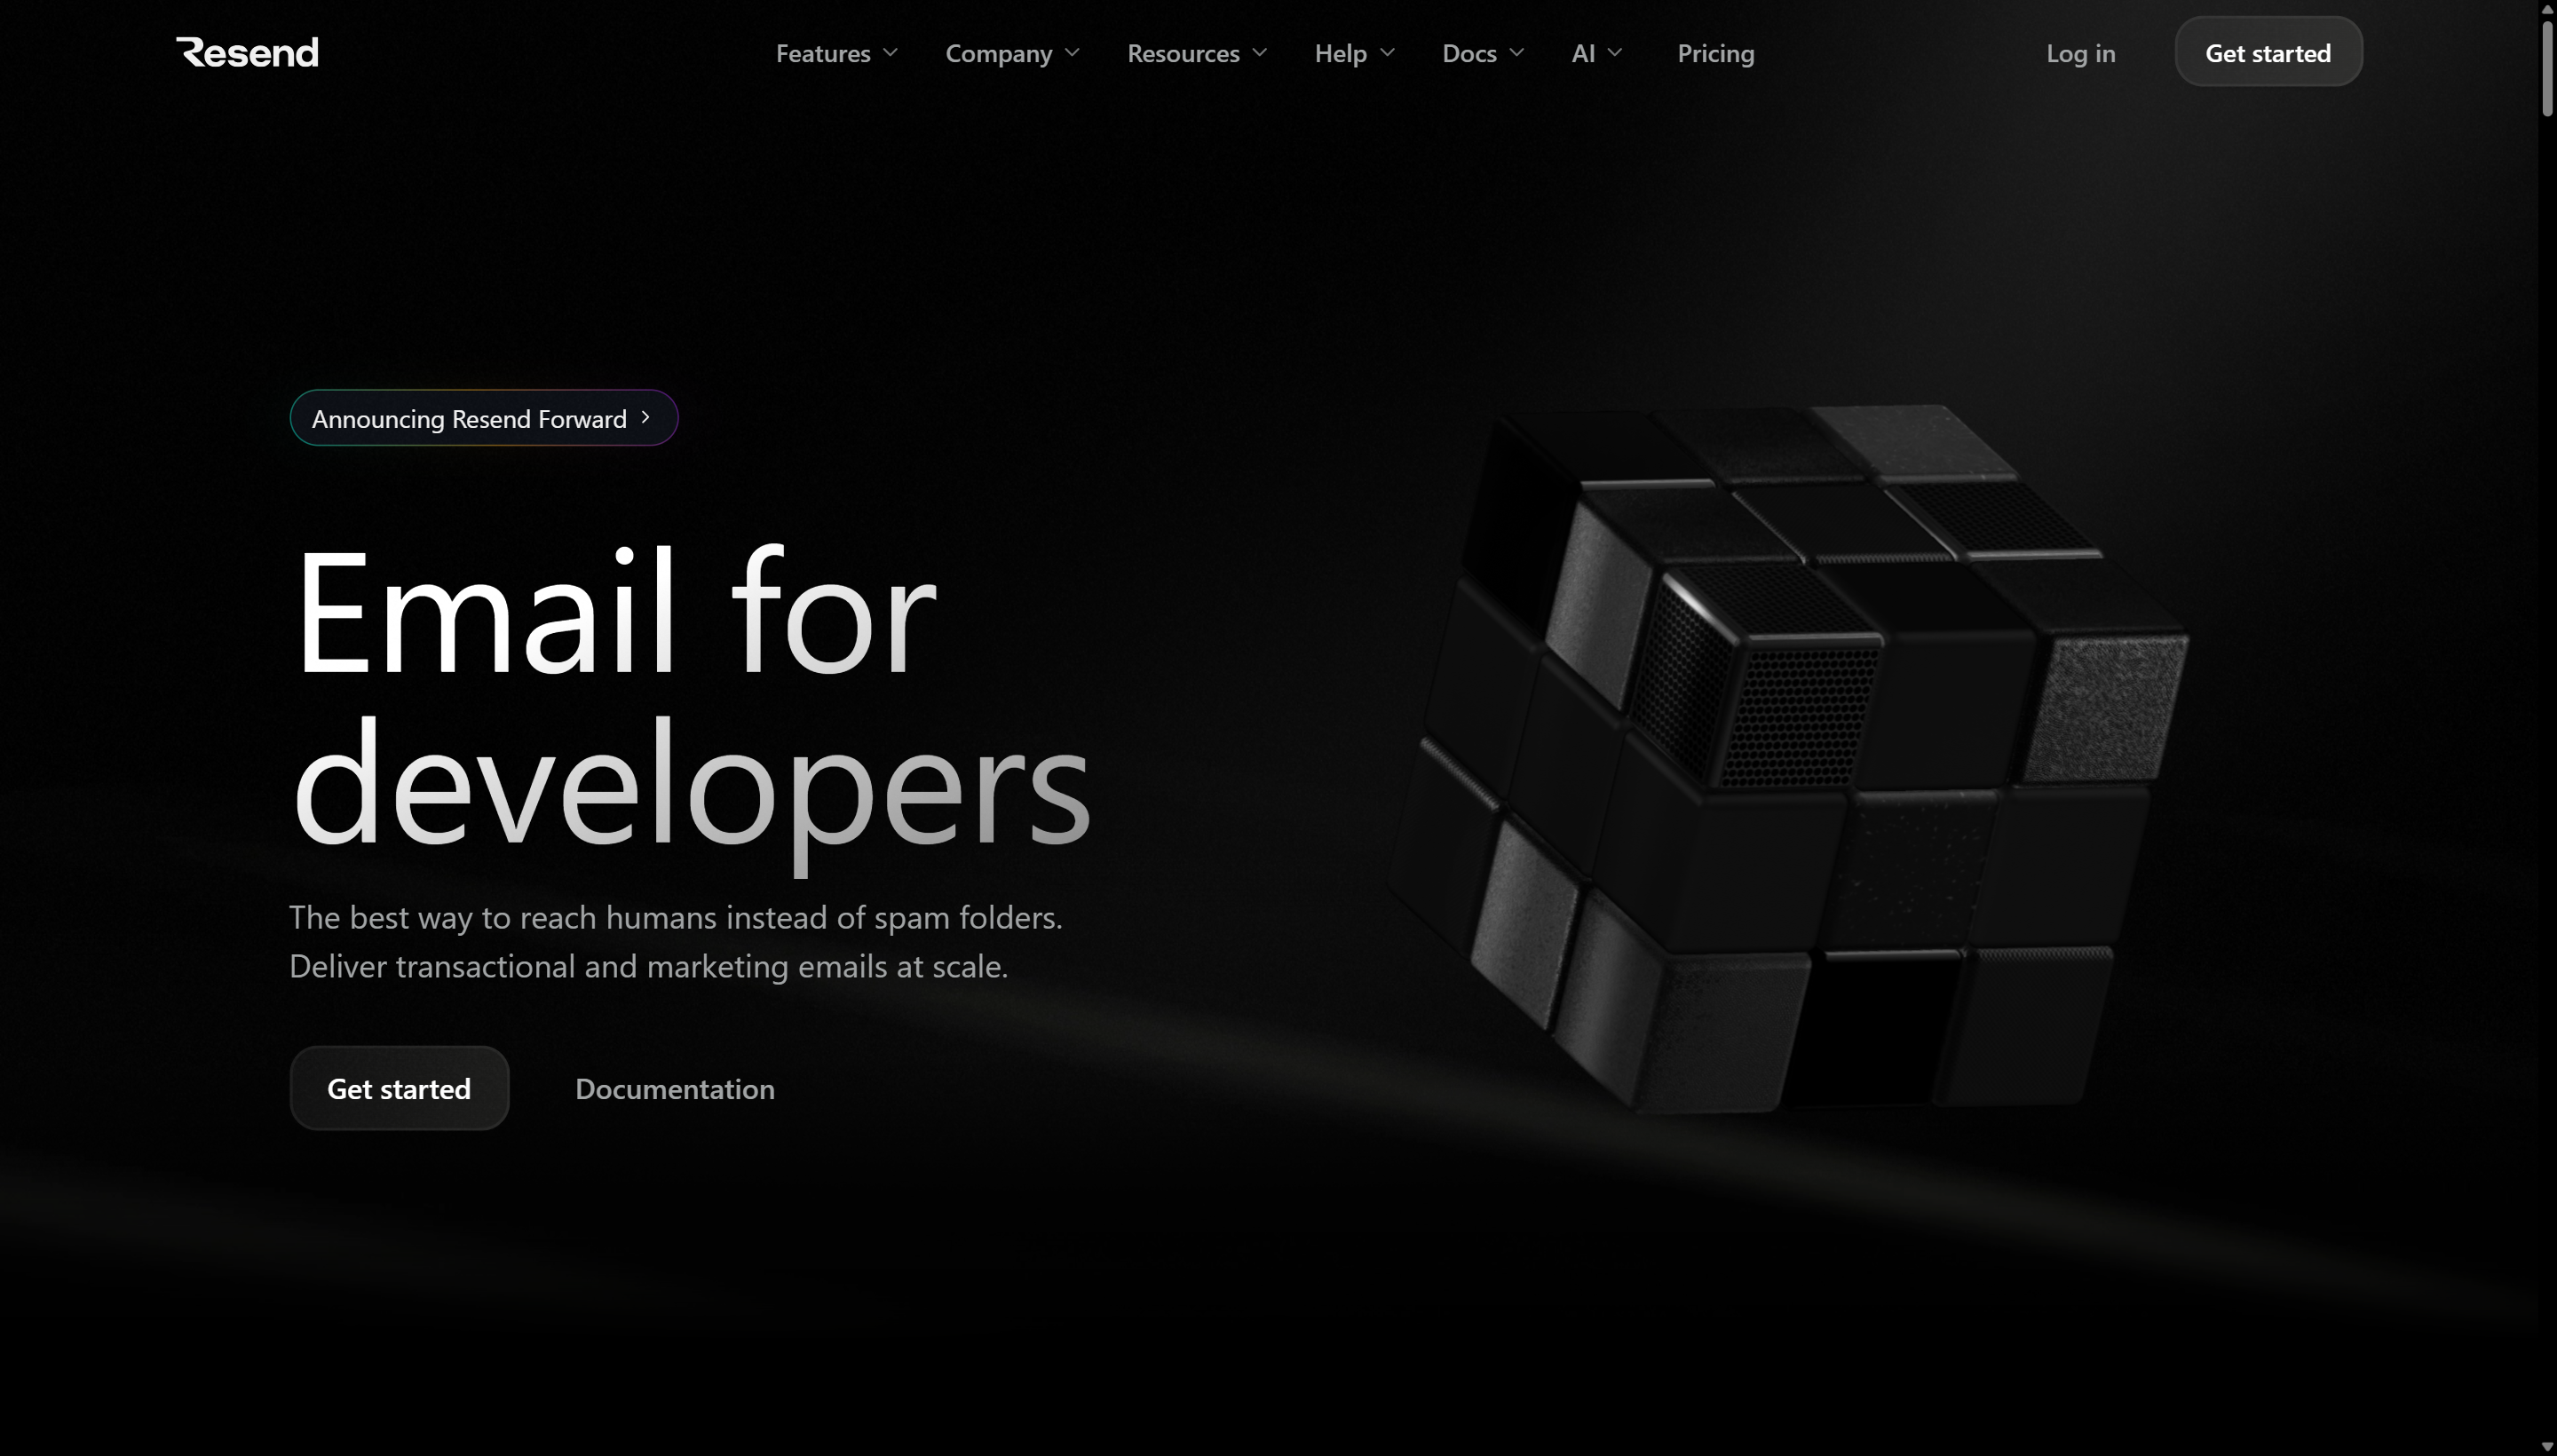 Resend homepage. Click "Get Started for free" in the top right. The developer-focused design and live code examples are intentional — this is a product built by developers, for developers.
You will see a dark homepage with a "Get Started for free" button in the top right corner. Click it.
The signup page offers three options:
- Continue with GitHub — recommended
- Continue with Google
- Sign up with email
Choose "Continue with GitHub."
Consistency is the reason. You are already using GitHub for version control. Using the same account for developer tools wherever possible means fewer passwords, fewer recovery email chains, fewer "which email did I use for this?" moments six months from now.
If you click "Continue with GitHub," your browser redirects to GitHub's authorization page. It asks: "Resend wants to access your GitHub account." Click "Authorize resend".
You are taken back to Resend with your account created. No password needed.
If you choose email signup instead: Resend sends a verification email. Open that email and click the confirmation link before proceeding. Your account is not active until you confirm.
Onboarding Questions
After your first login, Resend may ask one or two onboarding questions:
"What do you want to do?" — Select "Send emails" and click Next.
"What describes you best?" — Select whatever applies — "Developer," "Indie hacker," or similar. This doesn't affect your account's functionality.
Some onboarding flows are A/B tested and may look slightly different from what is described here. If you see different questions, answer them reasonably and continue. The important thing is reaching the dashboard.
The Dashboard — Every Section Explained
After onboarding, you land on the Resend dashboard. This is your control center. Take 2 minutes to orient yourself before doing anything.
The left sidebar has these sections. Here is what each one is for:
Overview
The first screen you see after login. Shows:
- Emails sent today — a count of all emails dispatched in the last 24 hours
- Delivered — emails that reached the recipient's inbox successfully
- Bounced — emails that failed delivery (address doesn't exist, inbox full, domain blocked)
- Send rate — a quick health check: are your emails getting through?
This is the screen you open first when a client reports a missing email.
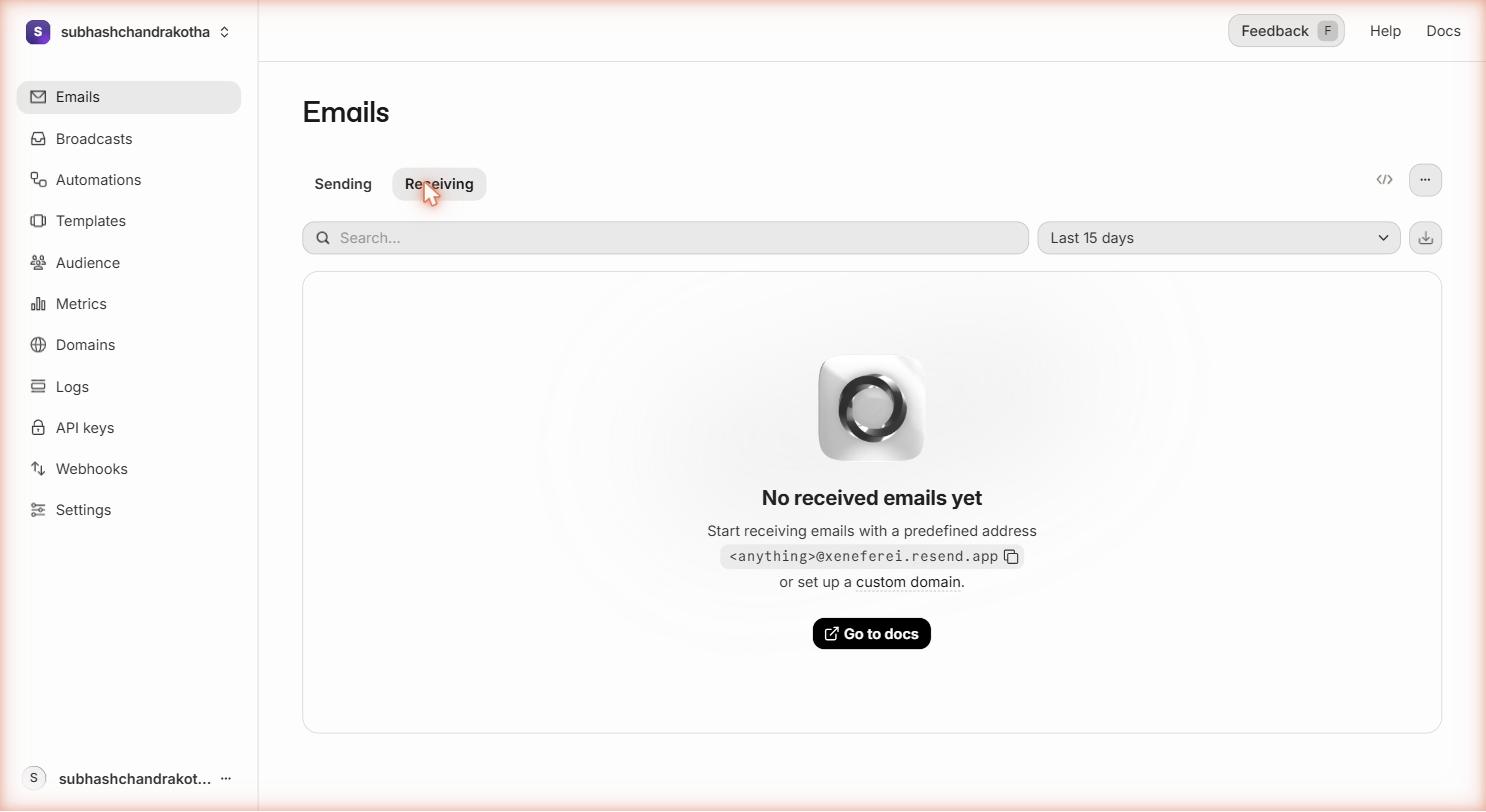
Emails
A searchable log of every email your account has ever sent. Each row shows:
- To — recipient email address
- Subject — the email subject line
- From — the address you sent from
- Status — Delivered, Bounced, or Pending
- Created — timestamp of when your code triggered the send
Click any row to see the full details: headers, delivery events, timestamps for each step of the delivery process.
This is your audit trail. When something goes wrong — and eventually something will — this log tells you exactly what happened and when.
 Click any row to see the full delivery timeline — accepted, queued, delivered (or bounced) with timestamps for each step.
Domains
Where you add and verify the email domains you will send from (for example, aurorapublicschool.in). A domain must be verified before you can use it as a sending address. We will walk through this in detail on the next page.
API Keys
Where you create the secret keys your code uses to authenticate with Resend's API. Each project gets its own API key — you never share one key between multiple projects. The API key creation process is covered in its own page.
Webhooks
An advanced feature for when you need your application to react to email events in real time. For example: when a user's email bounces, you might want to mark their account in your database to stop sending to them. Webhooks let Resend notify your application when these events happen.
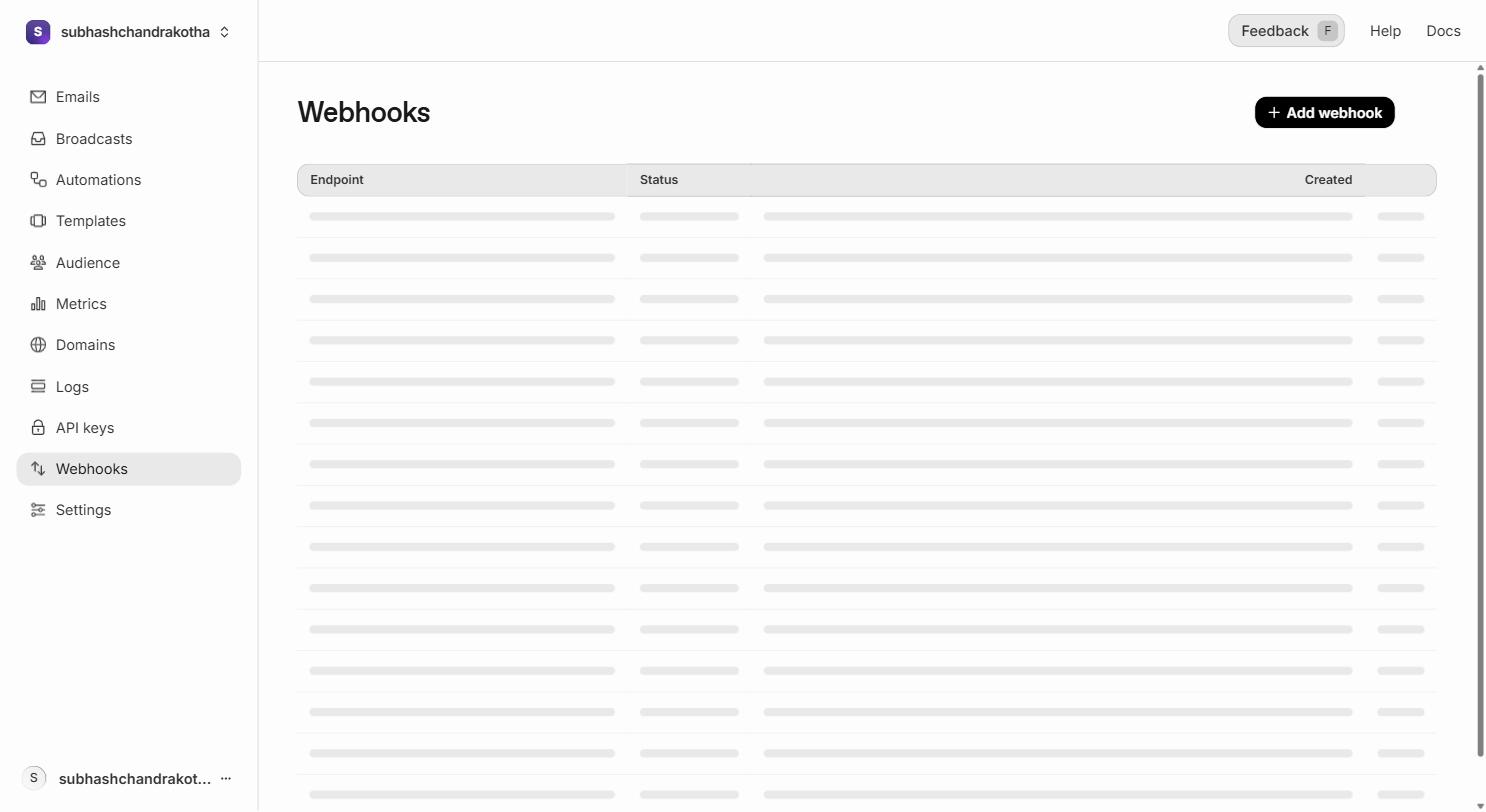 The Webhooks page. You give Resend an HTTPS endpoint URL — typically a Supabase edge function — and pick which events trigger calls to it (delivered, bounced, complained, opened, clicked).
You will not need webhooks during training. They are covered in the Backend module when edge functions are introduced.
Audiences
A list of contacts — names, email addresses, optional metadata — that you can send broadcasts (campaigns) to. This is not for transactional email. Audiences are for newsletters, product announcements, and re-engagement campaigns where you send the same message to many people at once.
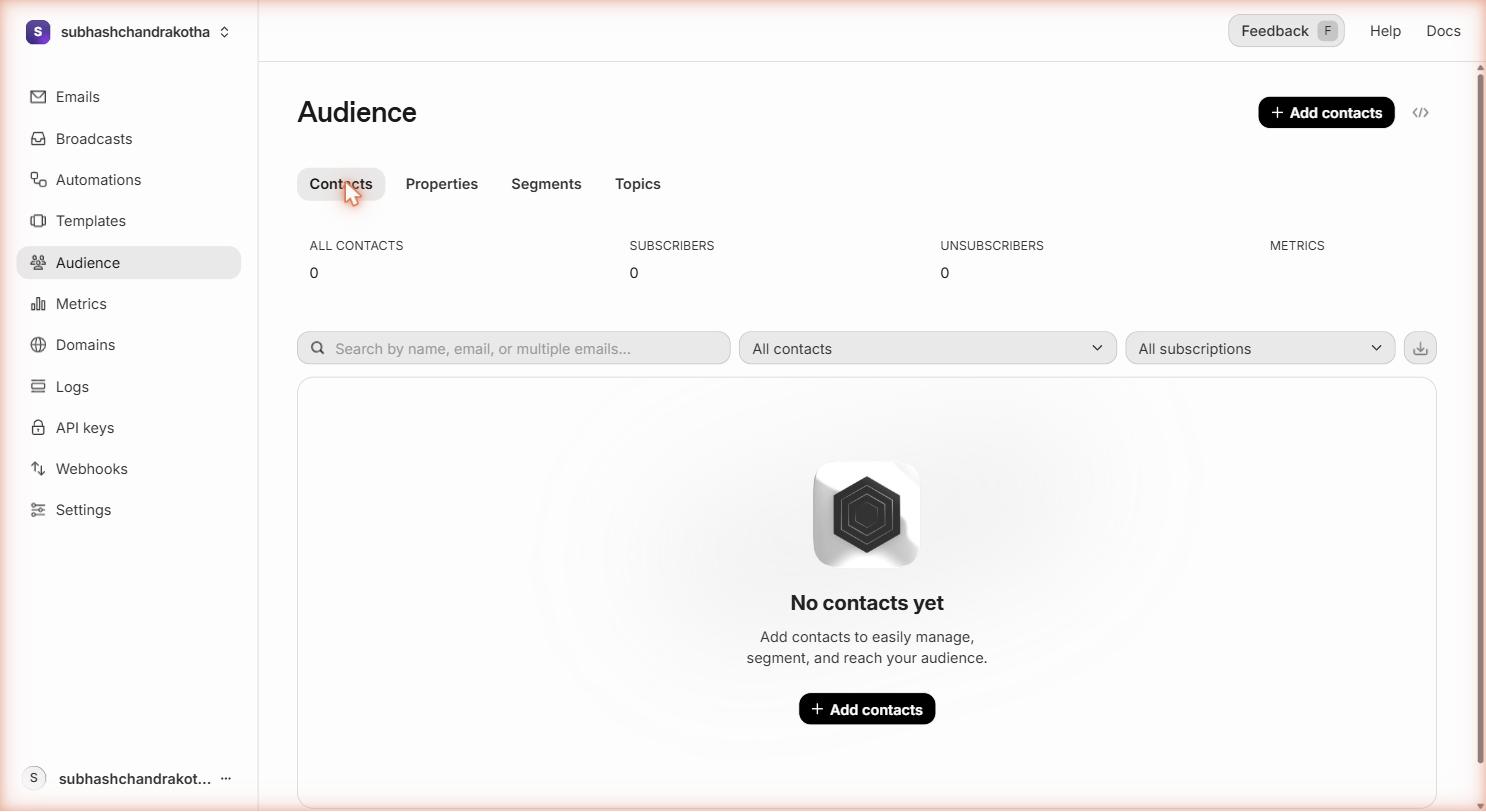 Audiences in Resend. Each audience is a list of contacts with their own subscription state.
For training projects and Aurora Public School's transactional emails (fee receipts, enrollment confirmations, attendance alerts), you do not use Audiences. They become relevant only when a client adds a marketing email requirement.
Broadcasts
Where you compose and send an email to an entire audience. Think of it as the "send a newsletter" feature. Broadcasts use the same templates and delivery infrastructure as transactional email, but they are scheduled, sent in bulk, and have separate analytics for opens and clicks.
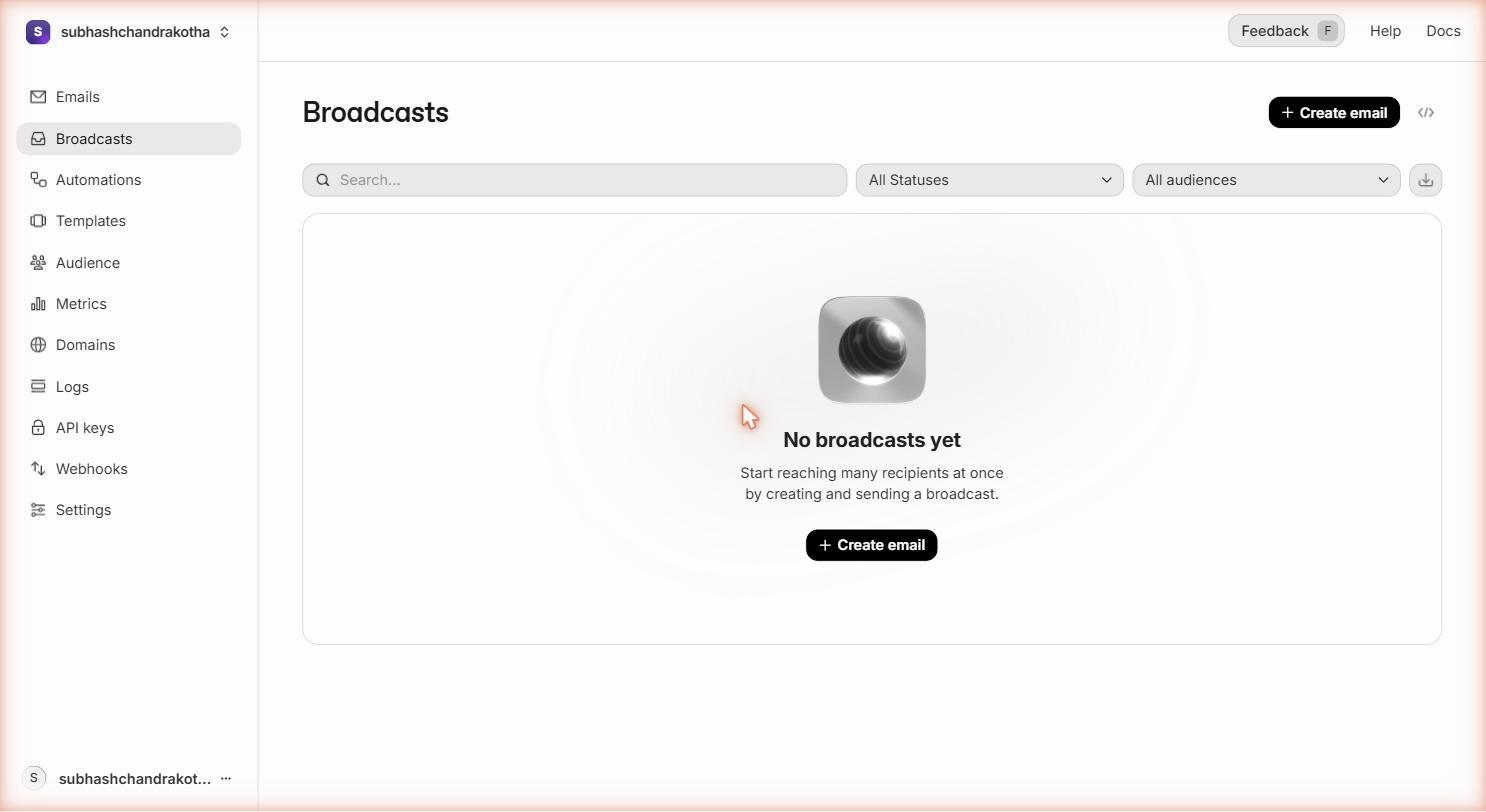 Broadcasts let you send one email to a whole audience. Same delivery infrastructure, different use case from transactional sends.
Broadcasts are not part of the training scope. If a future client needs marketing email, this is where it lives.
Settings
Account-level configuration — team members, billing, and account preferences.
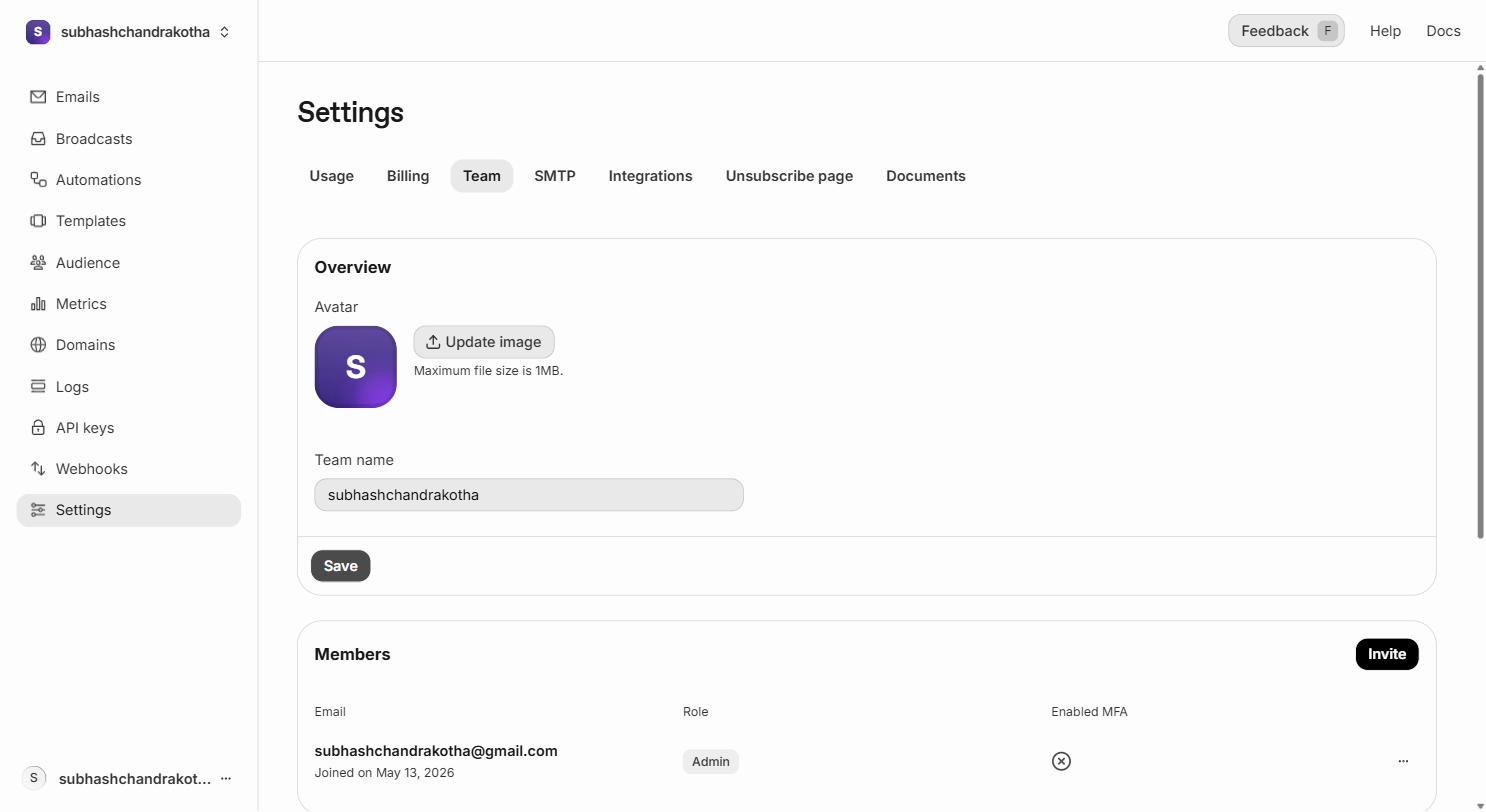 Team members on a Resend account. The free plan includes one seat; paid plans add more.
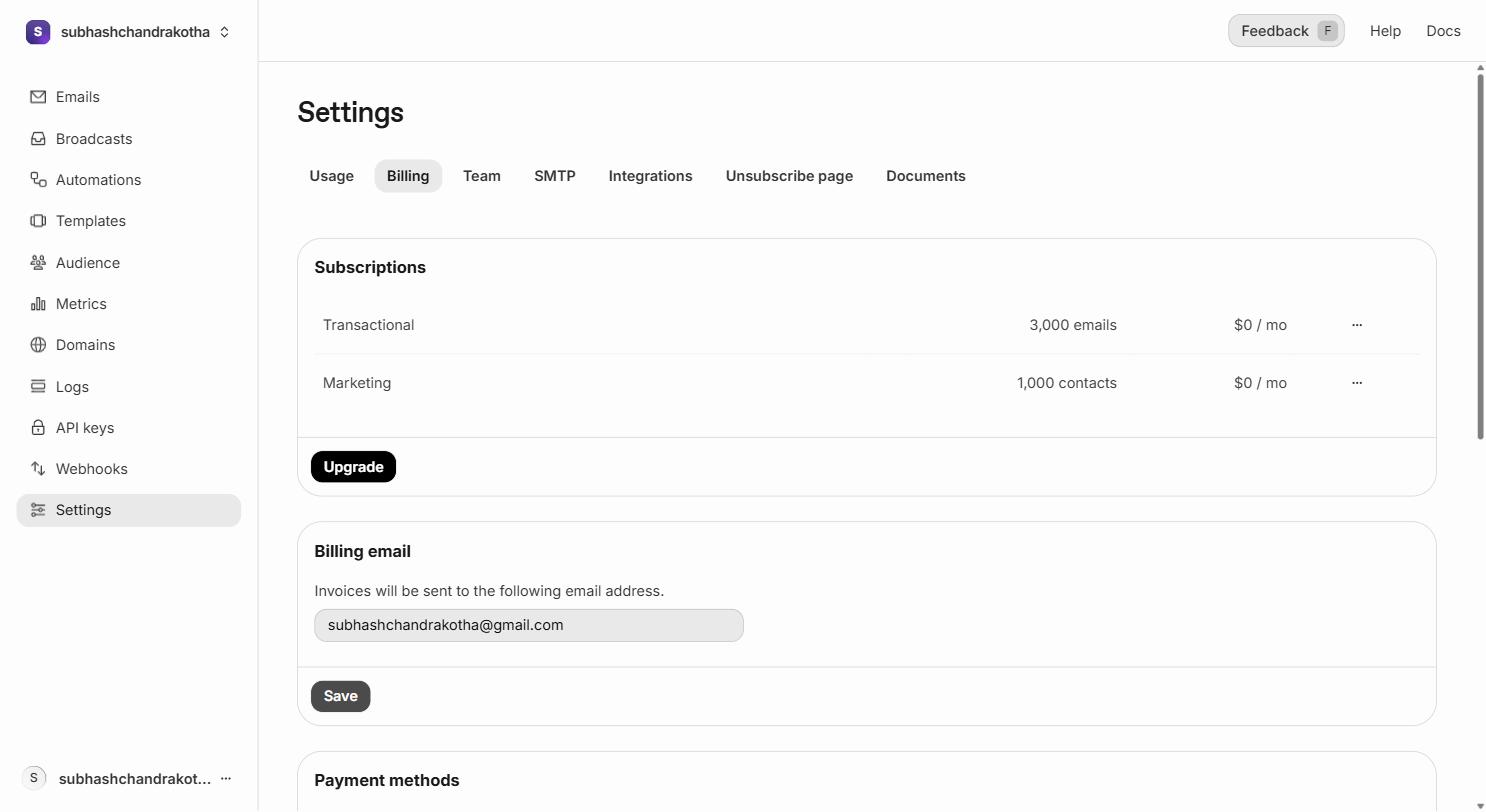 Billing and plan information. The free tier covers everything in training — you do not need to enter payment details.
Free Tier Limits
Before you sign up for any paid service, understand what the free tier actually gives you.
| Limit | Free Tier Value |
|---|---|
| Emails per month | 3,000 |
| Emails per day | 100 |
| Custom domains | 1 |
| Team members | 1 |
| Email retention (logs) | 3 days |
| Webhooks | Included |
| API access | Included |
| React Email templates | Included |
For training projects: 3,000/month and 100/day is more than enough. A training project might send 10–20 emails per day during active development.
For Aurora Public School in production: Once the school goes live, you will need a paid plan. The Pro plan starts at $20/month for 50,000 emails. But that is a production concern — during development and training, the free tier handles everything.
Email retention: The free tier keeps your email logs for only 3 days. If you need to investigate a delivery issue from last week, you won't find the log. Paid plans extend this to 30 days or longer. For training purposes, 3 days is fine — you will check the dashboard in real time, not retroactively.
What the Account Gives You
With a Resend account created and verified, you have:
- A place to manage your email domains
- A dashboard to see every email your code sends
- The ability to create API keys
- Access to the full API reference at resend.com/docs
The account by itself doesn't send any emails yet. The next two steps — domain setup and API key creation — are what actually enable your code to send.
Next Step
Decide whether you are setting up a domain now or using Resend's development domain for testing.
- If you are working on a training project (no custom domain yet): skip to the API Key page. You will use
onboarding@resend.devas your sending address for development. This works perfectly for local testing and development. - If you are setting up a production project (you have a domain, like
aurorapublicschool.in): continue to the Domain Setup page. Do this before creating the API key — the key is more useful once you know which domain you'll be sending from.