Project Setup
Create a Google Cloud project, link a billing account, and set up a budget alert so you're never surprised by an unexpected charge.
Before you can create credentials or enable APIs, you need a Google Cloud project. Everything — credentials, APIs, billing, usage — lives inside a project. Creating one takes about 5 minutes.
Which Google account to use: Always use the Gmail account associated with the project you're building. For Sahinov training projects, use your personal Gmail. For Aurora Public School (when that phase begins), use the client's Gmail or the designated project Gmail. Never mix credentials — one project's credentials should not appear in a different project's code.
Creating the project
Open Google Cloud Console
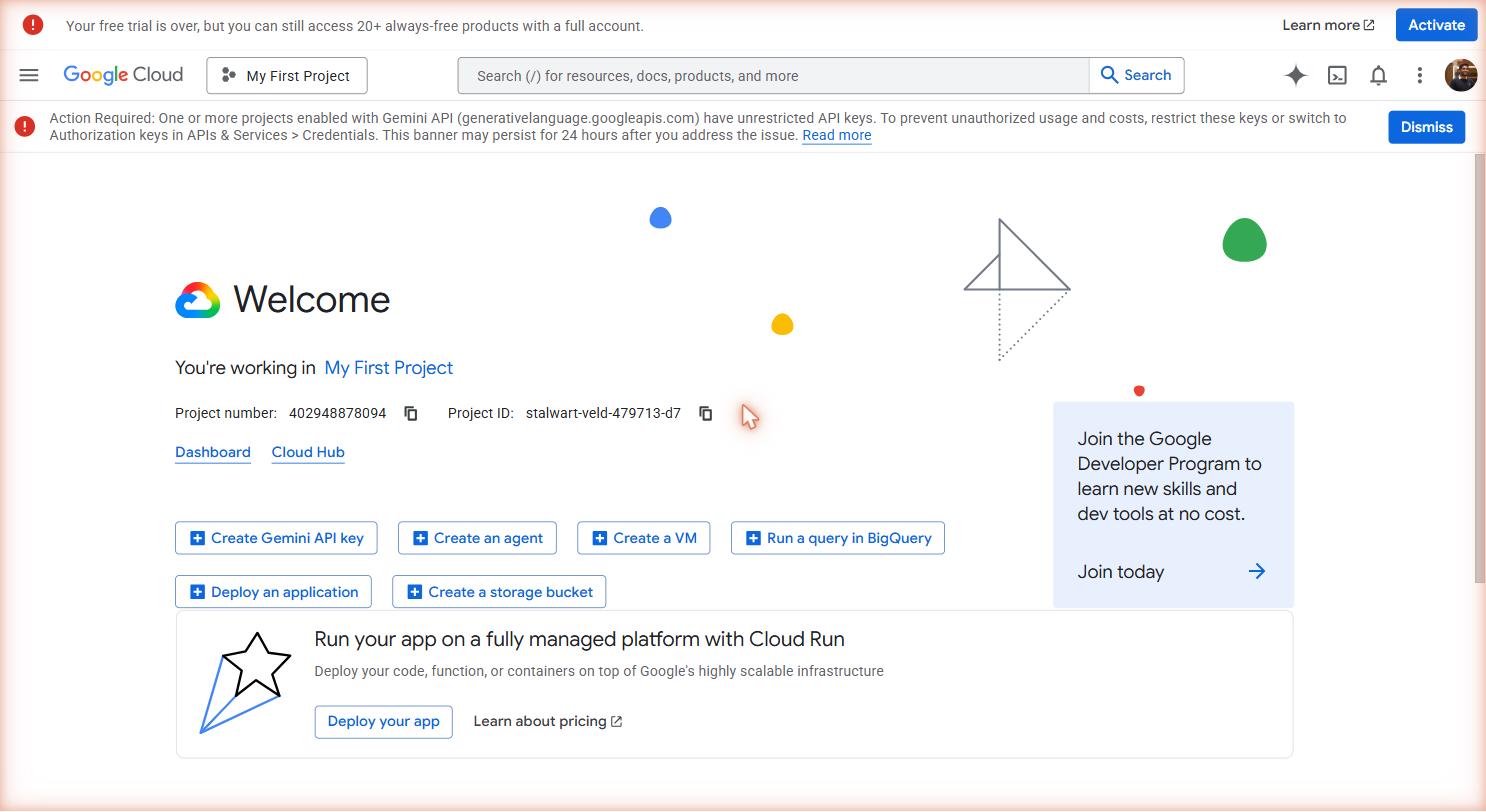 Google Cloud Console home. Dark top bar with project selector, search, notifications. Left sidebar exposes every Cloud service — you'll only ever use a handful.
Go to console.cloud.google.com in your browser.
Sign in with the Gmail account for this project. If this is your first time, Google will ask you to agree to the terms of service. Accept and continue.
You'll land on the Google Cloud Console home page. The page looks like a dashboard with a dark top bar, a left sidebar with navigation links, and a central area showing your project overview.
Open the project selector
 The project selector sits at the top, next to the Google Cloud logo. Click it to switch projects or create a new one.
In the top navigation bar, look for the current project name — it appears to the right of the Google Cloud logo. It usually shows "My First Project" or "No project" if you've never created one.
Click on it. A popup modal opens showing a list of your existing projects and two buttons at the top right: "NEW PROJECT" and "Cancel".
Create a new project
Click "NEW PROJECT".
You're taken to a form with two fields:
- Project name: Type your app name. Use a clear name you'll recognize — for example,
Aurora Public SchoolorMy School App. Project names cannot be changed later. - Organization: Leave this set to "No organization". This field is for Google Workspace accounts (company-issued Gmail). For personal Gmail accounts it may be greyed out — that's fine.
The Project ID field below the name is auto-generated. It takes your project name and appends random characters to make it unique globally (e.g., aurora-school-429103). You can click "EDIT" to change it, but the auto-generated ID is fine for our purposes.
Click "CREATE".
Wait for the project to be created
A small notification appears in the top right corner of the screen showing a loading spinner and the message "Creating project...". This takes 15–30 seconds.
When it finishes, the notification changes to "Create Project: [your project name]" with a link that says "SELECT PROJECT". Click it.
Alternatively, click the project selector in the top bar again and choose your new project from the list.
Confirm you're in the right project
 Project picker modal. Use the search field if you have many projects; check the project ID column to disambiguate similar names.
Look at the top navigation bar. Your project name should now appear next to the Google Cloud logo.
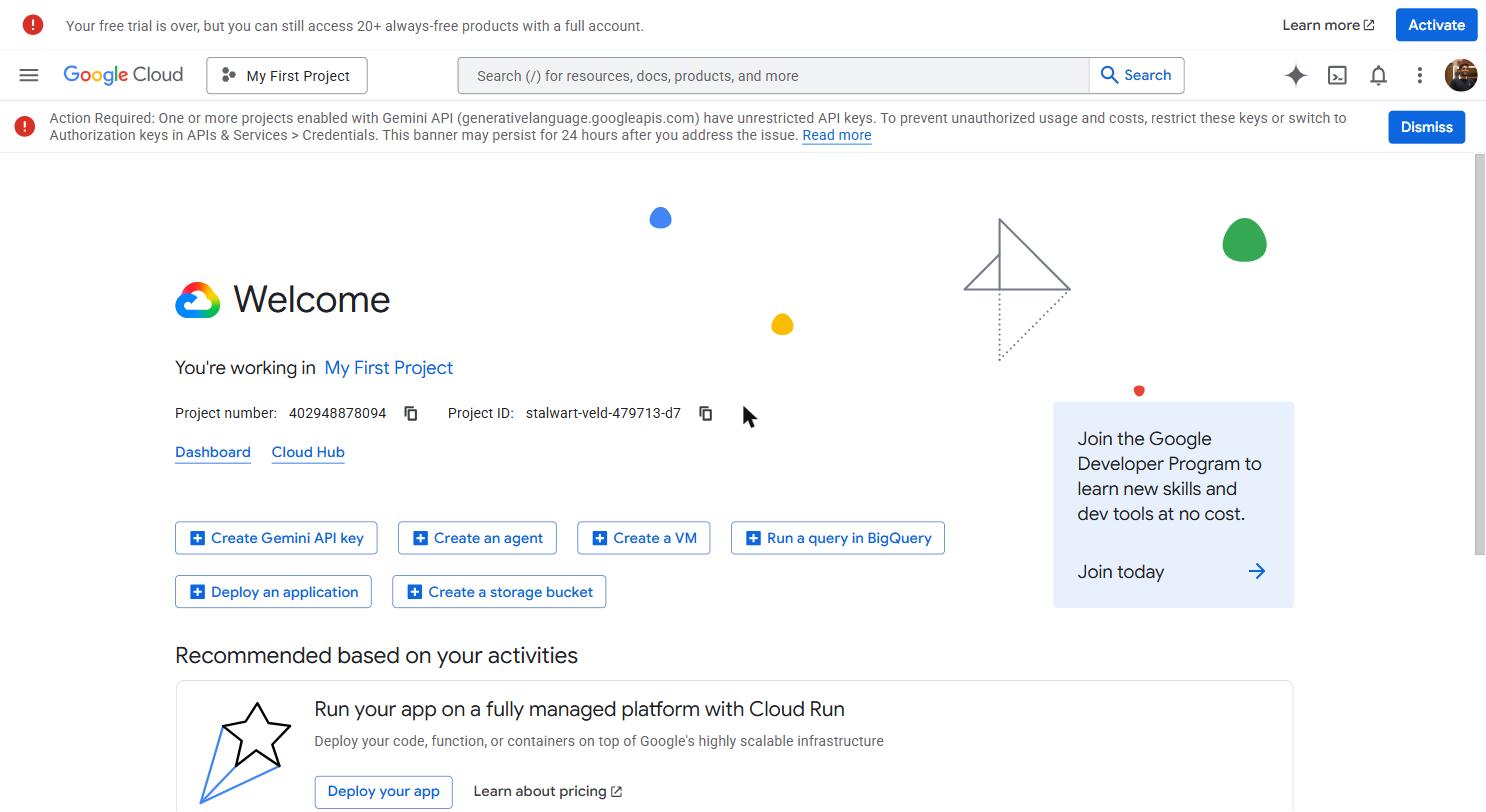
On the home page (the central area), you should see:
- A welcome card or an API dashboard
- Your project name and Project ID in the project info panel
- The left sidebar with navigation links to all Google Cloud services
You're now inside your project. Any credentials or APIs you create will belong to this project.
Setting up billing
 Billing page — payment method, current usage, budgets, and alerts. The free tier ($200/month Maps credit) applies automatically once a billing account is linked.
Most Google Cloud APIs — including Maps and Places — require a billing account to be linked before they'll work, even if your usage stays within the free tier. Setting up billing does not mean you'll be charged immediately; it just means Google has a payment method on file if you exceed the free tier.
The free tier is real. Google provides $200/month in Maps API credit automatically. For training projects and small apps, you will almost certainly never spend a rupee. Billing exists as a safety net — you only pay if your app generates unusually high traffic.
Open Billing
In the left sidebar, scroll down and click "Billing". If you don't see it, click the hamburger menu (three horizontal lines) at the top left of the sidebar to expand it.
Link a billing account
If you already have a Google billing account from a previous project, you can select it here.
If this is your first time, click "Link a billing account" → "Create billing account".
You'll be asked to:
- Country: Select "India"
- Terms of service: Accept
- Payment profile: Enter your name and address
- Payment method: Add a credit or debit card
Google does a small verification charge of ₹1–2 which is immediately reversed — this is just to confirm the card is valid.
Click "Start my free trial" or "Submit and enable billing".
Confirm billing is linked
After completing the setup, you'll be returned to the billing page for your project. You should see your billing account name listed as the linked account, and the billing status should show as "Active".
Setting a budget alert
This is mandatory — do not skip it. A budget alert tells Google to send you an email when your spending reaches a threshold. It costs nothing and protects you from unexpected bills.
True story: A developer left a Maps API call inside a test loop that ran 10,000 times accidentally. Without a budget alert, they discovered the bill at the end of the month. With a budget alert set at ₹500, they would have received an email after ₹250 of usage and caught it immediately. Always set the alert.
Open Budgets & Alerts
In the left sidebar under Billing, click "Budgets & alerts".
If the sidebar shows "Billing" as a top-level item with sub-items, you can expand it and find "Budgets & alerts" directly. Otherwise, click "Billing" first and look for "Budgets & alerts" in the billing navigation that appears.
Create a budget
Click "+ CREATE BUDGET".
You'll see a form with four sections. Fill them in:
Scope (Section 1)
- Name: Give the budget a clear name — for example,
Aurora Public School Monthly Limit - Time range: Monthly
Click "Next".
Amount (Section 2)
- Budget type: "Specified amount"
- Amount: Enter
500(this is ₹500 — set in the currency of your billing account, which should be INR if you're in India)
Click "Next".
Actions (Section 3)
This is where you set the alert thresholds. By default, Google adds alerts at 50%, 90%, and 100% of your budget. Keep all three.
Make sure "Email alerts to billing admins and users" is toggled on. This means the Gmail address linked to your billing account will receive emails when thresholds are crossed.
Click "Next".
Review (Section 4)
Review the settings. Click "Finish".
Confirm the budget appears
You'll be returned to the Budgets & alerts list. Your new budget should appear with its name, amount (₹500), and status (Active).
Understanding the Google Cloud Console layout
Before you move on, spend a moment getting oriented. You'll be navigating this console throughout the program.
Top navigation bar:
- Project selector (left, next to the Google Cloud logo): switch between projects
- Search bar (center): the fastest way to find any service — just type "Maps API" or "OAuth" and click the result
- Notifications (bell icon, right): alerts about project changes, API enablement, billing
- Your account (top right): switch accounts, manage account settings
Left sidebar: This is the full list of Google Cloud services. It's intimidating at first — Google Cloud has hundreds of services. You'll only ever use a handful. The ones we use:
- APIs & Services → Credentials (for OAuth and API keys)
- APIs & Services → Library (to enable APIs)
- APIs & Services → Dashboard (to see which APIs are active)
- Billing (for costs and alerts)
Home / Dashboard area (center): Shows your project's overall usage — API requests, error rates, active APIs. This is mostly informational. You don't need to take action here unless something looks wrong.
Tip: The search bar at the top is faster than navigating the sidebar. If you need to reach the Maps JavaScript API page, just type "Maps JavaScript" in the search bar and click the first result. Use this habit throughout this module.
What you now have
After completing this page, you have:
- A Google Cloud project with a clear, recognizable name
- A billing account linked (required to use most APIs)
- A budget alert that will email you if spending approaches ₹500
Move on to the OAuth Credentials page to create the Client ID and Secret your app needs for "Sign in with Google".
Other Pages You May Encounter
These pages exist in every Google Cloud project. You will not configure them during the workshop, but knowing what they are saves confusion when you stumble across them.
IAM (Identity and Access Management)
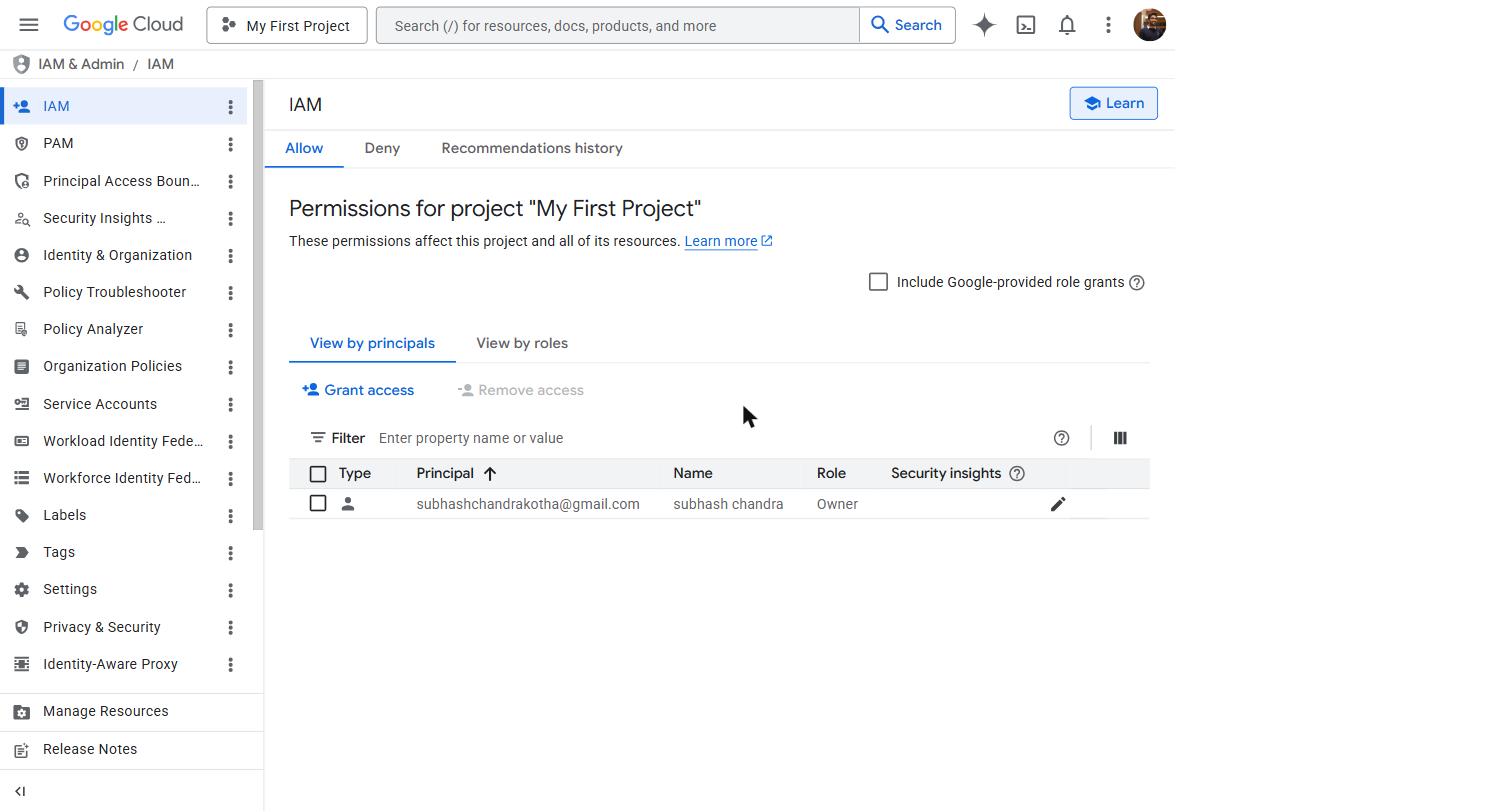 IAM controls who has access to your project and what they can do. For solo projects, only your own Gmail account appears here. When you collaborate with Subhash on Aurora Public School, his email is added with a specific role (e.g. "Editor" or "Owner").
Cloud Storage
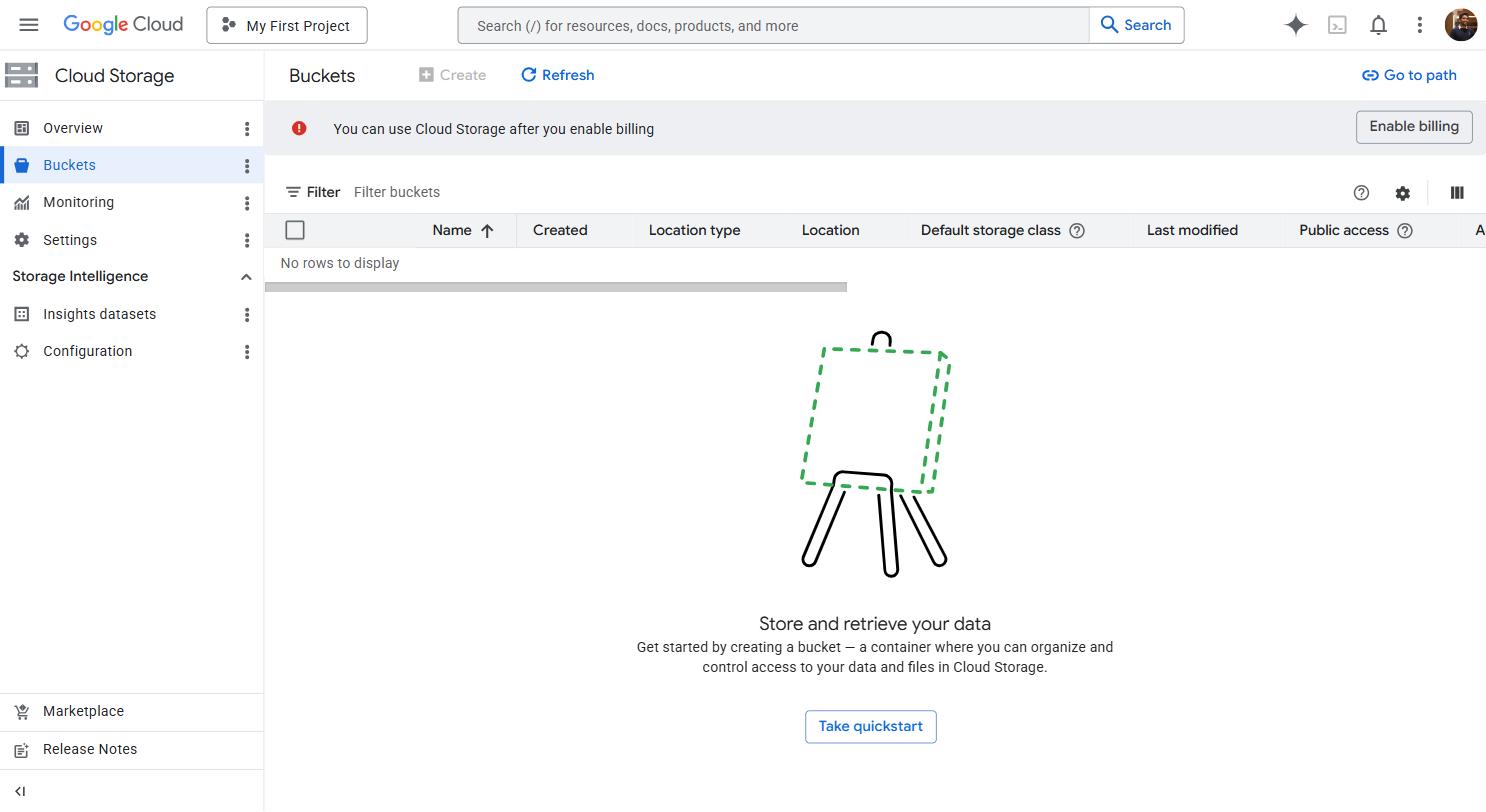 Cloud Storage is Google's S3-equivalent. We don't use it in this workshop — Supabase Storage handles file uploads — but if a future project requires Google's specific storage features (e.g. integration with Google's video transcoding), this is where buckets live.
Quotas
 Quotas page — the cap on requests per second, per day, etc. for each enabled API. Helpful when investigating why an API call is being rate-limited or rejected.