OAuth Credentials — Sign in with Google
Create the Client ID and Client Secret that power 'Sign in with Google' in your app — step by step.
Why you need these
Your app has a "Sign in with Google" button. When a user clicks it, the following happens:
- Your app sends a request to Google saying: "A user wants to log in. Here is my Client ID — verify that I'm the Aurora Public School app."
- Google looks up your Client ID in its registry and confirms: "Yes, Aurora Public School is a registered app. Show the user the Google login screen."
- The user logs in on Google's server (never on your server — Google handles this entirely).
- Google redirects the user back to your app at a specific URL you declared in advance — the redirect URI.
- Your backend (Supabase) receives a code from Google, exchanges it for the user's identity using the Client Secret, and creates a session.
Without the Client ID and Client Secret, steps 1 and 5 cannot happen. Google rejects the request with an authorization error before the user ever sees a login screen.
Before this page: Make sure you have completed the Project Setup page. You need a Google Cloud project open and selected before you can create credentials.
Navigate to Credentials
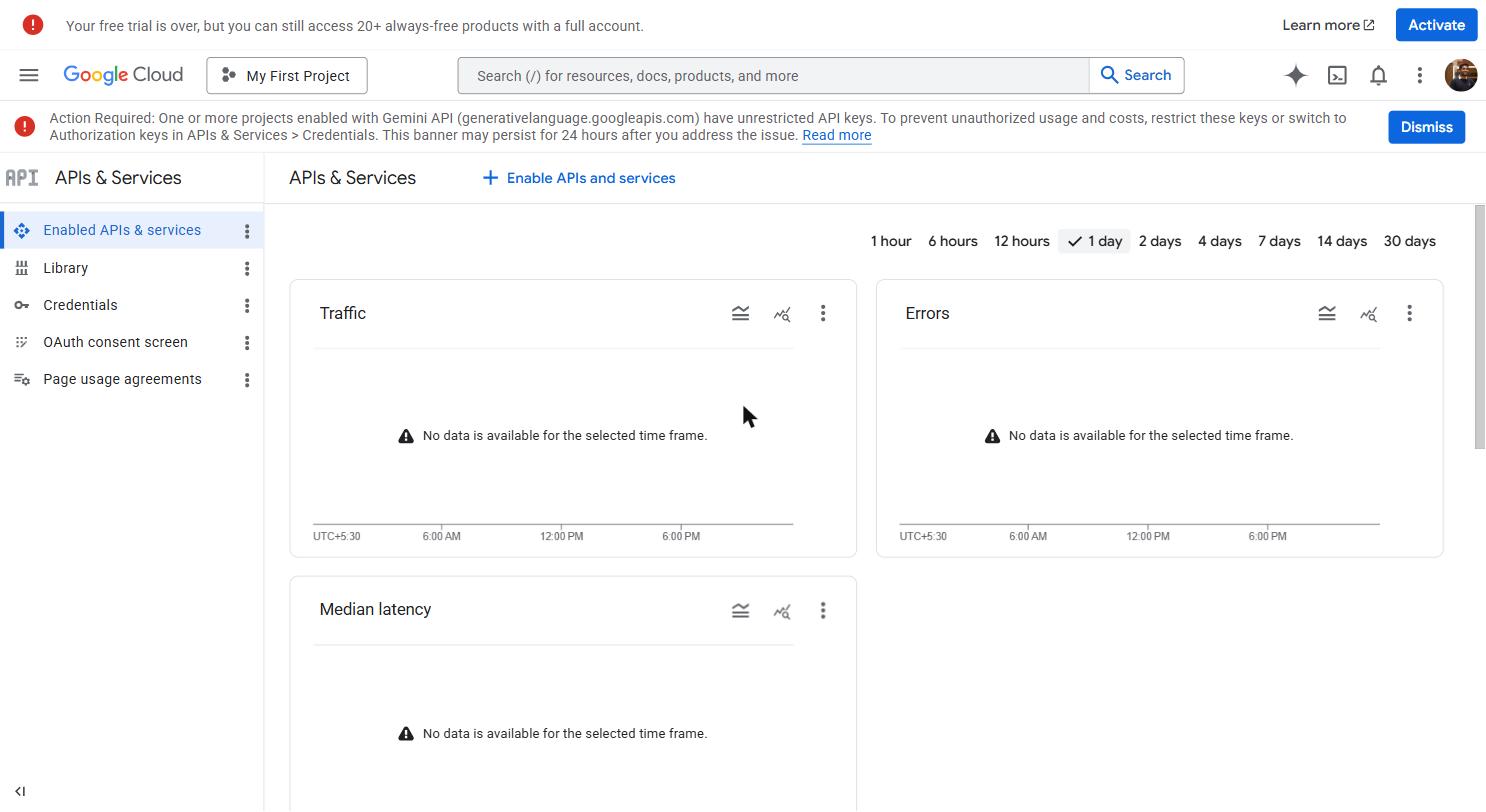 APIs & Services dashboard — overview of every API enabled on your project, with traffic and error rate sparklines. The Credentials sub-page is reached from the left sidebar.
In the left sidebar, click APIs & Services and then click Credentials in the sub-menu that expands.
Or use the search bar at the top: type Credentials and click the result that shows "APIs & Services > Credentials".
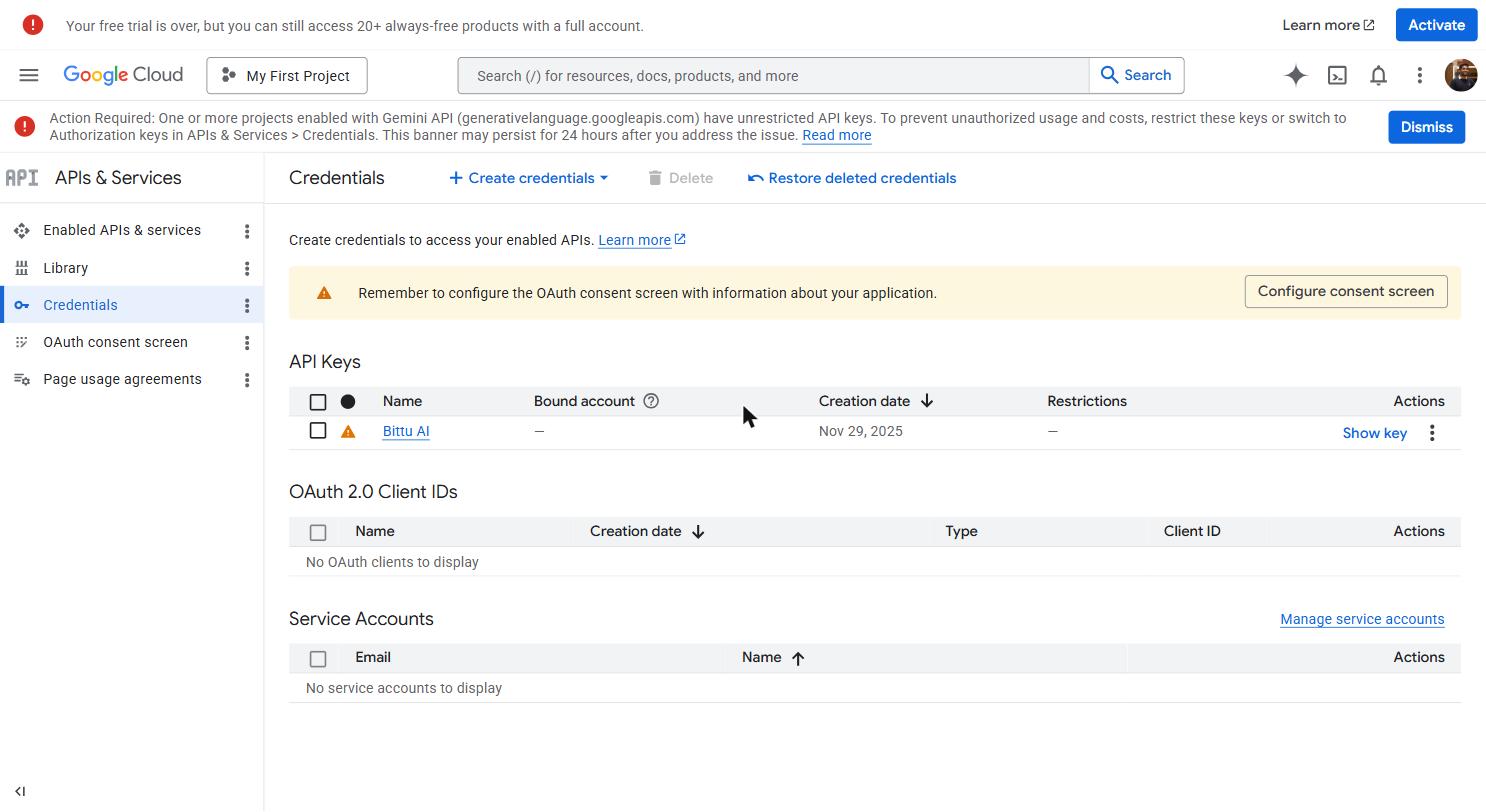 Credentials page — OAuth Client IDs at the top, API Keys below. Click + CREATE CREDENTIALS to create either type.
The Credentials page shows a list of all credentials in your project. It will be empty for a new project.
Configure the OAuth consent screen
Before Google lets you create an OAuth Client ID, you have to tell it about your app — what it's called, who built it, and what user data it will access. This information appears on the Google login screen that users see when they click "Sign in with Google".
When you click + CREATE CREDENTIALS → OAuth client ID for the first time, Google will show a warning:
"To create an OAuth client ID, you must first configure your OAuth consent screen."
Click CONFIGURE CONSENT SCREEN.
 The OAuth consent screen — what users see when your app requests access to their Google account. The app name, logo, and developer email appear here. External user type means anyone with a Google account can log in.
Choose User Type
You'll see two options:
- Internal — Only users in your Google Workspace organization can log in (for company-internal tools)
- External — Any Google user can log in (for apps used by the public)
Select "External" and click "CREATE".
Fill in the App information form
App name: The name that appears on the Google login screen when users see "This app is requesting access to your Google account." Use your actual app name — for example, Aurora Public School or My School App.
User support email: Your Gmail address. Users will see this if they have questions about the login process.
App logo (optional): You can upload your app logo here. It appears on the Google login screen. Skip this for now — you can add it later.
App domain (optional): Leave blank during development. Add your production domain (e.g., yourapp.vercel.app) when you're ready to launch.
Authorized domains: Click "+ ADD DOMAIN" and enter your production domain (e.g., yourapp.vercel.app). During development with just localhost, you can leave this blank — localhost is automatically allowed for testing.
Developer contact information: Enter your Gmail address.
Click "SAVE AND CONTINUE".
Configure Scopes
Scopes define what information your app is allowed to access from the user's Google account. You should only request what you actually need.
Click "ADD OR REMOVE SCOPES". A panel opens from the right showing a long list of available scopes.
Search for and select:
email— Allows your app to see the user's email addressprofile— Allows your app to see the user's basic profile information (name, photo)
These two are all you need for a Google login that creates an account in your app.
Click "UPDATE" to confirm your scope selection.
You'll see the selected scopes appear in a table. Click "SAVE AND CONTINUE".
Add test users
While your app is in development, only the Google accounts you list here can use Google login. This is a Google security measure — external apps go through a review process before they can be used by anyone.
Click + ADD USERS. Enter your Gmail address (the one you're developing with) and any other Gmail addresses that need to test the login during development.
Click ADD, then SAVE AND CONTINUE.
Review and finish
You'll see a summary of everything you just configured. Scroll down and click BACK TO DASHBOARD.
Create the OAuth Client ID
Now that the consent screen is configured, you can create the actual credential.
Click Create Credentials
Go back to APIs & Services → Credentials (use the left sidebar or search bar).
Click "+ CREATE CREDENTIALS" at the top of the page. A dropdown appears. Select "OAuth client ID".
Select application type
You'll see a dropdown for "Application type". Select "Web application".
More fields appear below.
Set the Name
In the Name field, enter a descriptive name — for example, Web Client or Aurora Public School Web. This is just for your reference in the credentials list. It does not appear to users.
Add Authorized JavaScript Origins
This tells Google which domains are allowed to initiate a login request. If a login request comes from a domain not on this list, Google blocks it.
Click "+ ADD URI" under "Authorized JavaScript origins" and add:
If your local development server runs on a different port (like 5173 for Vite), add that too:
When you deploy to production, come back and add your production URL:
Add Authorized Redirect URIs
This is the most important field — and the source of the most common error.
After a user logs in on Google's server, Google redirects them back to your app at this exact URI. If the URI in the redirect request doesn't exactly match one of the URIs you list here, Google blocks it with a redirect_uri_mismatch error.
The most common error in Google OAuth setup. The redirect_uri_mismatch error means the URI your app sent to Google does not exactly match what you registered here. Even a trailing slash makes a difference. Double-check every URI you add — they must match exactly, character for character.
You need to add the Supabase callback URI here. The exact URI depends on your Supabase project URL — you'll get it from the Supabase dashboard in the next page. For now, add the localhost version:
When you have your Supabase project URL (e.g., https://abcdefghijklmnop.supabase.co), add:
Replace abcdefghijklmnop with your actual Supabase project reference. You can find this in your Supabase project URL or dashboard.
Create the credential
Click CREATE.
A popup modal appears with your Client ID and Client Secret. Do not close this modal until you have saved both values.
.apps.googleusercontent.com and a Client Secret starting with GOCSPX-. If you only see one, scroll down in the modal.Save your credentials immediately
The popup shows two values:
- Your Client ID — Looks like:
812345678901-abc123def456ghi789jkl012mno345pq.apps.googleusercontent.com - Your Client Secret — Looks like:
GOCSPX-AbCdEfGhIjKlMnOpQrStUv1234567
Save both values to VaultMate immediately before closing this popup. You can view the Client ID again later (it appears in your credentials list), but the Client Secret is shown prominently only once. You can reveal it again from the credentials edit screen, but forming the habit of saving immediately prevents the situation where you close the popup, forget, and have to hunt for it.
The Client Secret goes into VaultMate under your project name, category: OAuth, title: Google OAuth.
What to do with each value:
| Value | Where it goes | Why |
|---|---|---|
| Client ID | .env file as VITE_GOOGLE_CLIENT_ID | Frontend uses this to identify your app to Google |
| Client ID | Supabase dashboard (next page) | Supabase needs it to verify the OAuth flow |
| Client Secret | Supabase dashboard only (next page) | Supabase exchanges this server-side for user identity |
| Client Secret | VaultMate | Permanent secure storage |
Client Secret: never in frontend code. The Client Secret authenticates your app as the developer — it's equivalent to a password. If it appears in your frontend JavaScript, anyone who inspects your site's source can steal it and impersonate your app. It belongs only in Supabase's server-side configuration and VaultMate. Never put it in a .env file that gets committed to git. Never paste it in WhatsApp or Slack.
Click "OK" to close the popup.
Understanding what you just created
Your credentials list now shows a new entry under "OAuth 2.0 Client IDs". Clicking the pencil (edit) icon on that entry opens a settings page where you can:
- View the Client ID (always visible)
- View or reset the Client Secret (click the eye icon)
- Add or remove authorized origins and redirect URIs
- Download the credentials as a JSON file
You'll come back to this page whenever you need to add a new domain (for example, when deploying to production and adding your Vercel URL to the authorized origins and redirect URIs).
What the error messages mean
When something is misconfigured, Google shows a specific error page. Here is what each one means:
| Error message | What it means | How to fix it |
|---|---|---|
redirect_uri_mismatch | The redirect URI your app sent doesn't match any URI registered in Google Cloud | Add the exact URI from the error message to your "Authorized redirect URIs" list |
access_blocked: This app's request is invalid | OAuth consent screen is not set up, or you requested scopes you haven't configured | Go back to the OAuth consent screen and configure it properly |
Error 400: redirect_uri_mismatch | Same as above — most common OAuth error | Check for typos, extra slashes, http vs https |
The OAuth client was not found | Client ID is wrong or the project is wrong | Confirm you're using the correct Client ID for the current Google Cloud project |
403: org_internal | You selected "Internal" user type but are trying to log in with an account outside your org | Change user type to "External" on the consent screen page |
The redirect_uri_mismatch error is by far the most common. When you see it:
- Copy the exact redirect URI shown in the error URL (look for
redirect_uri=...in the browser's address bar) - Go to Google Cloud Console → Credentials → your OAuth Client → add that exact URI to the Authorized Redirect URIs list
- Save, wait 5 minutes (Google's propagation delay), and try again
Moving to the next step
You now have a Client ID and Client Secret. The next step is to put them into Supabase so that when your app calls signInWithOAuth({ provider: 'google' }), Supabase knows which Google app to authenticate against.
Move on to Supabase OAuth.