Enabling APIs
Enable Google Maps, Places, Geocoding, and other APIs — then create a properly restricted API key.
Why APIs are disabled by default
By default, a new Google Cloud project has zero APIs enabled — even though your project is registered and your billing is linked.
This is a deliberate security design. Google Cloud gives you access to hundreds of services. If everything were enabled by default, you'd be responsible for monitoring costs and security across all of them from day one. Instead, you explicitly opt in to each service you want to use.
Think of it like this: when your CA firm registers on the GST portal, you don't automatically get access to every government database. You apply separately for each service — GST filing, e-invoicing, TDS, MCA. Each service requires explicit registration. Google Cloud works the same way.
The benefit: if someone were to steal your API key, they could only use it for the APIs you've explicitly enabled — not every Google service in existence.
Which APIs to enable
The APIs you need depend on the features you're building. For reference:
| API Name | What it does | Which project needs it |
|---|---|---|
| Maps JavaScript API | Displays an interactive map in the browser | Aurora Public School (enrollment, address capture) |
| Places API | Address autocomplete as the user types | Aurora Public School (service location input) |
| Geocoding API | Converts a text address to GPS coordinates | Aurora Public School (finding location from address) |
| Directions API | Calculates routes and ETAs between two points | Aurora Public School (partner ETA to customer) |
| Gemini API | Google's AI models — text generation, analysis | Any project using AI features |
| Maps Static API | Generates a static map image (non-interactive) | Optional, for thumbnails |
For your personal website (Project 1) and basic school management app (Project 2), you likely need none of these — only Google OAuth, which doesn't require a separate API to be enabled. These APIs are most relevant during the Aurora Public School phase.
How to enable an API
Open the API Library
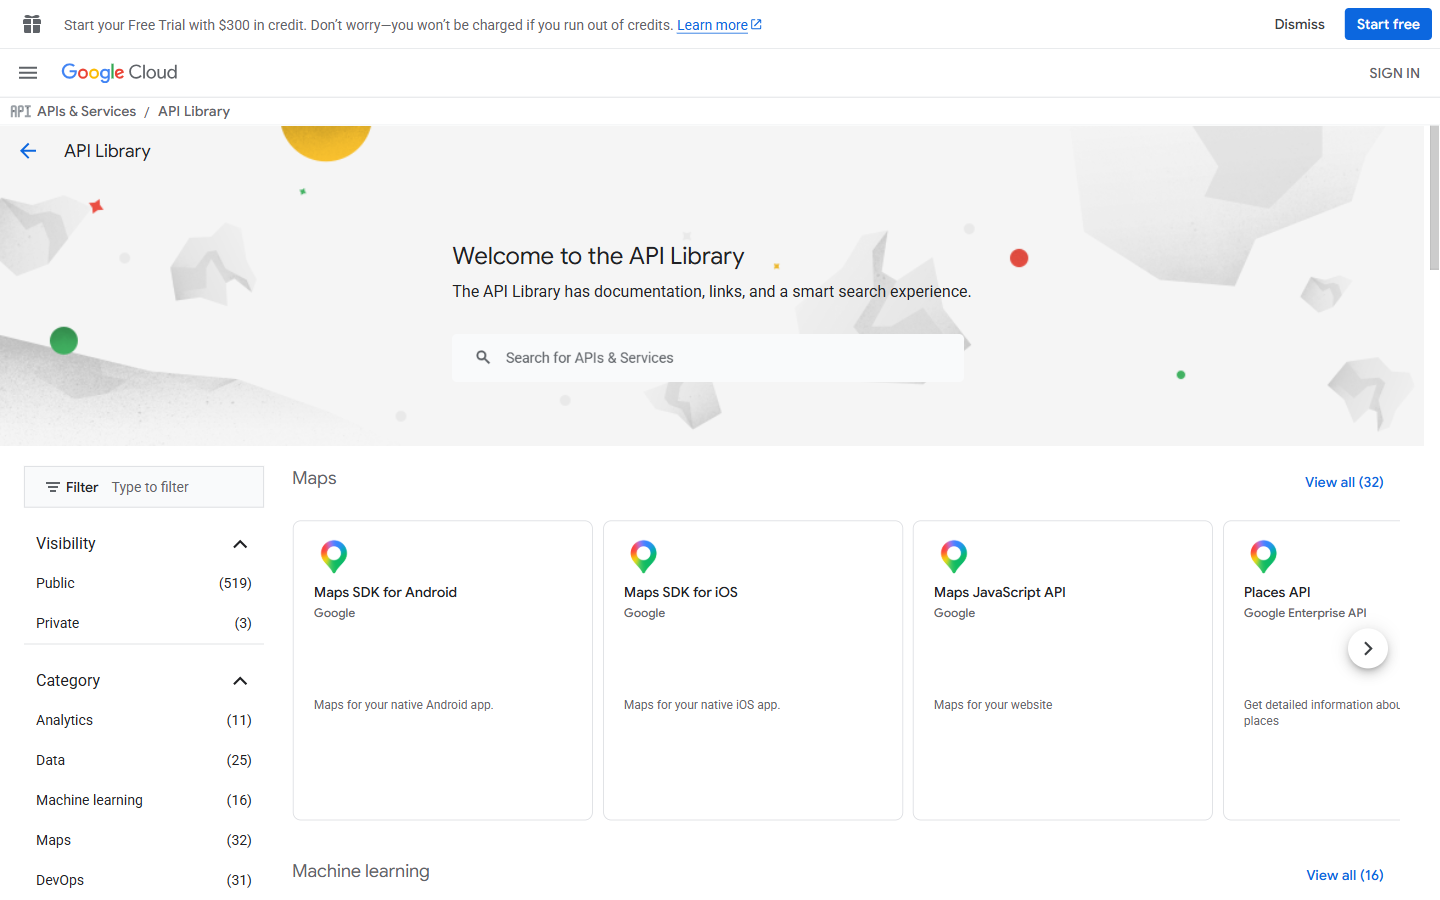 API Library. Use the search bar at the top to filter — typing "Maps JavaScript" or "Places" jumps straight to the relevant API card.
In the left sidebar, click "APIs & Services" → "Library".
Or use the top search bar: type the API name and look for the result tagged with "API Library".
The library page shows a grid of available APIs organized by category. There are hundreds — don't be overwhelmed. Use the search bar at the top of the library page.
Search for the API
In the search bar on the Library page, type the API name — for example, "Maps JavaScript API".
Click the correct result. You should see a card with the API name, a description, and whether it's currently enabled or disabled.
Enable it
Click the large "ENABLE" button.
A loading screen appears briefly, then you're taken to the API's overview page. The page now shows usage metrics, quotas, and a blue banner confirming: "APIs enabled."
Repeat for each API you need
Use the back button or the Library breadcrumb to return to the library. Search for the next API (e.g., "Places API") and enable it.
Repeat until all required APIs for your project are enabled.
Enabling APIs for Aurora Public School
For the Aurora Public School project, enable all four in sequence:
Maps JavaScript API
Search "Maps JavaScript API" → click the result → click "ENABLE".
This is the core API. Without it, no map can be displayed in the app.
Places API
Search "Places API" → click the result → click "ENABLE".
This powers the address autocomplete field when a customer types their service location.
Geocoding API
Search "Geocoding API" → click the result → click "ENABLE".
This converts a text address (like "12 MG Road, Bangalore") into GPS coordinates (like 12.9716, 77.5946). Coordinates are what Google Maps needs to position things on the map.
Directions API
Search "Directions API" → click the result → click "ENABLE".
This calculates the route and estimated travel time from the partner's current location to the customer's address — the "partner is 8 minutes away" feature.
Creating an API key for Maps
OAuth credentials (Client ID + Secret) are for user login. For Maps, Places, and Geocoding, you use a different type of credential: an API key.
An API key is a single string that you include in your API requests to tell Google which project is making the request. It looks like AIzaSyC7q8....
API keys used without restrictions are dangerous. An unrestricted API key works from any website, any server, any country. If someone finds it (in your source code, in a GitHub commit, in a network request), they can use it from their own app and bill the charges to your account. Always restrict your API keys immediately after creation.
Creating and restricting the key
Create the API key
Go to "APIs & Services" → "Credentials".
Click "+ CREATE CREDENTIALS" → "API key".
A popup appears with your new API key. It looks like:
Do not close this popup yet. Click the "RESTRICT KEY" button inside the popup.
(If you accidentally closed the popup, find the API key in your credentials list and click the pencil edit icon to open it.)
Set application restrictions
On the restriction settings page, you'll see two sections: Application restrictions and API restrictions.
Under Application restrictions, select "HTTP referrers (web sites)".
A text field appears. Click "+ ADD AN ITEM" and add each domain that your app runs on:
For development:
For production (add when you deploy):
The * at the end is a wildcard that matches any path on that domain.
What this restriction does: The API key will only work when requests come from the domains you listed. If someone copies your API key and tries to use it from their own website, Google blocks the request — the domain doesn't match.
Set API restrictions
Under API restrictions, select "Restrict key".
A multi-select dropdown appears. Select only the APIs this key should be allowed to call:
- Maps JavaScript API
- Places API
- Geocoding API
- Directions API
What this restriction does: Even if someone uses your API key from an allowed domain, they can only call the APIs you've listed. They cannot use this key to, for example, call Google's translation service or send emails via Gmail API.
Save the restrictions
Click "SAVE" at the bottom of the page.
A success message confirms the key has been updated.
Copy the key and save it
Go back to APIs & Services → Credentials. Your API key appears in the list under "API keys". Click the copy icon next to the key.
Add it to your project's .env file using the VITE_ prefix (this uses VITE_ because it's used in the frontend — the map is displayed in the browser, and Maps API keys are designed for frontend use when properly domain-restricted).
Also save it to VaultMate under your project name, category: API Key, title: Google Maps API Key.
Verifying which APIs are enabled
At any time, you can see which APIs are currently enabled in your project:
Go to "APIs & Services" → "Enabled APIs & services".
This page lists every API currently active, along with usage metrics (requests per day, error rates). If an API you expected to be enabled isn't in this list, go back to the Library and enable it.
Checking your quota
Every API has a quota — a limit on how many requests you can make per day or per month. For the Maps APIs, the $200/month credit applies before any charges. You can see your current usage and quota limits at:
"APIs & Services" → "Enabled APIs & services" → click any API → "Quotas & System Limits" tab.
During development and training, you will not come close to these limits. This is something to monitor when an app goes to production and has real users.
The complete picture: OAuth vs API Keys
It's worth stepping back to see how these two credential types fit together:
| OAuth Credential (Client ID + Secret) | API Key | |
|---|---|---|
| Used for | User authentication ("Sign in with Google") | Accessing Google services (Maps, Places, AI) |
| User involved? | Yes — each user authorizes access to their account | No — it's the app accessing a service |
| Goes in | Client ID in frontend; Secret in Supabase/backend | Frontend (with domain restrictions) |
| What it identifies | Your registered app | Your billing project |
| Security | Secret never in frontend code | Always restrict by domain and API |
| Cost | Free | Based on API usage (free tier applies) |
For Aurora Public School, you'll use both:
- OAuth credentials for Google login
- API key for the map, address autocomplete, and routing features
Common mistakes and how to avoid them
Using an unrestricted API key
An API key with no restrictions is the equivalent of leaving your GST portal password in a public Google Doc. Always restrict by domain and API before using any API key in code.
Committing the API key to git
The API key goes in .env. The .env file is in .gitignore and never committed. Even with domain restrictions, an API key in a public GitHub repository is bad practice.
Not enabling the API before trying to use it
If your Maps component shows a gray box with "This page didn't load Google Maps correctly" — the Maps JavaScript API is likely not enabled. Go to the Library and enable it.
Enabling too many APIs "just in case"
Only enable APIs you're actively using. Unused enabled APIs don't cost money, but they expand your attack surface if an API key were ever compromised. Keep the list clean.