Account Setup
Create your GitHub account, configure your professional profile, and enable two-factor authentication. Takes about 15 minutes.
Your GitHub account is your developer identity. Treat it the way you treat your LinkedIn profile — because clients and collaborators will look at it. Set it up properly from day one.
Before you start: Have your personal Gmail address ready. Use the same email you'll use for all developer accounts in this program — it makes everything simpler to manage.
Step 1 — Create your account
Go to github.com
Open your browser and go to github.com. You'll see a dark homepage with a headline that says "Build and ship software on a single, collaborative platform."
In the top right corner, you'll see two buttons: Sign in and Sign up. Click Sign up (the green or dark button on the right).
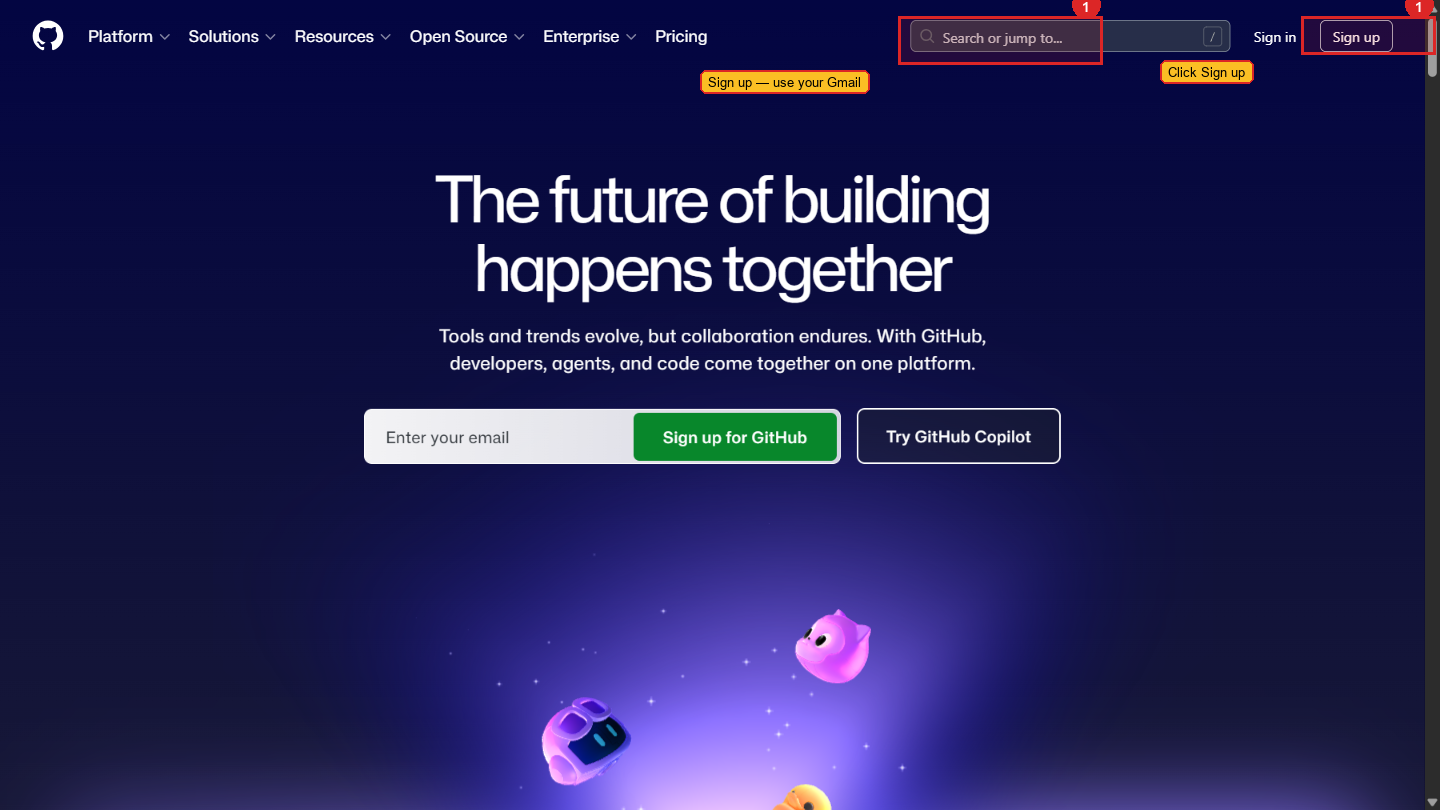 The GitHub sign-up page. Click the green button on the right to begin.
Enter your email
GitHub shows a simple sign-up form. Enter your Gmail address in the email field and click Continue.
Create a password
Enter a strong password — at least 15 characters, or 8+ characters with a mix of letters, numbers, and symbols. Click Continue.
GitHub will tell you immediately if the password is strong enough. You'll see a colored bar below the field — green means it's acceptable.
Choose a username
This is the most important decision in this setup. Your username becomes part of every URL associated with your work:
Guidance for choosing a username:
- Use your real name if available:
subhashkotha,rahulsharma,priyajoshi - If your name is taken, add a number:
subhashkotha1orsubhash-kotha - Avoid random strings like
xXcoder99Xx— this is a professional identity - Lowercase, hyphens allowed, no spaces
Click Continue after entering your username.
Email preferences
GitHub asks if you want product updates via email. This is optional — tick or untick based on your preference. Click Continue.
Solve the verification puzzle
GitHub shows a simple puzzle to confirm you're human — usually something like selecting images or clicking a button in a specific way. Complete it and click Submit.
Check your email
GitHub sends a verification email to your Gmail address. Open your Gmail, find the email from GitHub, and click the verification link. The email arrives within one minute. Check your spam folder if you don't see it.
Choose Free plan
After verifying your email, GitHub takes you to a plan selection screen. You'll see two options:
- Free — unlimited public and private repositories, everything you need for this program
- Team — paid plan for organizations
Select Free. The program does not require a paid GitHub account.
Personalization survey (optional)
GitHub shows a short survey asking about your role and interests. You can answer honestly or click Skip personalization at the bottom of the page. This has no effect on your account.
You're in
GitHub takes you to your dashboard — a dark page with a left sidebar, a feed in the center, and your profile area. Your account is created.
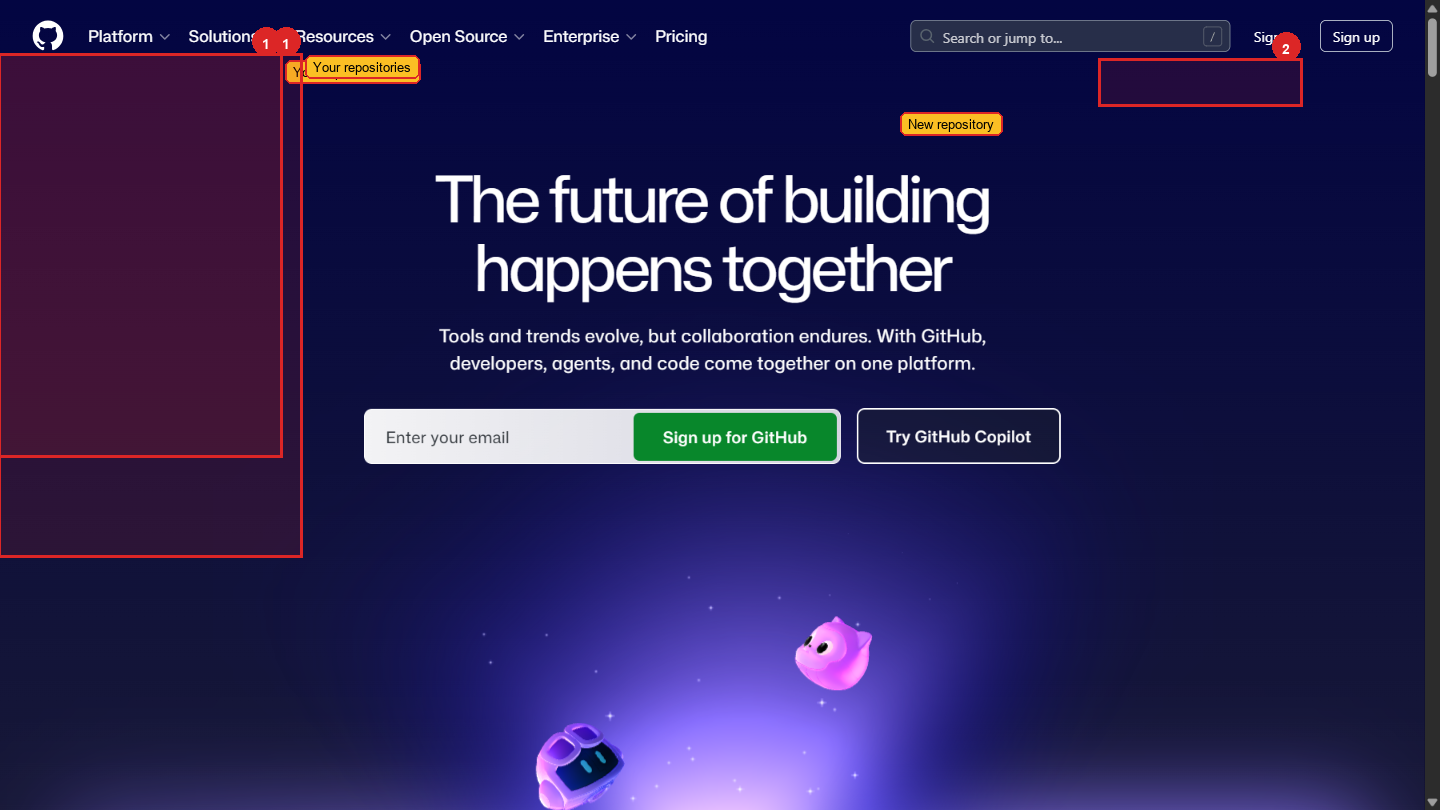 Your GitHub dashboard. The left sidebar shows your repositories, the centre shows your activity feed, and the top right has your profile menu.
Step 2 — Set up your profile
Your profile is the first thing anyone sees when they visit your GitHub. A complete profile signals that you're serious.
Open your profile settings
Click your profile photo in the top right corner of any GitHub page. It will be a grey circle with your initials until you upload a photo. From the dropdown menu, click Your profile.
This takes you to your public profile page — this is what clients and collaborators see.
Go to Edit profile
On your profile page, click the Edit profile button (on the left side, below the profile photo area).
Add a profile photo
Click on the grey circle where your photo will appear. GitHub opens a file picker. Select a professional photo — a clear headshot, similar to what you'd use on LinkedIn.
This matters. Profiles without photos look like abandoned accounts.
Fill in your bio
The bio field is directly below your photo. Write one sentence about yourself — your background and what you're building.
Example: "CA professional learning to build web and mobile applications. Currently building on React and Supabase."
Keep it professional. This is not a social media bio.
Add your location
Type your city: Hyderabad, India or Mumbai, India. This helps when people search GitHub for developers in a region.
Click Save
Click the green Save button at the bottom of the edit panel. Your profile is now complete.
github.com/your-username in a new tab. You should see your profile photo, bio, and location displayed on the left side. If any are missing, click Edit profile and fill them in.Step 3 — Enable two-factor authentication (2FA)
This is not optional. Your GitHub account contains your code — which contains your client work. If someone else gets into your account, they can read, delete, or steal everything you've built.
Two-factor authentication means that even if someone knows your password, they still can't log in without your phone.
Enable 2FA before you create any repositories. Your code is your work product. A compromised GitHub account is the same as someone breaking into your office and taking your files. The setup takes 3 minutes.
Open Settings
Click your profile photo (top right corner) → Settings. This takes you to your account settings page — a sidebar on the left with many categories.
Go to Password and authentication
In the left sidebar, click Password and authentication. Scroll down until you see the Two-factor authentication section.
Click Enable two-factor authentication
Click the green Enable two-factor authentication button. GitHub asks you to confirm your password first — enter it and continue.
Choose your 2FA method — Authenticator App (recommended)
GitHub offers several options. Choose Authenticator app — this is the most reliable method.
If you don't have an authenticator app installed:
- Download Google Authenticator from the Google Play Store (Android) or App Store (iPhone)
- Open it, tap the
+button, and scan the QR code GitHub shows you
GitHub displays a QR code on screen. Open Google Authenticator on your phone, tap the + sign, and tap Scan a QR code. Point your phone at the QR code on your computer screen.
Google Authenticator adds a GitHub entry that shows a 6-digit code that changes every 30 seconds.
Enter the 6-digit code
Back on GitHub, there's a field asking for a verification code. Open Google Authenticator, read the 6-digit code for GitHub, and type it into GitHub's field. Click Continue.
You have about 30 seconds before the code changes. If it changes before you type it, just use the new code.
Download your recovery codes
GitHub generates 16 one-time recovery codes. These are your backup if you lose your phone. Click Download to save them as a text file.
Store these recovery codes somewhere safe. The best option for this program is VaultMate — save them there with the label "GitHub Recovery Codes". If you lose your phone and lose these codes, you will be locked out of your account permanently with no recovery option.
Confirm 2FA is active
Click Done. GitHub takes you back to the Password and authentication settings page. You should see a green confirmation that two-factor authentication is enabled.
What you have now
- A GitHub account with a professional username
- A complete profile with photo, bio, and location
- Two-factor authentication protecting your account
The next page covers creating your first repository and understanding the day-to-day workflow.