Installing Node.js
Step-by-step installation of Node.js 20 LTS on Windows, including what each option means and how to verify everything works.
Node.js installs like any other Windows program — a standard installer with a few screens to click through. The whole process takes about 10 minutes.
Before you start: Close any open terminal or Command Prompt windows. Node.js needs to write to your system PATH (explained below), and existing terminal windows won't pick up that change until they're restarted.
What You're Installing
Node.js — the engine that runs JavaScript on your computer.
npm — the package manager that comes bundled with Node.js automatically. You do not install npm separately; it arrives with Node.js.
You want the LTS version. LTS stands for Long Term Support. It means:
- The Node.js team has declared this version stable
- It will receive security fixes for three years
- It is the version recommended for serious work
- All tools we use in this program (React, Vite, Claude Code) are tested against LTS
The current page in front of you asks you to install Node.js 20 LTS. When you visit nodejs.org, confirm the LTS version shown. If it says 22 LTS instead of 20, install 22 LTS — either works fine for this program.
What is PATH? PATH is a Windows setting that tells your computer which folders to look in when you type a command. When you install Node.js with the "Add to PATH" option (it's on by default), Windows learns to find node and npm wherever you type them. Without this, you'd have to type the full file path every time — like C:\Program Files\nodejs\node.exe instead of just node. The installer handles this automatically.
It's like adding a folder to Excel's "Trusted Locations" — once it's there, Excel knows to look there for add-ins without you specifying the path every time.
Installation Steps
Go to nodejs.org
Open your browser and navigate to nodejs.org.
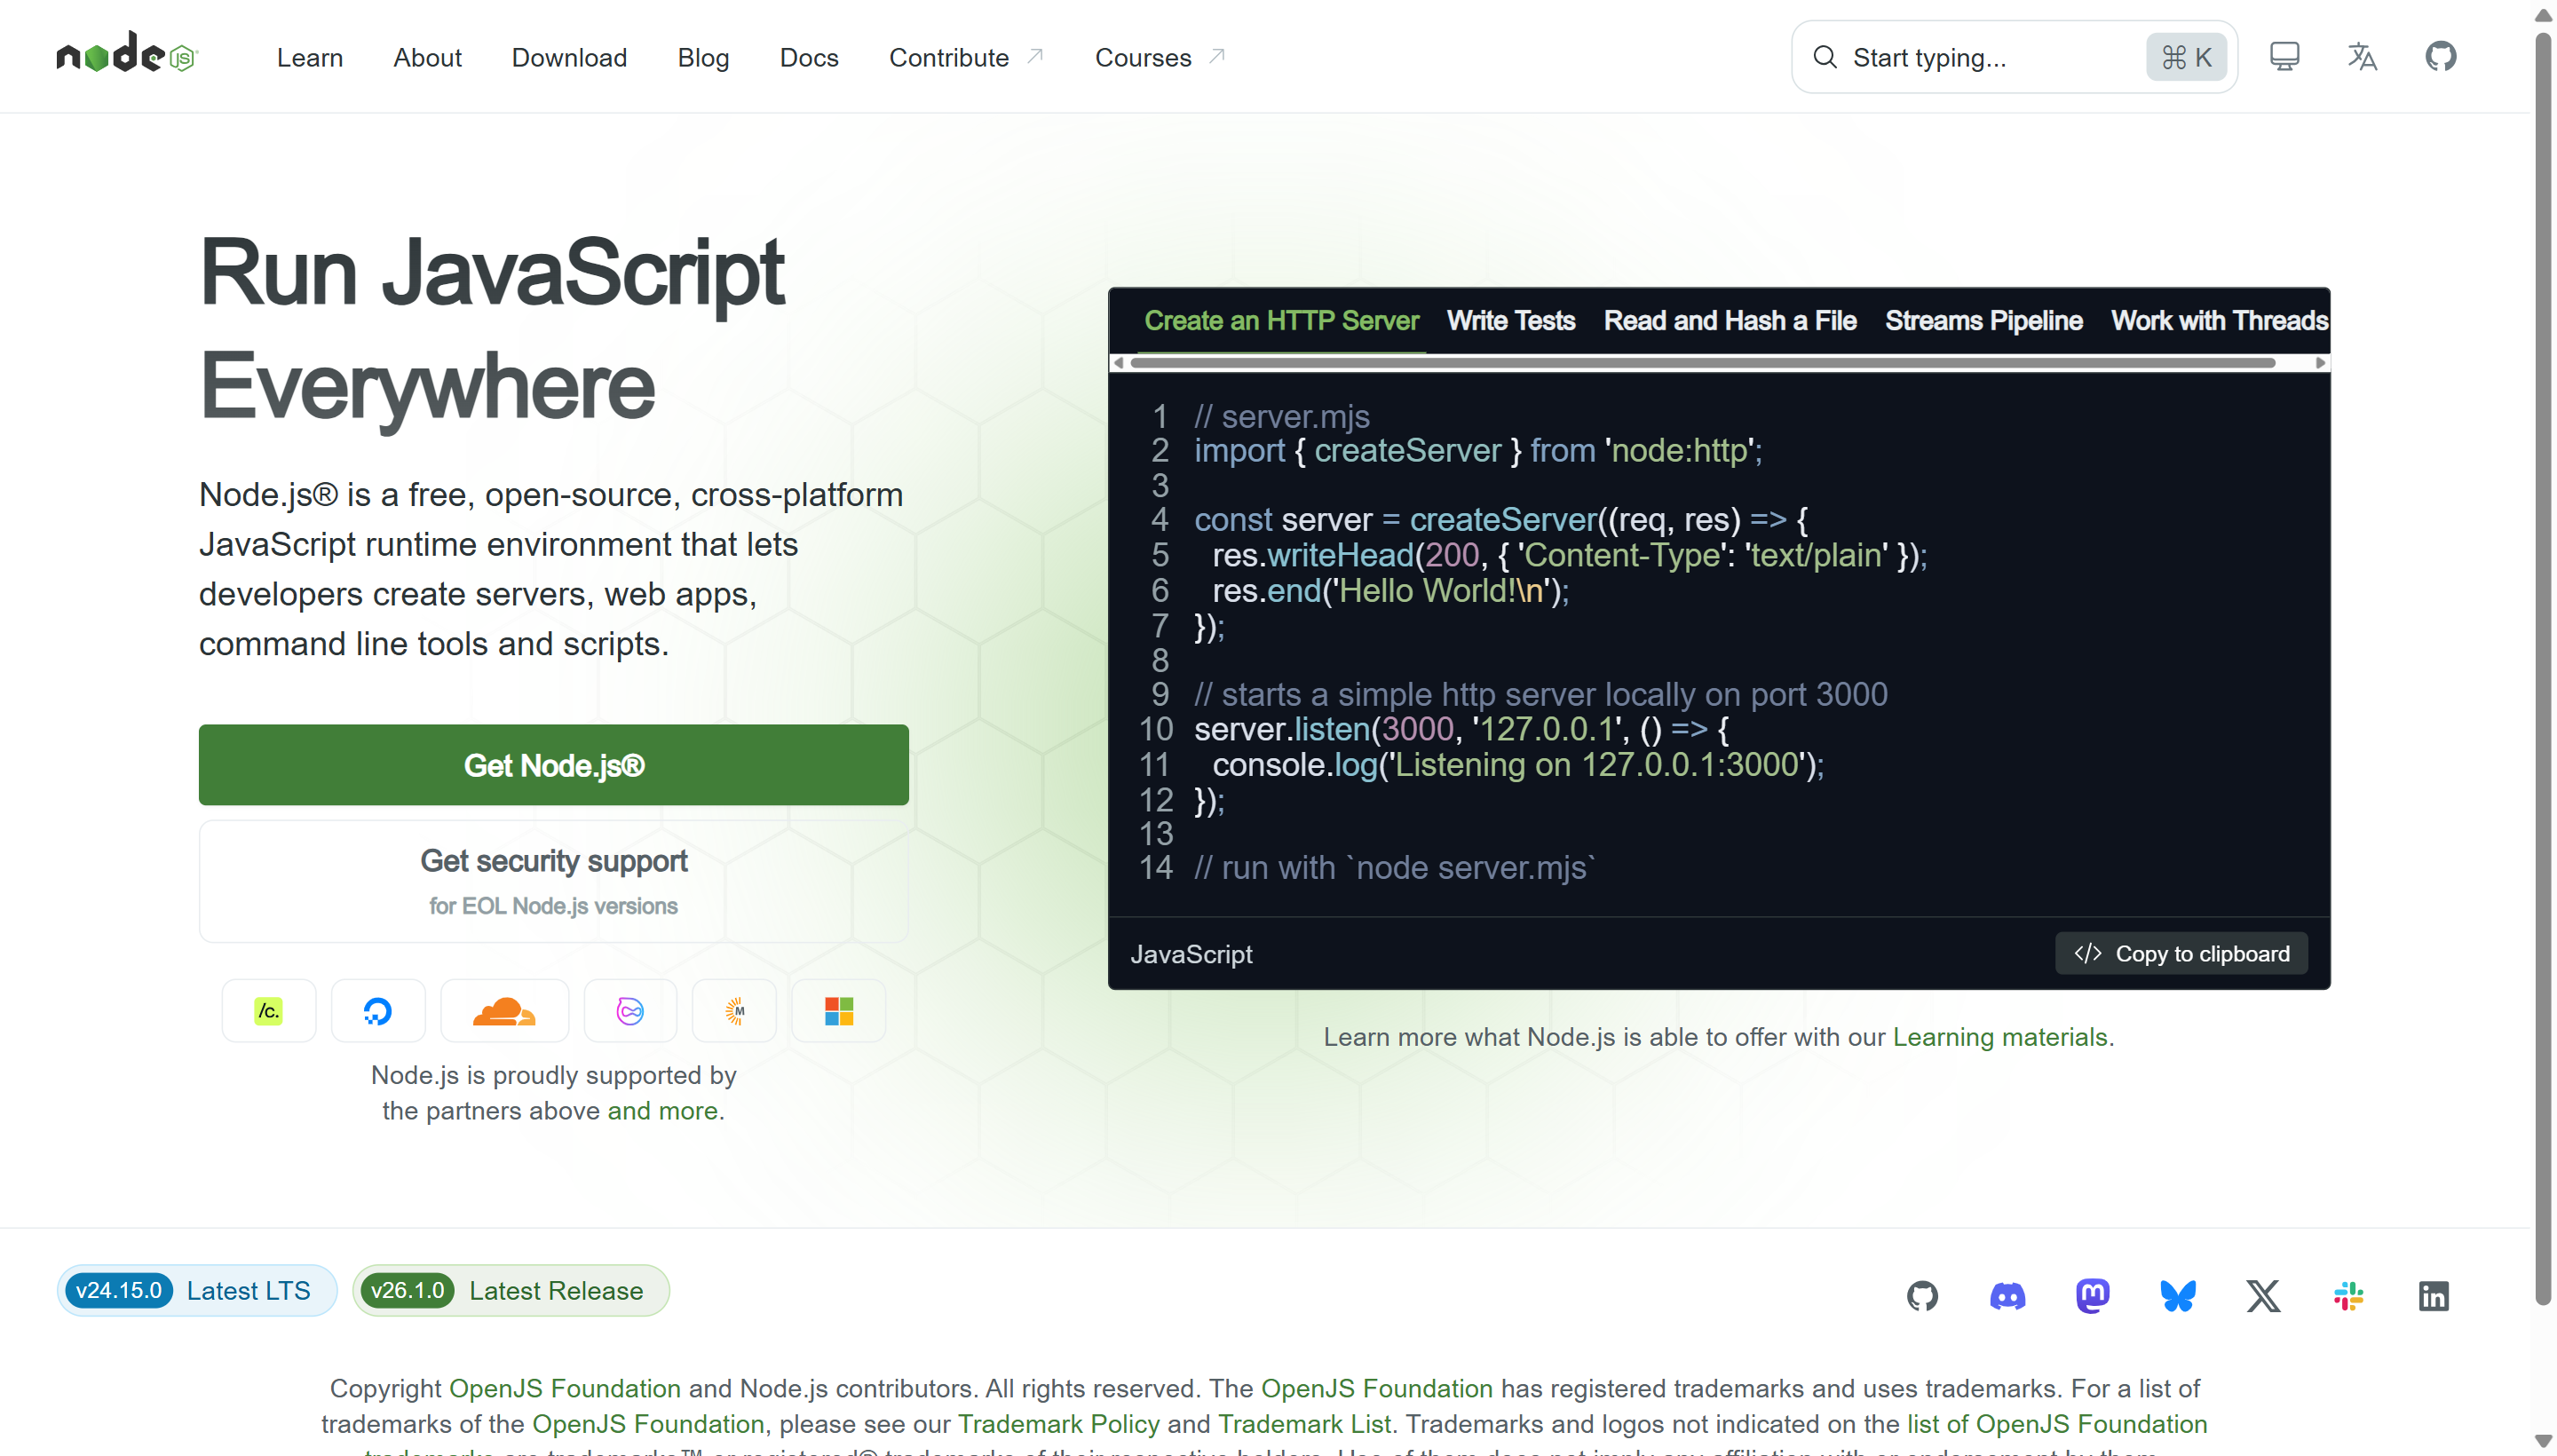 The Node.js homepage. Click the left button labeled "LTS" — not the "Current" button on the right. LTS is the stable version recommended for all production work.
You will see the Node.js homepage. There are two large download buttons in the center:
- LTS (left button) — labeled something like "20.x.x LTS" with the subtitle "Recommended For Most Users"
- Current (right button) — the latest version, possibly unstable
Click the LTS button. The download starts immediately. The file is approximately 30 MB and should download in under a minute on a normal connection.
The downloaded file will be named something like node-v20.19.0-x64.msi — a Windows Installer package.
Run the installer
Open your Downloads folder and double-click the downloaded .msi file.
Windows may show a security dialog: "Do you want to allow this app to make changes to your device?" Click Yes. This is required for the installer to write files to the correct system folders.
The Node.js Setup Wizard opens.
Welcome screen
The first screen says "Welcome to the Node.js Setup Wizard." Click Next.
License Agreement
Read the terms (or don't — but you should know you're accepting the MIT License, which is one of the most permissive open-source licenses. It means you can use Node.js freely for any purpose). Check "I accept the terms in the License Agreement" and click Next.
Destination Folder
The installer proposes a location, usually C:\Program Files\nodejs\. Leave this exactly as it is. Click Next.
Do not change the installation folder. The default path is where every development tool expects to find Node.js. Changing it causes subtle problems later that are frustrating to diagnose.
Custom Setup screen
This screen shows a tree of features to install. The default selections are:
- Node.js runtime
- npm package manager
- Online documentation shortcuts
- Add to PATH
Leave all defaults in place. All of these should be selected. Do not deselect anything. Click Next.
The "Add to PATH" option is what makes node and npm work from any folder in the terminal. It is selected by default — confirm it is still checked before clicking Next.
Tools for Native Modules (optional step)
You may see a screen asking: "Automatically install the necessary tools. Note that this will also install Chocolatey."
This screen has a checkbox labeled "Automatically install the necessary tools."
Leave this checkbox unchecked. You do not need Chocolatey or native build tools for this program. Checking this triggers a long secondary installation that is unnecessary.
Click Next.
Ready to Install
The installer shows a summary: "The Setup Wizard is ready to begin the Node.js installation." Click Install.
Windows may prompt for administrator permission again. Click Yes. The installation runs — watch the progress bar. This takes 1–3 minutes depending on your machine.
Installation Complete
The final screen says "Completed the Node.js Setup Wizard." Click Finish.
Node.js is now installed on your computer.
Verify the Installation
After the installer closes, you must open a new terminal window. Node.js won't be recognized in any terminal that was open before the installation.
Open a new Command Prompt
Press Windows key + R, type cmd, press Enter.
Or: search "Command Prompt" in the Start menu and click it.
Check the Node.js version
Type this and press Enter:
You should see a version number printed, like:
Any version starting with v20. or higher is correct. If you see a version number, Node.js is installed and working.
Check the npm version
Type this and press Enter:
You should see something like:
Any version starting with 10. is correct for Node.js 20.
If you see "'node' is not recognized as an internal or external command" — this means the terminal you're using was opened before Node.js was installed. Close this terminal window completely and open a brand new one. The error should disappear. If it persists after opening a new terminal, the installation did not complete the PATH update correctly — uninstall Node.js, restart your computer, and run the installer again.
What npm Is
npm is installed automatically with Node.js. Think of it as the Excel add-in marketplace, but for JavaScript.
| Excel | npm equivalent |
|---|---|
| Download an Excel add-in | npm install [package-name] |
| Excel add-in marketplace | npmjs.com (the public registry) |
| Add-in activates features in Excel | npm package adds features to your project |
| Remove an add-in | npm uninstall [package-name] |
| Check installed add-ins | npm list |
Example: When we build a React project, we need a collection of packages — React itself, the router, form validation tools, the Supabase client, chart libraries. Each one is a separate npm package. Installing all of them takes one command:
This reads a file called package.json (the project's "shopping list" of required packages) and downloads everything automatically.
You will use npm install and npm run [something] constantly throughout this program. They depend entirely on Node.js being installed correctly.
Common Questions
Does npm cost money? No. npm and all public packages on the npm registry are free to download and use. Some specific packages have paid licenses for commercial use, but everything we use in this program is MIT-licensed (free for any use).
What is node_modules?
After running npm install, a folder called node_modules appears in your project. This folder contains all the downloaded packages. It can be very large — sometimes over 200 MB. You never edit files inside node_modules, and you never commit it to Git. It is regenerated from package.json whenever someone runs npm install on a fresh clone. Think of it as a temporary cache, not permanent source code.
Should I update Node.js later? During this program, stay on the version you install now. Version mismatches between team members can cause subtle bugs. When the program is over, you can upgrade at any time by simply downloading and running the new installer — it replaces the old version.
Next Step
Node.js is installed and verified. Next: install Git.