Installing VS Code
Download and install Visual Studio Code on Windows — with the exact checkboxes that matter and a walkthrough of the first-launch experience.
This page takes you from zero to a running VS Code installation on Windows. The installation itself takes about 5 minutes. The important part is knowing which checkboxes to tick during setup — two of them will save you hours of confusion later.
What You're Installing
Visual Studio Code — version 1.9x or newer (the installer always gives you the latest stable release).
Made by Microsoft. Free. No sign-in required to install. Download size is approximately 90 MB.
Step 1 — Download the Installer
Open your browser and go to code.visualstudio.com
You are looking for the official Microsoft VS Code website. The URL is exactly: code.visualstudio.com
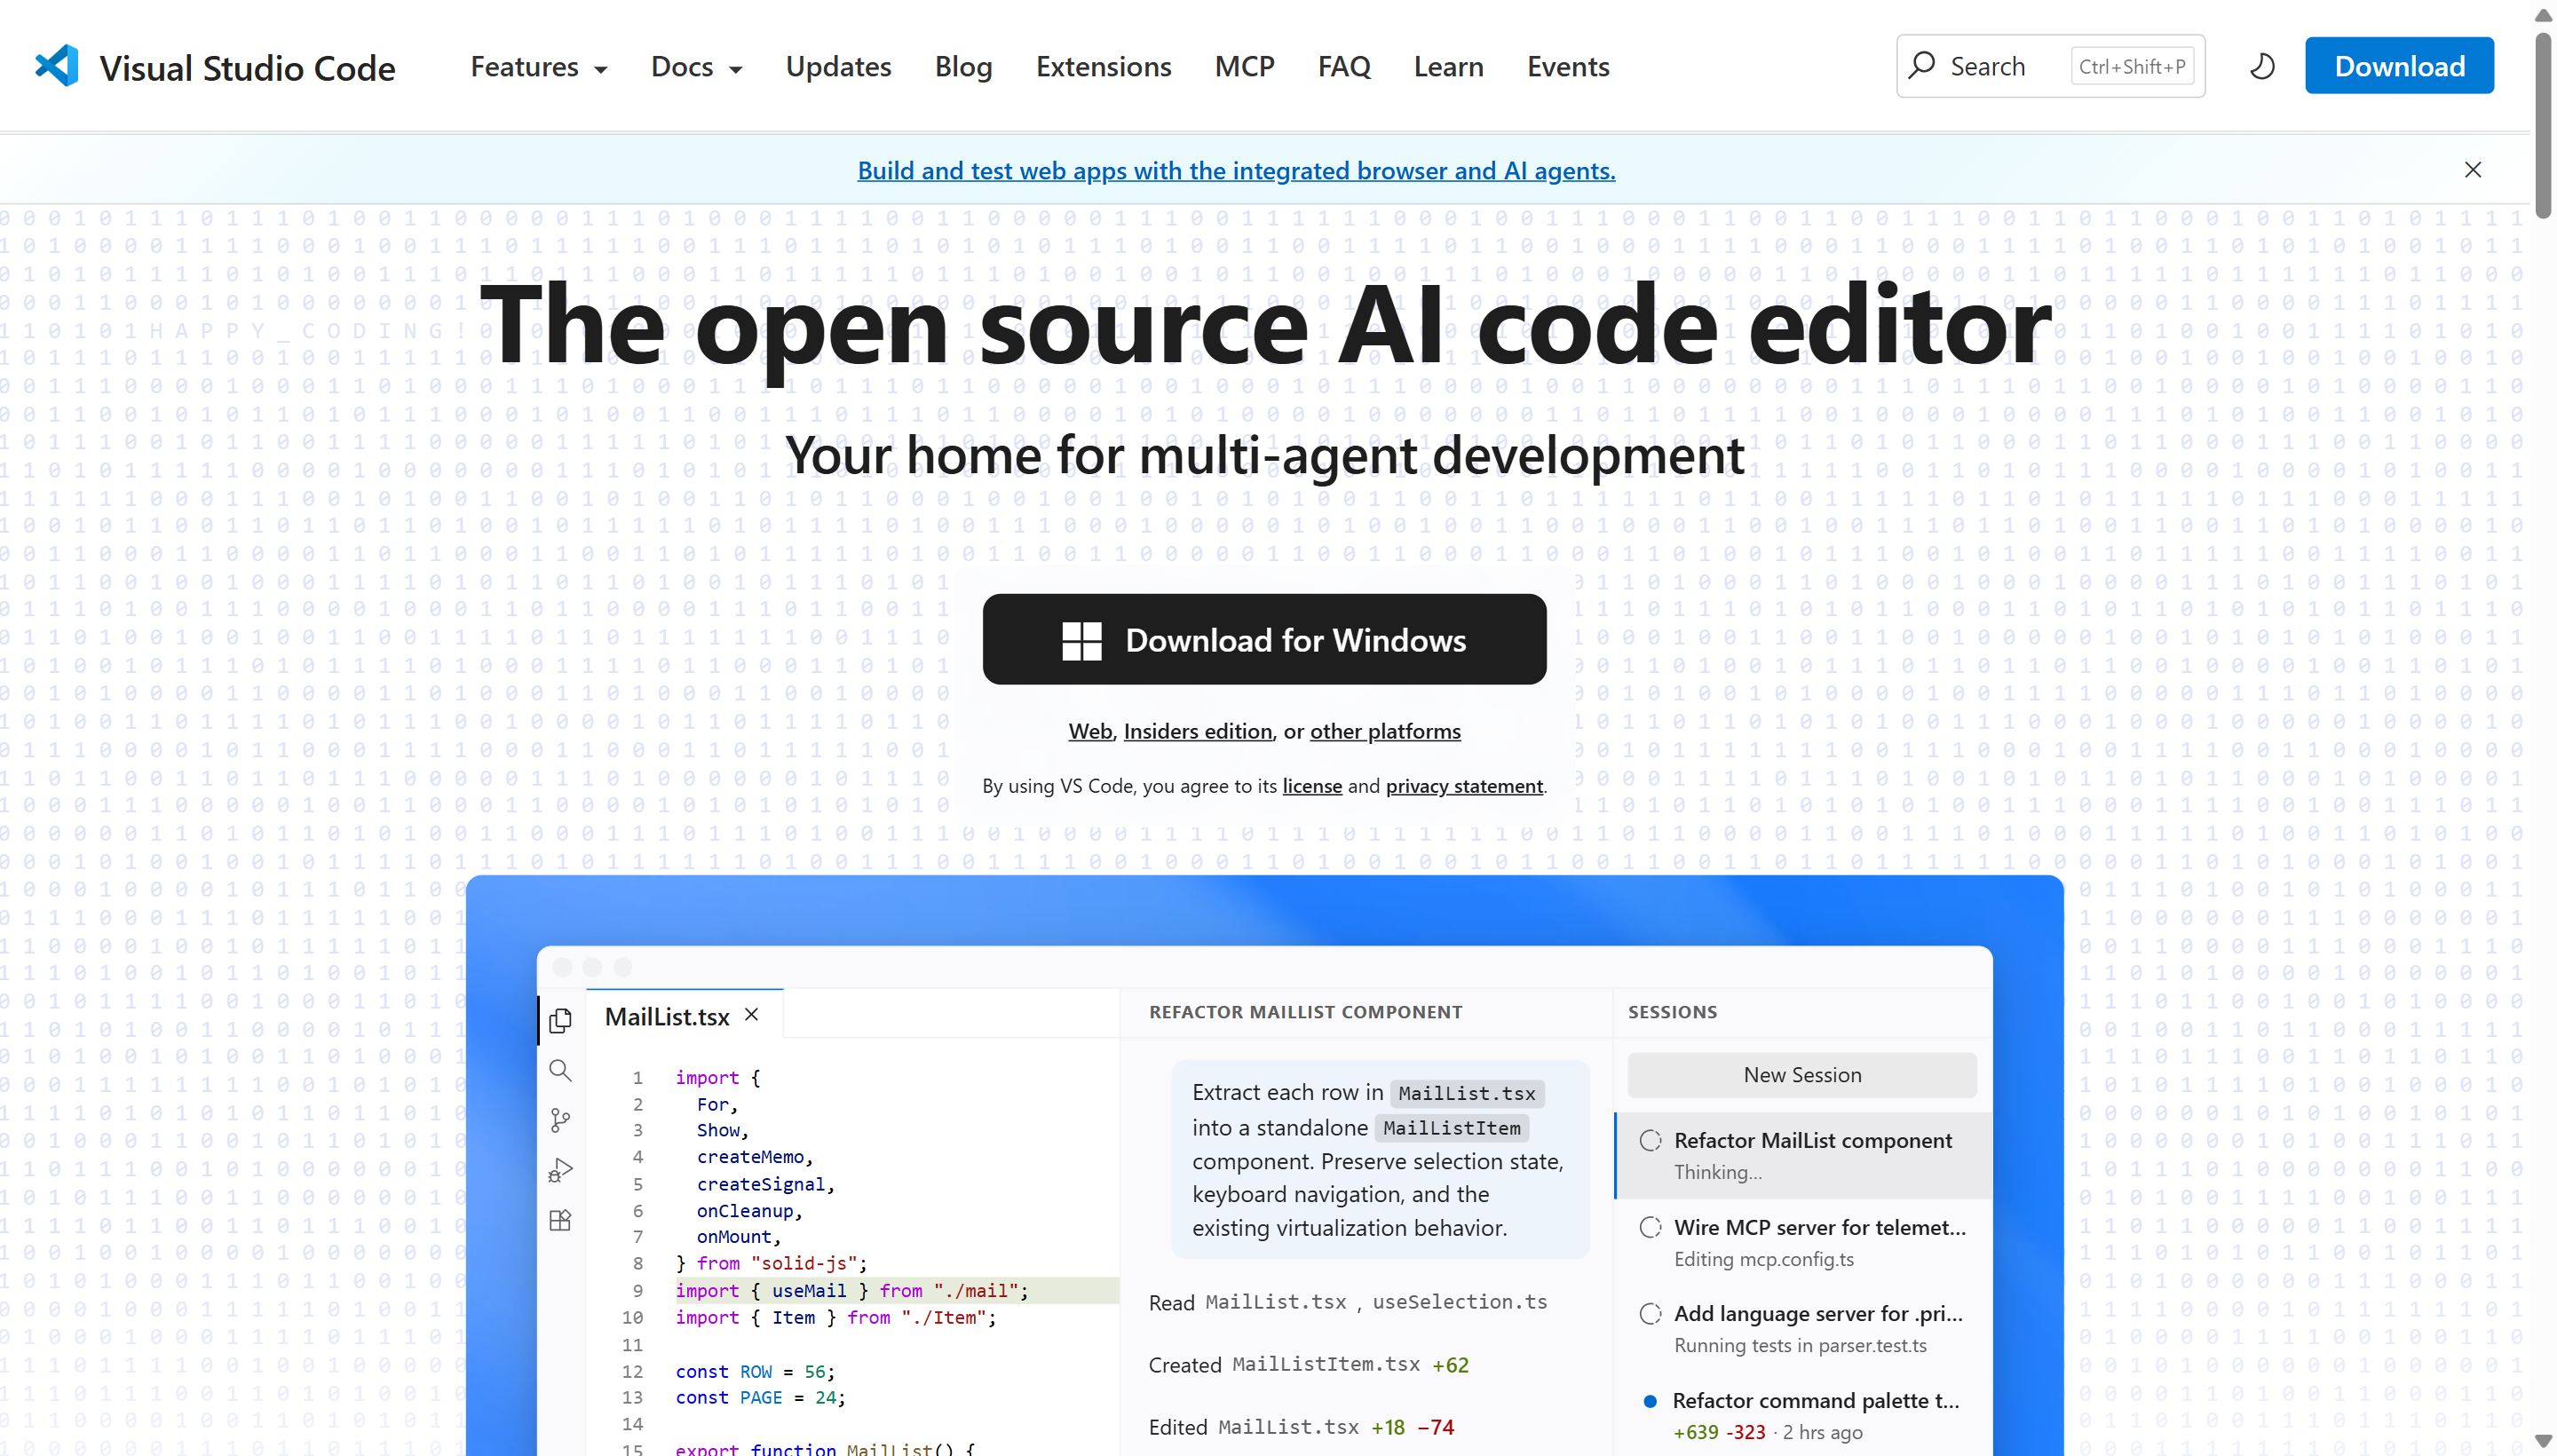 The VS Code homepage. Click the blue "Download for Windows" button — it auto-detects your OS. The "Stable Build" label confirms you're getting the production-ready version.
On the homepage, you will see a large blue button labelled "Download for Windows"
The button shows a Windows logo and typically says "Stable Build". Click it. Your browser will start downloading a file named something like VSCodeSetup-x64-1.9x.x.exe.
Wait for the download to complete
The file is approximately 90 MB. On a typical connection this takes under 2 minutes. You can watch the progress in your browser's download bar at the top or bottom of the window.
If your browser asks "Do you want to keep this file?", click Keep. It is the official Microsoft installer — it is safe.
Step 2 — Run the Installer
VSCodeSetup-x64-. If you see a file named VSCodeUserSetup, that is the user-only version — it also works fine. Either version is correct.Open the downloaded file
Find VSCodeSetup-x64-1.9x.x.exe in your Downloads folder and double-click it. If Windows asks "Do you want to allow this app to make changes to your device?", click Yes.
Accept the license agreement
The first screen shows the Microsoft licence agreement. Select "I accept the agreement" (the radio button on the left), then click Next.
Choose installation location
The default location is C:\Users\YourName\AppData\Local\Programs\Microsoft VS Code.
Leave this as the default. Click Next.
There is no reason to change the install location unless your C: drive is nearly full. If that is the case, choose a different drive — but keep the folder path structure otherwise intact.
Start Menu folder
The next screen asks where to put the VS Code shortcut in your Start Menu. The default is "Visual Studio Code".
Leave this as the default. Click Next.
Additional Tasks — THE IMPORTANT SCREEN
This is where most people click through too quickly. This screen has five checkboxes. Two of them are critical. Here is exactly what to do:
| Checkbox | What to do | Why it matters |
|---|---|---|
| Create a desktop icon | Optional — your choice | Convenient but not technically important |
| Add "Open with Code" action to Windows Explorer file context menu | CHECK THIS | Right-click any folder in Windows Explorer → "Open with Code" — you will use this constantly |
| Add to PATH (requires shell restart) | CHECK THIS | Allows you to type code . in any terminal to open that folder in VS Code. Without this, the terminal cannot find VS Code. |
| Register Code as an editor for supported file types | Optional — leave ticked | Harmless |
| Add "Open with Code" action to Windows Explorer directory context menu | CHECK THIS too | Same as the file menu option — right-click works on folder backgrounds too |
After ticking the right boxes, click Next.
Review and install
The final screen shows a summary of your choices. Confirm that PATH and "Open with Code" entries are listed. Click Install.
The installation takes 1–2 minutes. A progress bar fills as VS Code copies its files to your computer.
Finish
When the installer completes, it shows a "Completing the Visual Studio Code Setup Wizard" screen.
The checkbox "Launch Visual Studio Code" should be ticked. Leave it ticked and click Finish.
VS Code opens automatically.
If you skipped the PATH checkbox, VS Code still works — but you will not be able to type code . in the terminal. To fix it without reinstalling: open the VS Code Command Palette (Ctrl+Shift+P), type "Shell Command", and select "Shell Command: Install 'code' command in PATH". This adds it after the fact.
Step 3 — First Launch Experience
When VS Code opens for the first time, you will see a Welcome tab in the centre of the screen. Here is what to expect and what each element does.
The Welcome Tab
The Welcome tab is a getting-started panel. It contains links to open a folder, open recent files, and learn VS Code basics. You do not need to read everything here — it is just orientation.
What to look at:
- Near the top right of the screen you will see a small icon that looks like a gear or a paint palette. This opens Colour Theme selection.
- VS Code ships with a dark theme by default ("Dark+"). If you prefer a light background, you can change it here.
Choosing a Colour Theme
This is personal preference. Most developers prefer a dark theme (dark background, light text) because it is easier on the eyes during long sessions. However, if you find it hard to read light text on dark backgrounds, a light theme works equally well.
To change the theme:
- Press Ctrl+K then immediately Ctrl+T (two key presses in sequence, not simultaneously)
- A dropdown appears with all available themes
- Use the arrow keys to preview each theme — the editor updates live as you scroll
- Press Enter to select the one you want
You can change this at any time later: File → Preferences → Colour Theme.
The Activity Bar
On the far left side of VS Code you will see a vertical strip of five icons. This is the Activity Bar — covered in detail in the Interface Tour page. For now, notice that clicking each icon changes what appears in the panel to its right.
Closing the Welcome Tab
Click the small × next to the "Welcome" text in the tab bar at the top of the editor area to close it. This is how you close any tab in VS Code.
Verifying the Installation
Once VS Code is open, do a quick check that the PATH option worked correctly.
Inside VS Code, open the integrated terminal
Press Ctrl+` (that is the backtick key — found to the left of the number 1 key on most keyboards, above Tab). A panel opens at the bottom of VS Code showing a command prompt.
Type code --version and press Enter
You should see three lines of output: the VS Code version number, a commit hash, and your architecture (x64). If you see this, the PATH is configured correctly.
If the command is not found
Close VS Code completely, then reopen it. The PATH update from the installer sometimes requires VS Code to restart. Try the command again. If it still does not work, use the Command Palette method described in the warning above.
code --version, you should see output like 1.9x.x, a long commit hash on the second line, and x64 on the third line. Any version starting with 1.85 or newer is correct.Pinning VS Code to your taskbar: Right-click the VS Code icon in your taskbar while it is running and select "Pin to taskbar". You will open VS Code dozens of times per day — one click from the taskbar is faster than searching for it every time.
What You Have Now
After completing this page, you have:
- VS Code installed at the latest stable version
- The "Open with Code" context menu entry in Windows Explorer (right-click on any folder)
- The
codecommand available in the terminal - VS Code open and ready to configure
The next page covers every area of the VS Code interface so you know what you are looking at before you start writing any code.